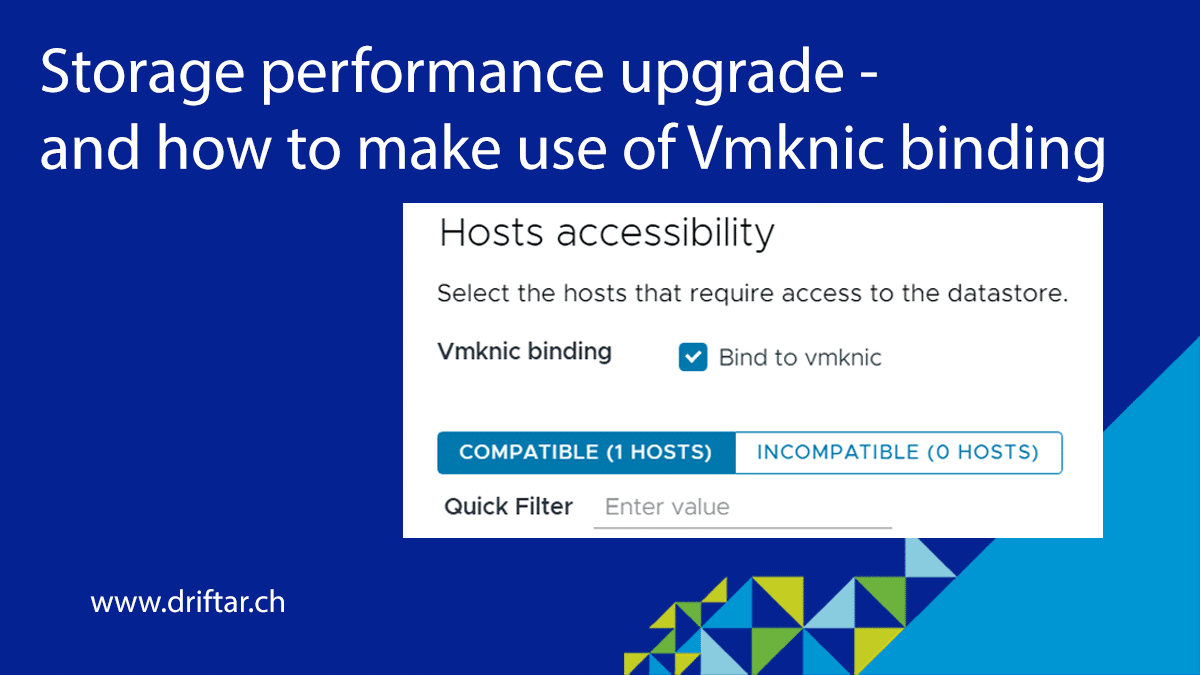
Storage performance upgrade – and how to make use of Vmknic binding

It’s been a while now (exactly two years and one month), since I bought my last Synology NAS, both for homelab and personal/private usage. Why did I buy a new NAS? There are some requirements that my new NAS had to fulfill:

  • Capable of 10 Gigabit Ethernet (integrated or with an addon card)
  • Enough slots for disks (at least five)
  • Two NVMe slots for using NVMe SSDs as read/write cache (integrated or with an addon card)
  • Can be used for homelab storage, as well as backup storage for home computers, laptops, etc.

When looking for that one NAS that could handle all of the above, I stumbled across the Synology DS1621xs+. Synology launched it in September 2020, and I ordered it about two months later.

Some of the technical specifications of the NAS:

  • It has 2 x M.2 2280 NVMe slots
  • It comes with 8 GB DDR4 ECC SODIMM (expandable up to 32 GB, and yes I upgraded to 32 GB)
  • It is equipped with an Intel Xeon D-1527 4-core 2.2 GHz CPU that has a Turbo Boost up to 2.7 GHz
  • In terms of connectivity, there are two 1 GbE and one 10 GbE RJ-45 ports
  • If you fancy, you could install some PICe card (the NAS has one 8-lane x8 slot), but I don’t know why or what
  • And you can install up to six 3.5″ or 2.5″ drives

So that’s the basics covered. Let’s get back to the topic.

Read more

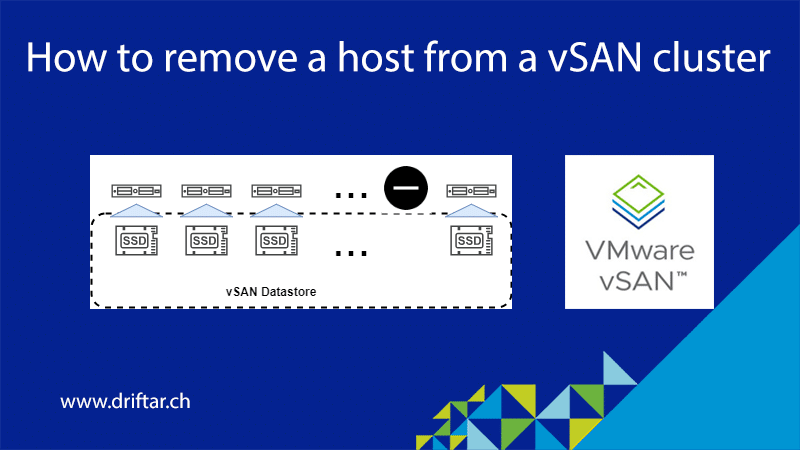
How to remove a host from a vSAN cluster

This blog post, I call blog posts like these “quick & dirty posts”, will show you today how to remove an ESXi host permanently from your vSAN cluster. Yes. Permanently. Forever.

Usually, you’re adding more capacity to a cluster, which means adding more hosts or disks to solve that problem. However, some legitimate reasons exist to remove an ESXi host from a vSAN cluster. Maybe you’re currently in the middle of a hardware renewal. The new hardware is already installed and running in production. And now, server by server, you’re removing the old hardware because you’re on track with the workload migration. The same counts for adding a cluster with nodes that have more “meat by the bone”, more compute power, and storage capacity. Nodes that are running more energy-efficient than the old ones. You see, only two reasons, but there might be many more.

But let’s dive into this topic now.

How to remove an ESXi host from a vSAN cluster?

We’re starting with making sure that the cluster and the disk groups have enough space to have one host removed. If the cluster is fine, let’s move on to remove the host.

Place the host into maintenance mode

Right-click the host, choose “Maintenance Mode”, then “Enter Maintenance Mode”.

Read more

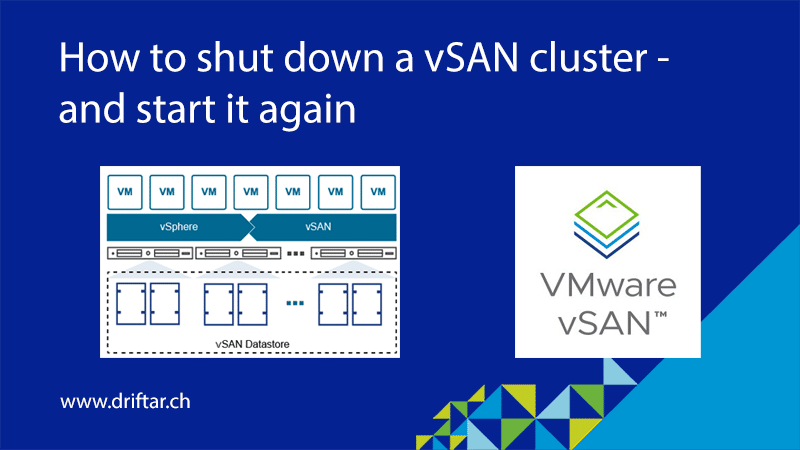
How to shut down a vSAN cluster – and start it again

Just a few weeks ago, to my shame, I stumbled across an interesting feature in VMware vSphere when trying some things with vSAN. To be honest, and to make it clear before we dive into this topic in this blog post: I screwed up when I tested this feature the first time. Because I didn’t know about this feature and because I didn’t proceed as I should have, as per this feature. At the end I had to reinstall all my vSAN nodes and create a new clean environment after that I screwed up. It was somehow needed anyway because of the most recent homelab rebuild. So, somehow a win-win for me and the lab.

So don’t screw up! No, just kidding. you may know the feature better than me. And I can tell you, vSAN is stronger and more resilient than you may think.

In this blog post, I’d like to show you how to shut down a vSAN cluster, and how to start it again. The feature is hidden in plain view, right-click the vSAN cluster and you’re good to go. Or not?

In this blog post, I’m assuming that the vCenter is NOT running on the vSAN cluster. I may update this blog post, or create another one, with vCenter running on the cluster. Without searching the internet and checking the VMware docs, I don’t know by heart if this is even possible. Anyway. So how do you shut down the vSAN cluster?

Read more

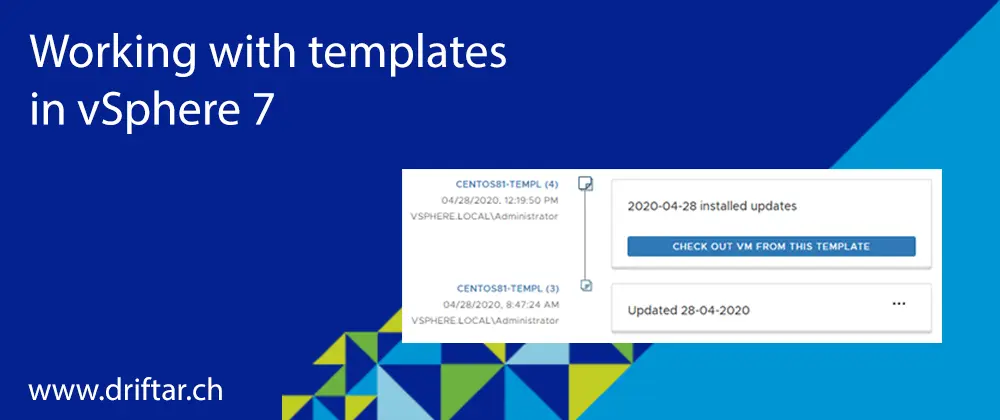
Working with templates in vSphere 7

One new great feature in vSphere 7 is template versioning. You heard that maybe already somewhere, or read it on various blog posts shortly after the announcement of vSphere 7.

I recently had to restore some of my Windows templates because something went wrong. Then I said, why not try out the new template versioning? Well, it’s easier said than done. I’ve found out that working with templates in vSphere 7 isn’t much of a difference than it is in vSphere 6.x. It’s also not a big difference when working with content libraries. But there are still some differences and maybe even limitations. I’ll update this post when I find out more about this. Maybe I’m just doing it wrong, or it is a bug like the one where VMs and Templates view doesn’t show folders after two levels in vSphere client (KB 78693).

What is vSphere template versioning?

First, it’s a great feature! With vSphere 7, you can now have multiple versions of a template. For example, you create your base template, then there’s the next version when you install patches and updates, and so on. If there’s something wrong, you can revert to the previous version of your template. Also, if you’ve got a huge template chain already, you can delete the oldest versions of your template. In my humble opinion, there is some space for improvement when working with templates and versioning. But I’ll show you later what that means.

How to work with the new versioning?

As far as I have tested it, you can’t convert existing templates to a template with versioning enabled. I mean there is no button like “convert that template”. It’s a manual task. That counts for templates that are stored somewhere on a datastore connected to your ESXi host as well as for templates that are stored in the content library. But as I already mentioned, maybe I’m just doing it wrong (hopefully not). And in case this should work, I’ll find it out and update this post.

How to work with template versioning then? It’s pretty easy. You set up your virtual machine and do everything you need to prepare it as your VM template. Michael White has some great posts about creating VM templates. Let’s assume that you’ve got your VM ready for the next steps.

Read more

Bulletproof tip on how to find the right Windows VMDK

I did this so many times already, and I never thought that I could document it, or put it somehow into a blog post. And maybe you already know how that works, how you can find the right Windows VMDK to resize it.

It’s not that complicated if you know what to search or look for. And it’s easy as pie when the VM has only one disk, or maybe two. But imagine a SQL server, which has like eight disks or more, depending on its setup or software recommendation? Then it might get tricky to catch the right VMDK at the first shot.

But this bulletproof guide should help you out! Maybe that gets a new category, bulletproof. We’ll see. But let’s get back to the main topic here.

How do I find the right Windows VMDK?

I deliberately write Windows because I only work on Windows machines for that blog post here and not Linux VMs. It might get another blog post for that sometime in the future. But that depends on the Linux distribution or flavor because Linux is not Linux (don’t hate me please). But there are Debians, RPMs, Unixes, and so many other derivates. Not always the same tools available, not the same commands or syntax. You’ll get the point. Let’s focus on Windows VMs for now.

So, you’ve got that huge VM with several disks, and you have to resize one of them. Lucky you if it’s the C: drive because usually, that’s the first VMDK. Usually. But this guide shows you how to find the right VMDK. And always, making the disk bigger is easier than shrinking it. So it’s better to find the right candidate in the first shot, isn’t it?

Read more