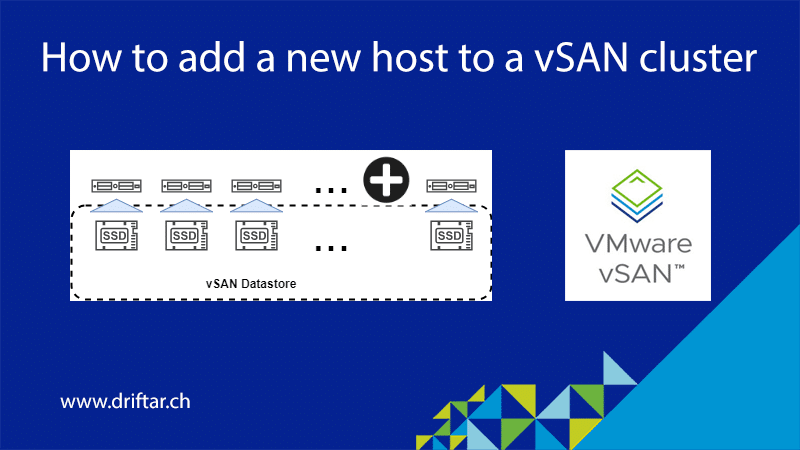
This blog post, I call blog posts like these “quick & dirty posts”, will show you today how to add an ESXi host to your vSAN cluster. You may need additional compute power, and/or storage capacity. Or you want to implement another storage policy to leverage storage efficiency and more failures to tolerate (RAID 5 / RAID 6 erasure coding). Maybe you want to create a stretched cluster, which needs an even number of vSAN nodes on each side plus a vSAN witness. So many reasons to add another vSAN node.
But let’s dive into this topic now.
How to add a new host to a vSAN cluster?
In my vSAN cluster, based on the Express Storage Architecture (ESA), I’ve got six hosts currently. I want to add another host to the cluster because of the computing and storage power. How to do this?
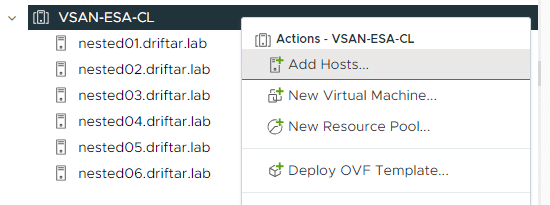
Right-click your cluster and choose “Add Hosts…”. So far, nothing special.
Add a host to the cluster (as you’re used to it)
You will see the “Add new and existing hosts to your cluster” assistant, which you know already, and where you can add more than just one host. But for now, we’re just adding one other host to the vSAN cluster. Enter the hostname and credentials, then click “Next”.
You should see the host in the “Host summary”. If there is any problem with this host, you should see that here. And for sure you should fix the issue before adding the host to the cluster. Click again “Next”.
I’m not importing an image for this blog post. This refers to the VMware Lifecycle Manager (LCM). You can manage a cluster with an image. This means that instead of installing individual patches, you can now directly set a specific vSphere / ESXi version that you want to have within this cluster.
The review is not that special, but it may highlight some special things again (depending on the infrastructure and setup). Again, click “Next”. The host will now be added to the cluster.
So far so good. Adding another host worked nicely!
Manually claim the disk(s) for vSAN
However, the vSAN cluster didn’t recognize the disk that should be used for vSAN. That means, it did recognize it, but it hasn’t been claimed for vSAN automatically. That’s expected because I’m far away from playing with hardware that is on the VMware HCL. Especially nested virtualization, and therefore, virtual hardware, is NOT supported.
On the left, it’s before adding the new host, on the right is after the host has been added to the cluster. You can spot the differences between CPU and memory. No change in storage, however.

The next step is optional, as long as you’re operating within the HCL!
In my case, I went to the vSAN cluster, clicked the “Configure” tab, and checked the disk management of vSAN. I could see, as mentioned above, that the one disk hasn’t been claimed yet (automatically). Let’s do this manually then.
Next, just above the list of vSAN nodes, click on “Claim unused disks”. The “Claum Unused Disks” assistant will show up. As you can see, the disk(s) I’m using for the vSAN test cluster are NOT compatible with vSAN ESA because they are virtual, and attached to a virtual/nested ESXi server, with a totally unsupported setup anyway. But that doesn’t mean we can’t do this.
Mark the checkbox for the disk that you want to claim for vSAN, and you’ll see that the vSAN capacity will change.
You will see a warning like this below if you have any unsupported or incompatible disks for vSAN ESA.
Next, click “Claim” to add the disk to the cluster for capacity and claim it for the vSAN data store.
We have now more storage capacity. That’s what we wanted. Now have fun deploying more virtual machines, changing storage policies, etc.


2 thoughts on “How to add a new host to a vSAN cluster”