I wanted to test this use case for a long time. Now it’s finally done and i’m happy that everything worked at the first try. Or should i be worried? Well, as Veeam always says “It just works (TM)”. So it did also during the write up of this guide.
Most of you will know this kind of backup media type. And some of you will not only have good memories of them. I’m talking about tapes. Tapes we’re once used for backups. Daily incremental and weekly full backups. It took ages the more data you had. You’ve been happy if a full backup fitted in a 8 hour window throughout the night. You know that. But tapes are coming up more and more again. If you heard about the recent ransomware WannaCry then you know what it means to airgap your backups. Even Google has it’s tape backup system. Yes, Google. And there are reasons why some companies still invent and develop new tape technologies like new LTO standards, new drives and libraries.
To be honest, most of us homelabbers don’t have a tape drive nor a tape library neither. And that’s the point where a Virtual Tape Library comes in very handy! You can emulate a complete tape library with software and even use this emulation in a availability software like Veeam Backup & Replication or Veeam Availability Suite! But that isn’t awesome enough. We want more awesome and that’s the reason we go to the next level.
To make it clear, i’m not only talking about homelabbers. This software is not a beta or alpha or something other. It’s a rocksolid production version which is available on the market. This guide will show you how to install and configure StarWind VTL for AWS and Veeam.
With StarWind Cloud VTL for AWS and Veeam you can leverage your backup data for the usage with a virtual tape library to archive your backups to Amazon S3 storage in the cloud. If you want you can even go further and archive your archived data from the Amazon S3 buckets to Amazon Glacier. Isn’t that awesome?
So let’s do this now! I’ll show you how to install and configure this solution, and how to make it work.
How does this solution work?
The solution we’re building here with this guide will like like this:
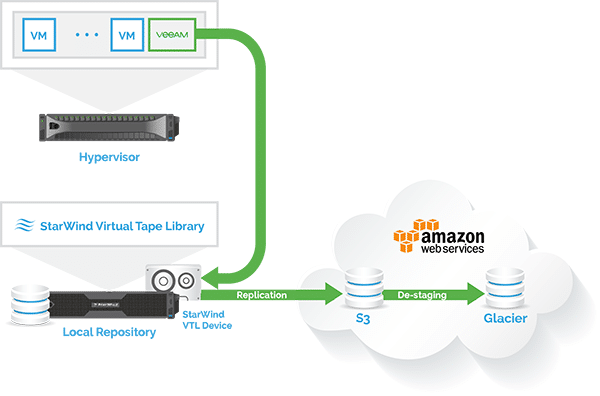
- We have our hypervisor (in my case it’s ESXi / VMware vSphere, but it can also be Microsoft Hyper-V) in place.
- Our virtual machines are running on this hypervisor.
- With Veeam Backup & Replication we create the backups of these virtual machines.
- StarWind Cloud VTL for AWS and Veeam creates a virtual tape library, which we use then in Veeam to have a “tape” backup.
- It’s not just a VTL, but also StarWind replicates the backed up data to Amazon S3 storage, and optional to Amazon Glacier.
Download the software
First we have to download all the needed software components. We need StartWind Cloud VTL for AWS and Veeam, also needed are the HPE StoreEver Tape Drivers, and, last but not least, Veeam Backup & Replication.
You can get the software here:
- StarWind Cloud VTL for AWS and Veeam
- HPE StoreEver Tape Drivers (Version 4.2.0.0 does support Windows Server 2016)
- Veeam Backup & Replication (if you haven’t it already in use)
Save these components somewhere on your backup server. It doesn’t matter if it’s a virtual or physical server.
Installation of StarWind VTL
I assume that you’ve installed Veeam Backup & Replication or Veeam Availability Suite already, and you’re now ready for the next steps. If not then my Quick Setup Guide can help you (even if it’s with version 9).
The first component we install is StarWind Cloud VTL for AWS and Veeam. You’ve downloaded the software already and got your license file ready. Let’s start.
-
Double-click the installer file you’ve downloaded before to start the setup process.
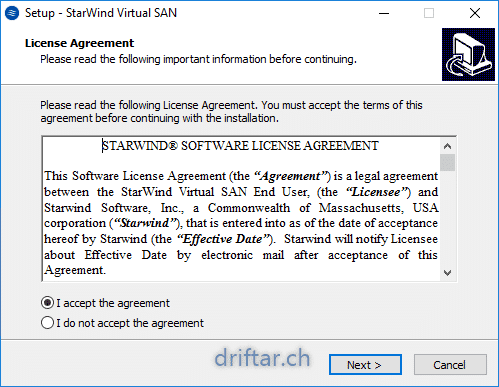
Accept the license agreement. Clickt Next.

-
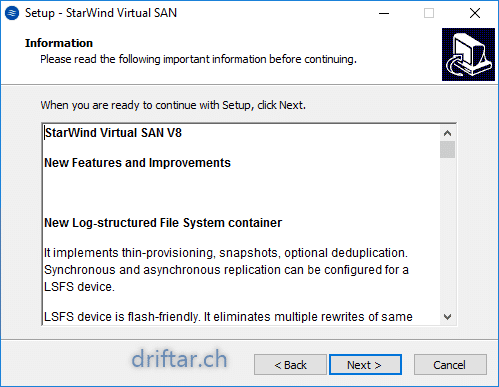
Click Next.
-
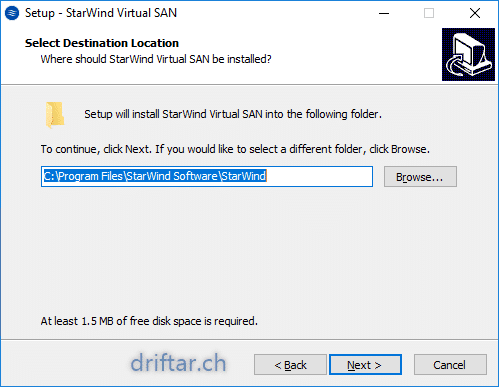
Set or Select the installation folder. Click Next.
-
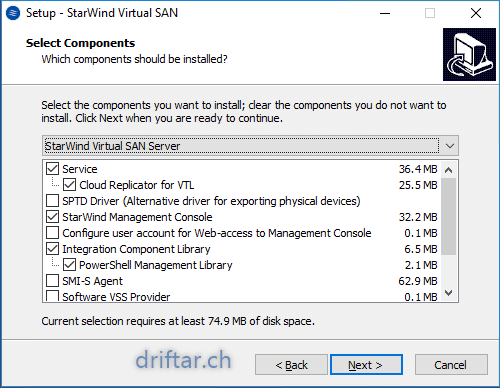
Select the components you’d like to install. Click Next.

Hint: It will work if you let the default settings. When i installed the software i didn’t get the catch that there is even a dropdown list…
-
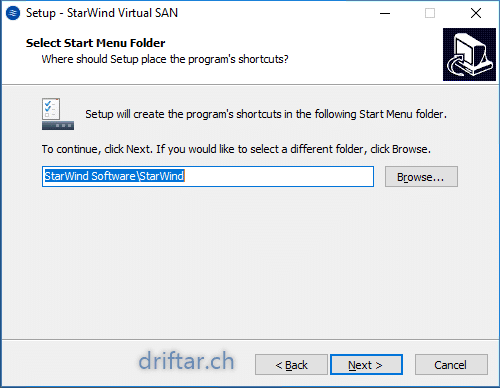
Check the location of the application shortcut in the start menu. Click Next.
-
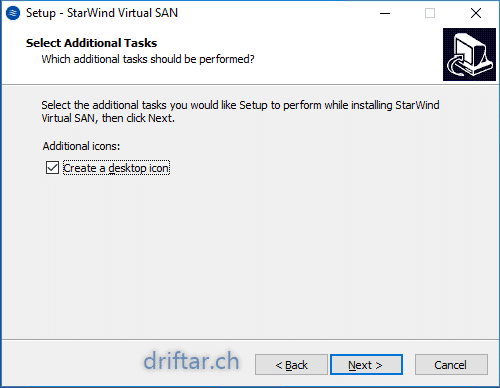
Why not having a desktop icon for easy access? Mark the checkbox if you like. Click Next.
-
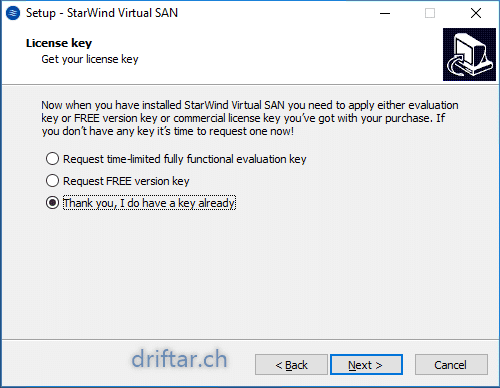
I’m working with an NFR license. When you registered for download, you’ll get a trial license.
In my case i checked the third point, that i have a key already (license file).
Click Next.
-
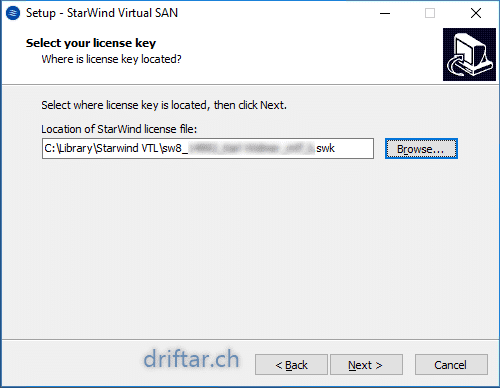
Select the license file here. Click Next.
-
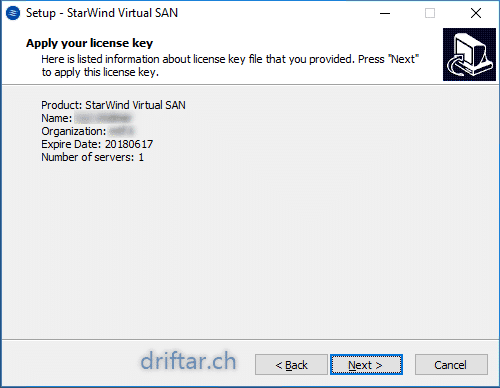
You’ll see here the information about the license. Click Next.
-
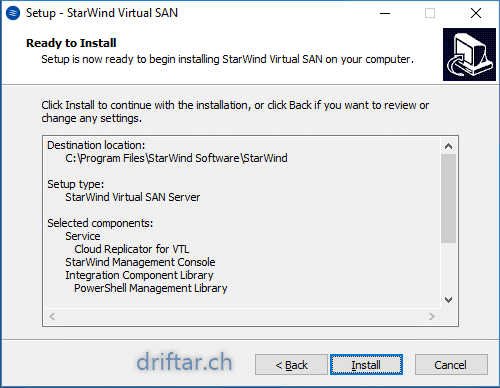
Click Install to start the installation, or go back if you’d like to change a setting.
-
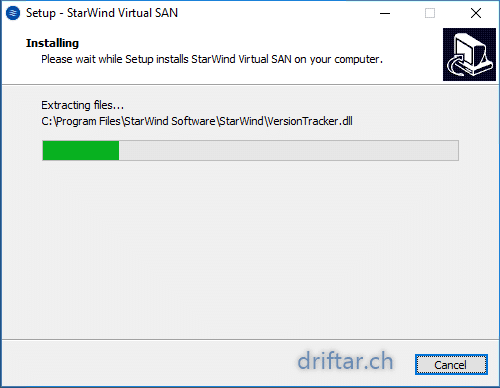
Setup is now installing all the components.
-
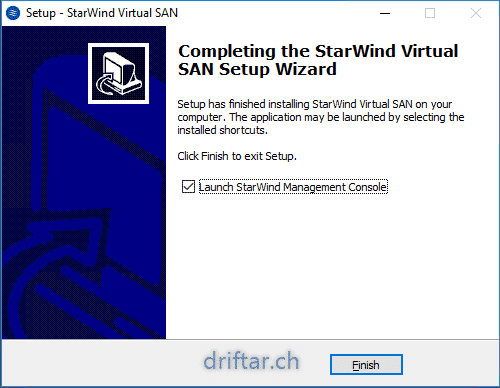
And we’re done with the installation. Optional, you can start StarWind Management Console directly after setup, or use the desktop icon.
You’ve installed StarWind VTL now on your server. Don’t be worried about the name “StarWind Virtual SAN”. You will be able to configure the newly installed Virtual Tape Library later in this guide.
Configuration of StarWind VTL
The next step after installation is the configuration of this software. We will setup a virtual tape library and make it ready for usage.
-
Have a look on your desktop, there you’ll find the desktop icon. If not then you have to look in the start menu.
Double-click the desktop icon to start the management console.


Check the tasklist, it won’t open in fullscreen.

-
Now you’re in the console. Let’s get our hands on the next configuration steps.
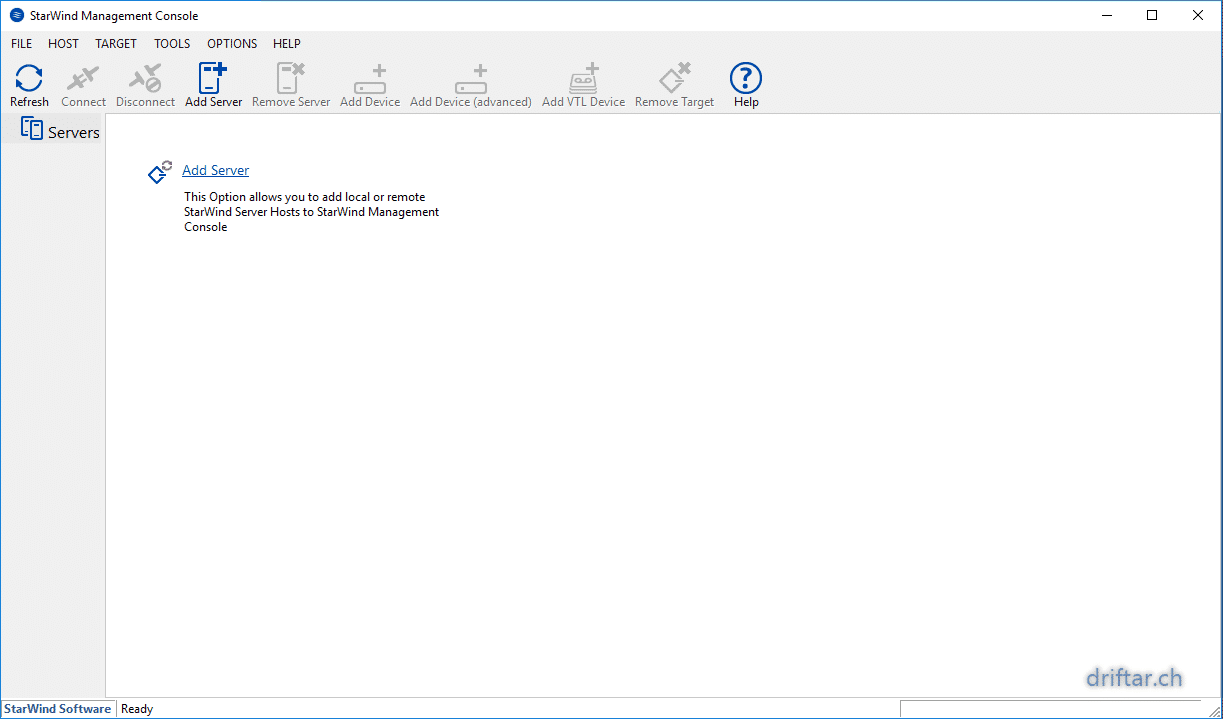
Click Add Server.

-
Since we’re using the management console on the same server as we’ve installed it, you can add the localhost address.

-
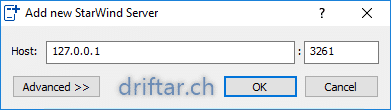
Now click Advanced and then Scan StarWind Servers…
Your local server should show up in the list. Select it and click OK.

-
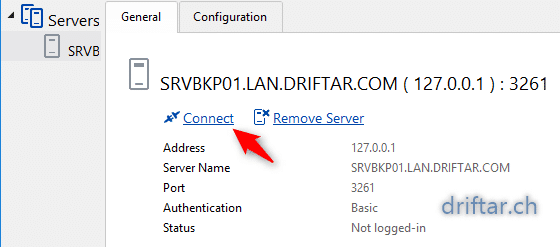
You’ll see your server now in the management console. Click Connect.

-
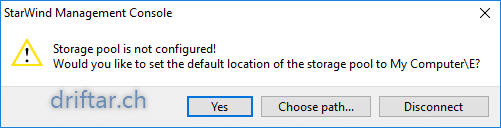
Since we don’t have any storage pool yet we have to configure one. Click Yes to use the proposed setting or click Choose path…

This storage pool is nothing else then a kind of repository where the virtual tape files are stored.
Depending on the configuration we set later on, these virtual tape files will be stored or deleted after replication.
-
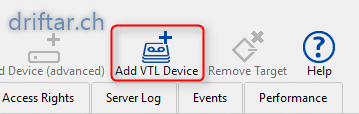
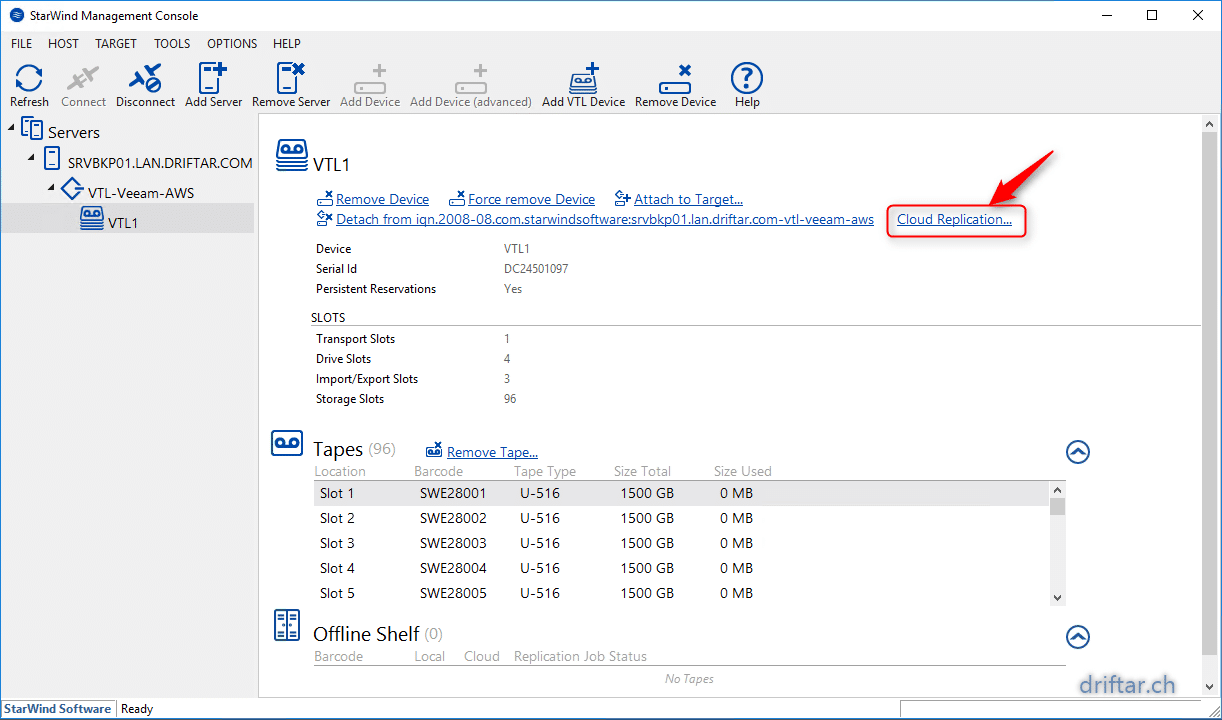
To add a virtual tape library, click Add VTL Device in the management console.

-
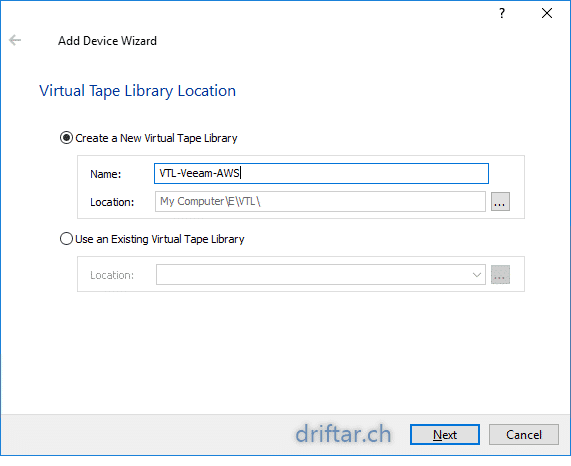
Since we don’t have a VTL in use at the moment, we create a new one. Set a name and click Next.

As you can see on the screenshot, the location is “E:\VTL” of my server. It will take the storage pool you’ve created before.
You can also create another storage pool if needed.
-
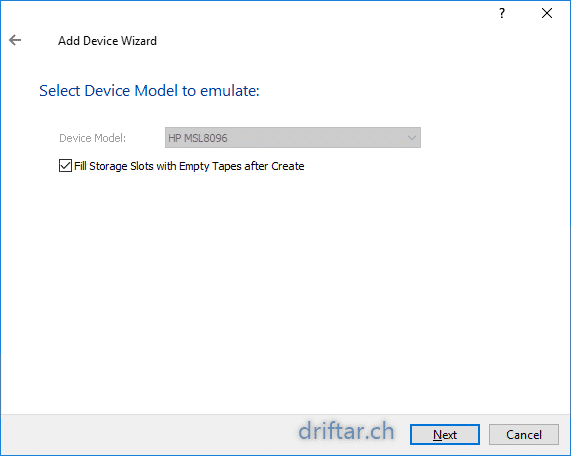
Next step is to set the tape library model. In our case it’s an HP MLS8096.
Mark the checkbox to fill up the slots with empty tapes.Click Next.

-
The VTL will be attached through iSCSI. Create a new target alias.
Mark the checkbox to allow multiple concurrent iSCSI connections. Click Next.
-
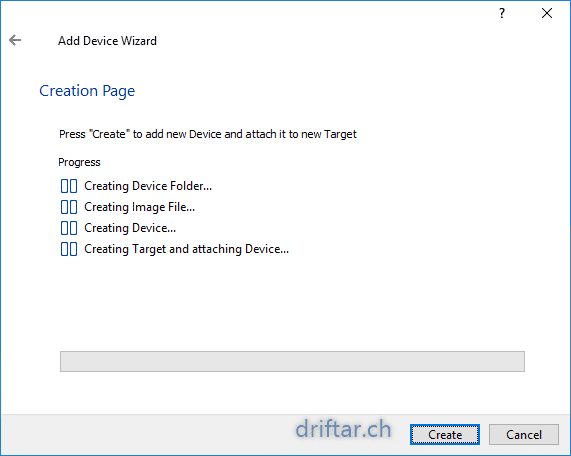
Click Create. The assistant will now create the environment.
-
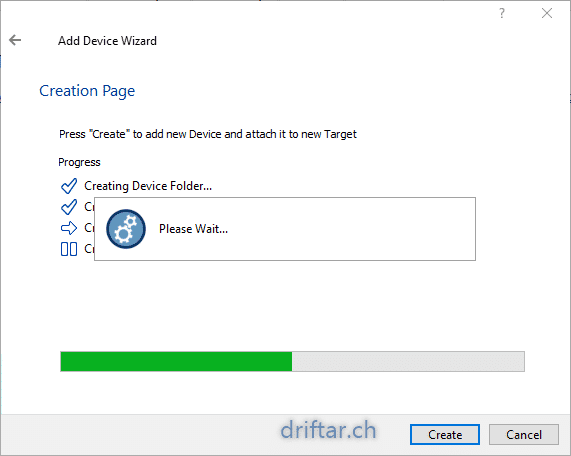
It will take a moment to complete…
-
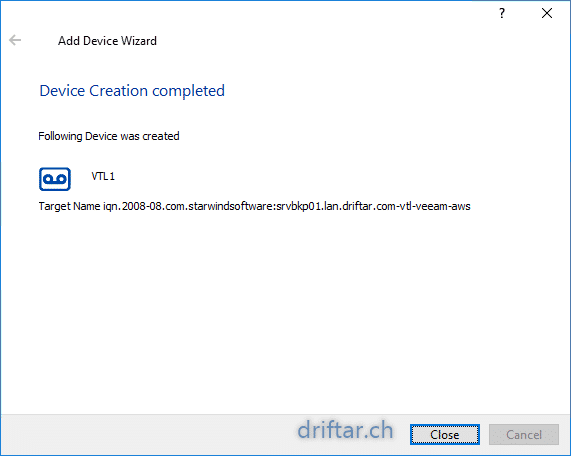
After the wizard has completed the setup, click Close.
-
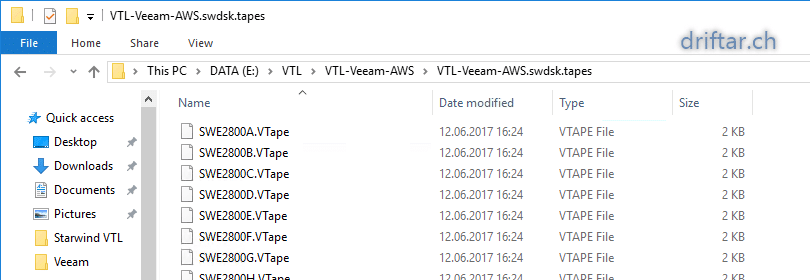
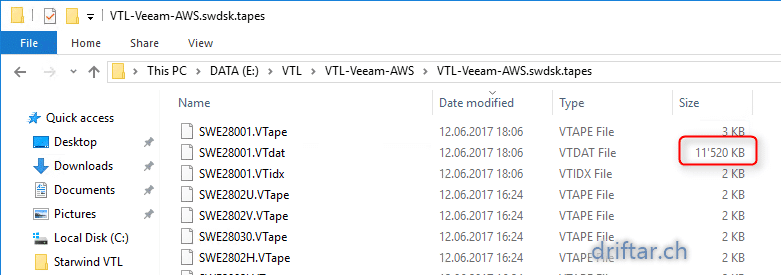
Let’s just have a quick look in Windows Explorer how this looks on our harddisk.

You see all the VTape files, about 96 in total.

And we’re done with the basic installation and configuration of our StarWind Cloud VTL for AWS and Veeam.
Creating an Amazon S3 bucket
I assume that you’re already an Amazon Web Services user or customer and that you’r familiar with creating buckets.
-
Login to your Amazon AWS account.
Make sure you have your Access Key ID and Secret Access Key ready. We need that later on.
-
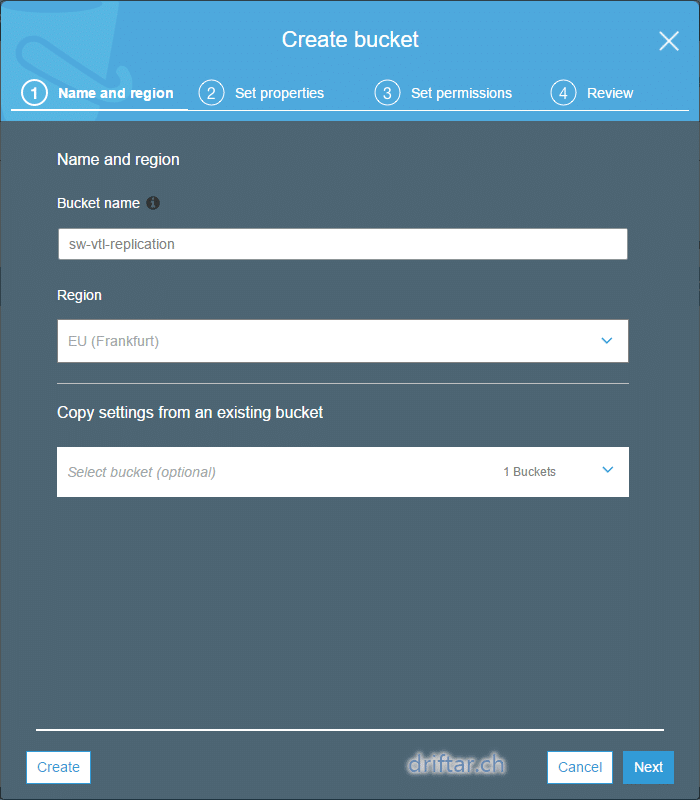
Create a new S3 bucket and give it a name. The name has to be unique.
Choose also the region where this bucket should be created. The closer the region is to your location, the better.
Click Next.

-
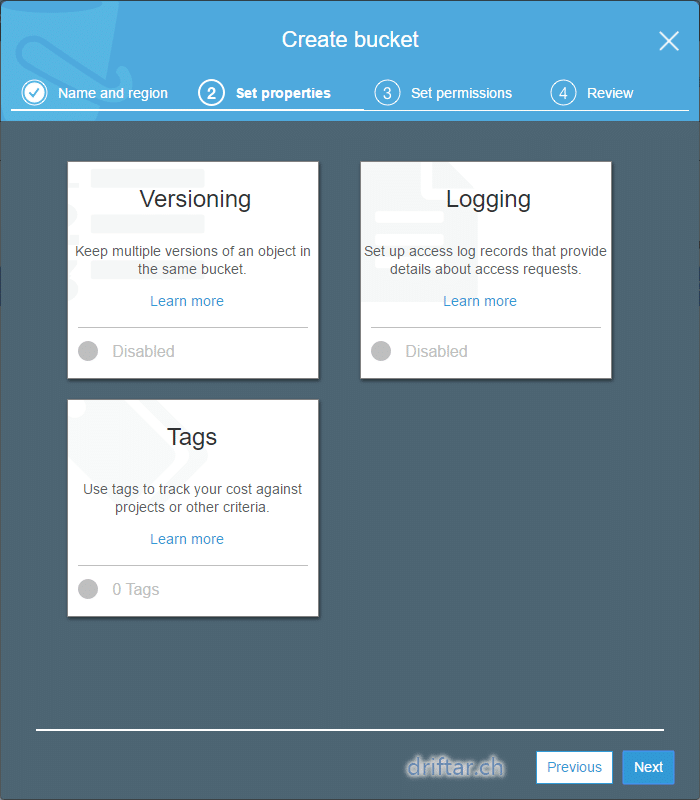
If you like, you can set versioning, logging and tags to this bucket. I didn’t because i’m only testing it.
For producation usage it’s probably recommended to use these features.
Click Next.
-
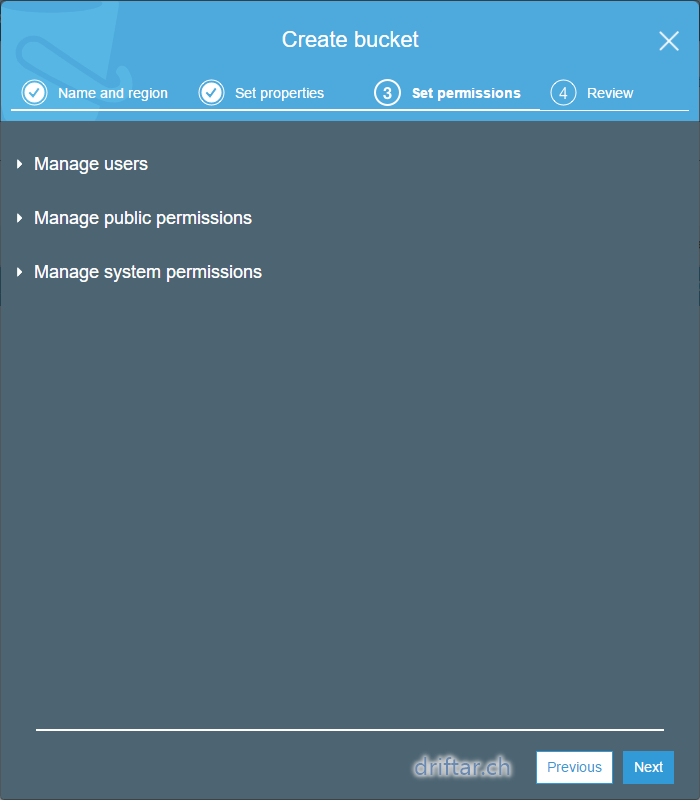
Manage users and permissions if needed.
Click Next.
-
Review the settings. Click Create bucket if you’re ready.
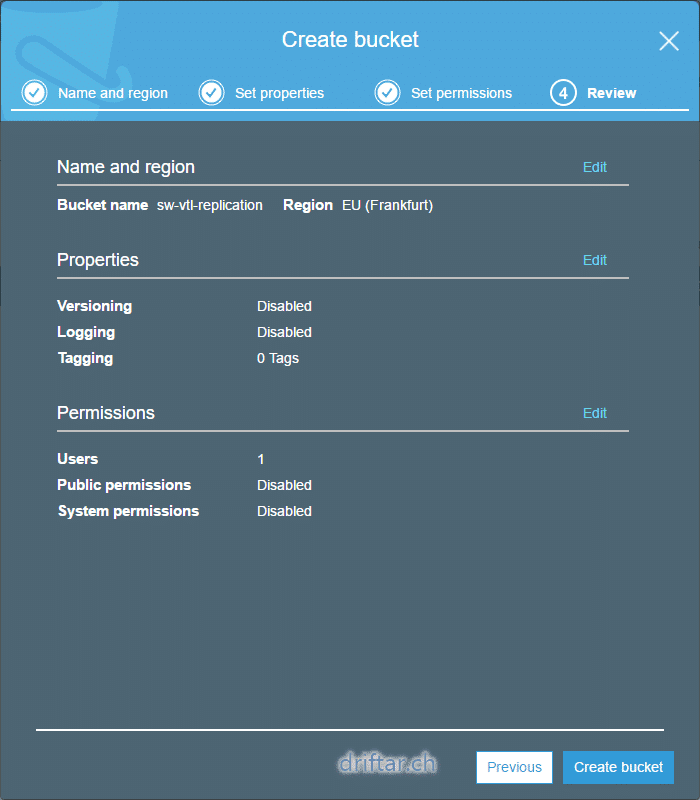
This Amazon S3 bucket is now ready for usage. Let’s go on.
Setup cloud replication
Since we’ve got now our Amazon S3 bucket, we have to setup cloud replication within StarWind Cloud VTL. Follow the steps below to do that.
-
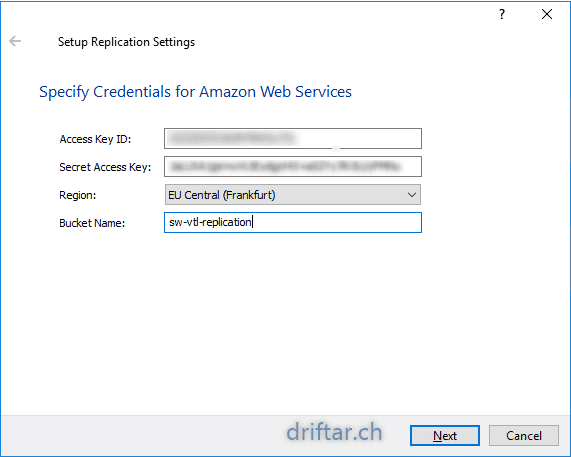
In the StarWind management console click Cloud Replication.

-
Enter your Amazon Access Key ID and the Secret Access Key.
Specify the region and enter the bucket name.
Click Next.

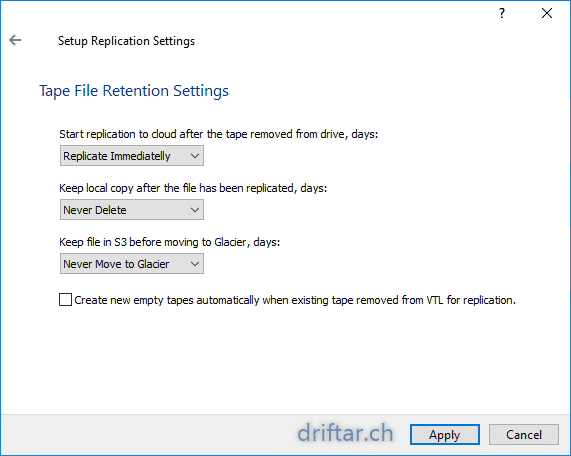
-
On this screen you can set the retention for the tape file.
Click Apply.
I’ve set to replicate immediately and to delte the files once they’re replicated. I want to save storage on my server.
-
The relpication settings will now configured.


Now we’ve got:
- Veeam Backup & Replication installed
- StarWind Cloud VTL installed
- Amazon S3 bucket created
- Cloud Replication configured
Let’s do the last steps together.
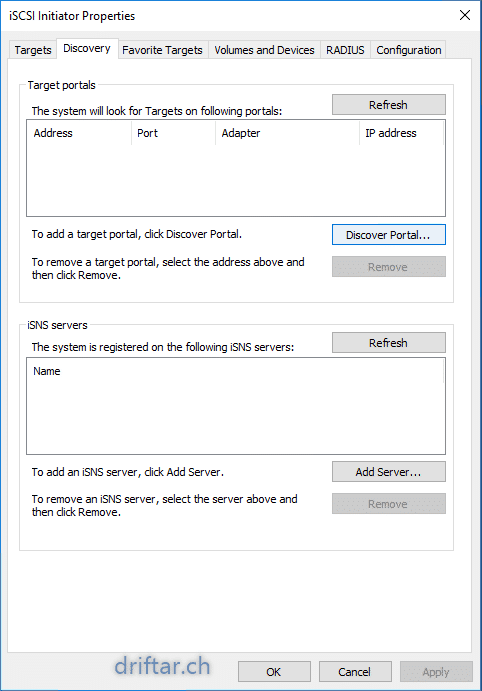
Configure Microsoft iSCSI Initiator
-
As i mentioned before, this VTL is attached through iSCSI.
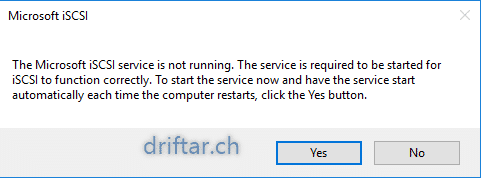
Open Microsoft iSCSI Initiator. If it’s not already in use, Windows tells you to start the appropriate service.

-
Navigate to the Discovery tab and click the Discover Portal button.

-
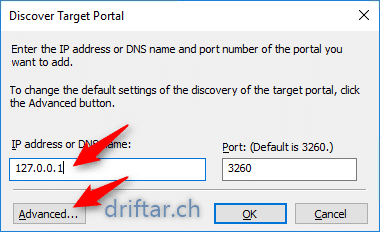
As we’re still on the same server, enter the local host address.
Then click Advanced…

-
Select Microsoft iSCSI initiator for Local Adapter. Then click OK.

-
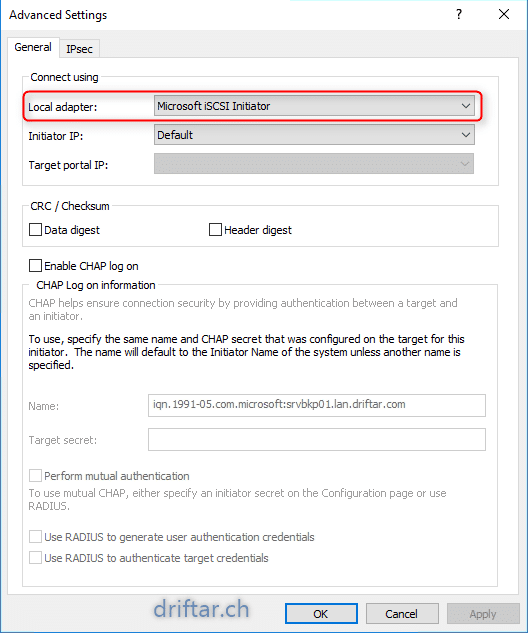
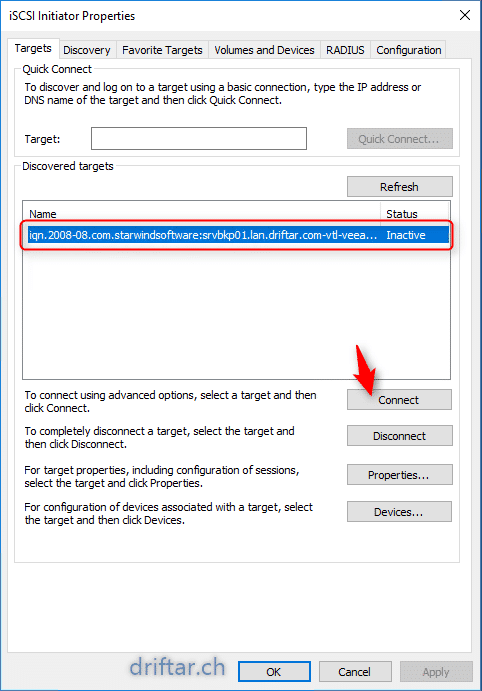
Back on the main screen, navigate to the Targets tab.
You should see here the iSCSI target we’ve created some steps before.
Click Connect.
-
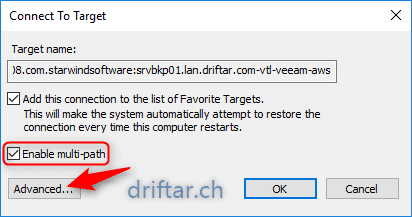
In the Adcanced screen, mark the checkbox to enable multi-path.
Click again Advanced…

-
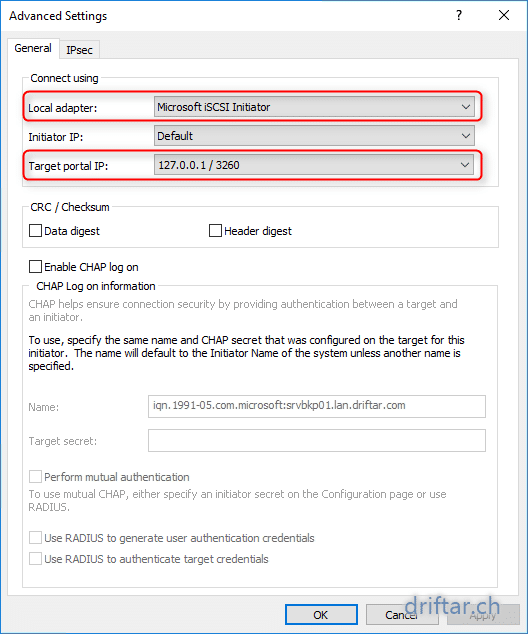
Set the local adapter to Microsoft iSCSI initiator and set 127.0.0.1 / 3260 as target portal IP.
Click OK.

-
You should notice that VTL iSCSI target is shown as “Connected” in the list.
Close the Microsoft iSCSI initiator assistant.
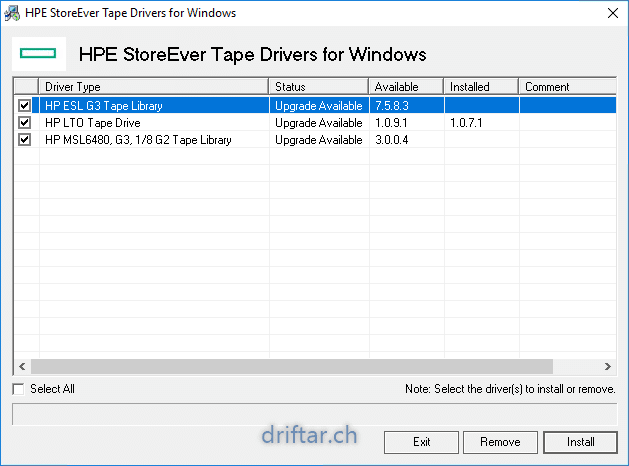
Installing HPE StoreEver Tape Drivers
Yes, it’s necessary to install these drivers. Otherwise there is no possibility to get this VTL connected to Veeam. But that’s an easy step, no worries. Let’s do that now.
-
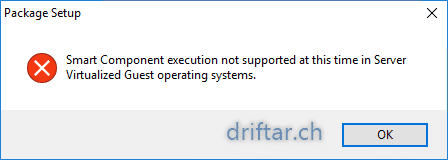
If your try to install the HPE StoreEver Tape Drivers on your virtual server by double-clicking the software package, you will notice an error.
It’s not possible to install the drivers on this way on a virtual server. But no worries…

-
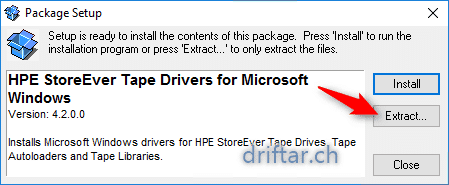
Try it again, but click on Extract this time, to extract the files to a folder.

-
Navigate to this folder and start the setup.
Make sure all checkboxes are checked.
Click Install.

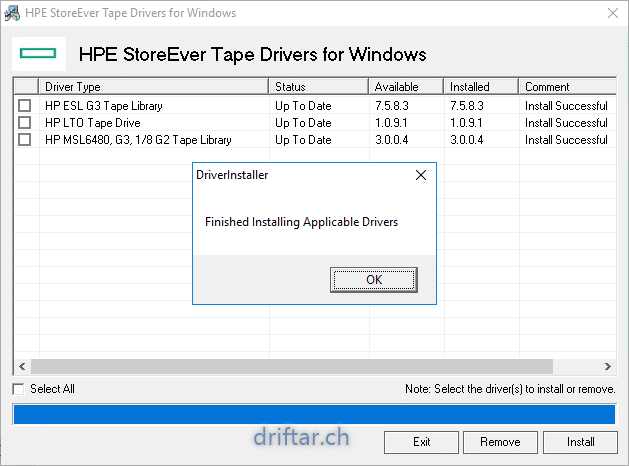
-
Click OK to close the confirmation popup.
Then click Close to close the setup assistant.
-
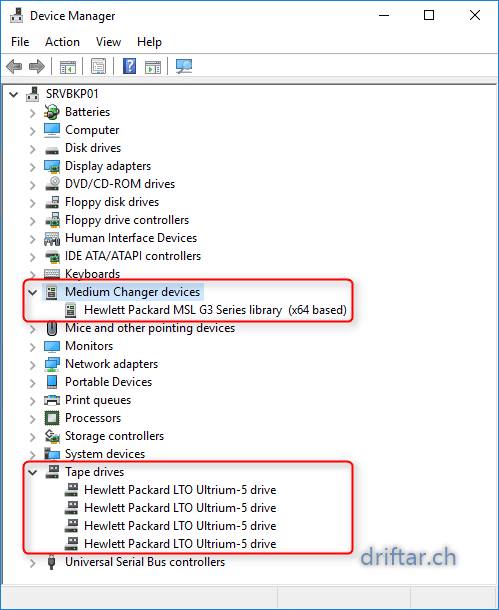
Let’s have a quick look into the device manager.
You should see here the newly installed HPE tape library and also some single tape drives.

Finally we’ve made it! The next step will be to setup the tape library in Veeam Backup & Replication and to setup a tape job.
Configuration in Veeam
Within Veeam we have two things to configure. First we add this virtual tape library as a backup device, second we configure a tape backup job. Let’s dive into that now.
Add the Virtual Tape Library to Veeam
-
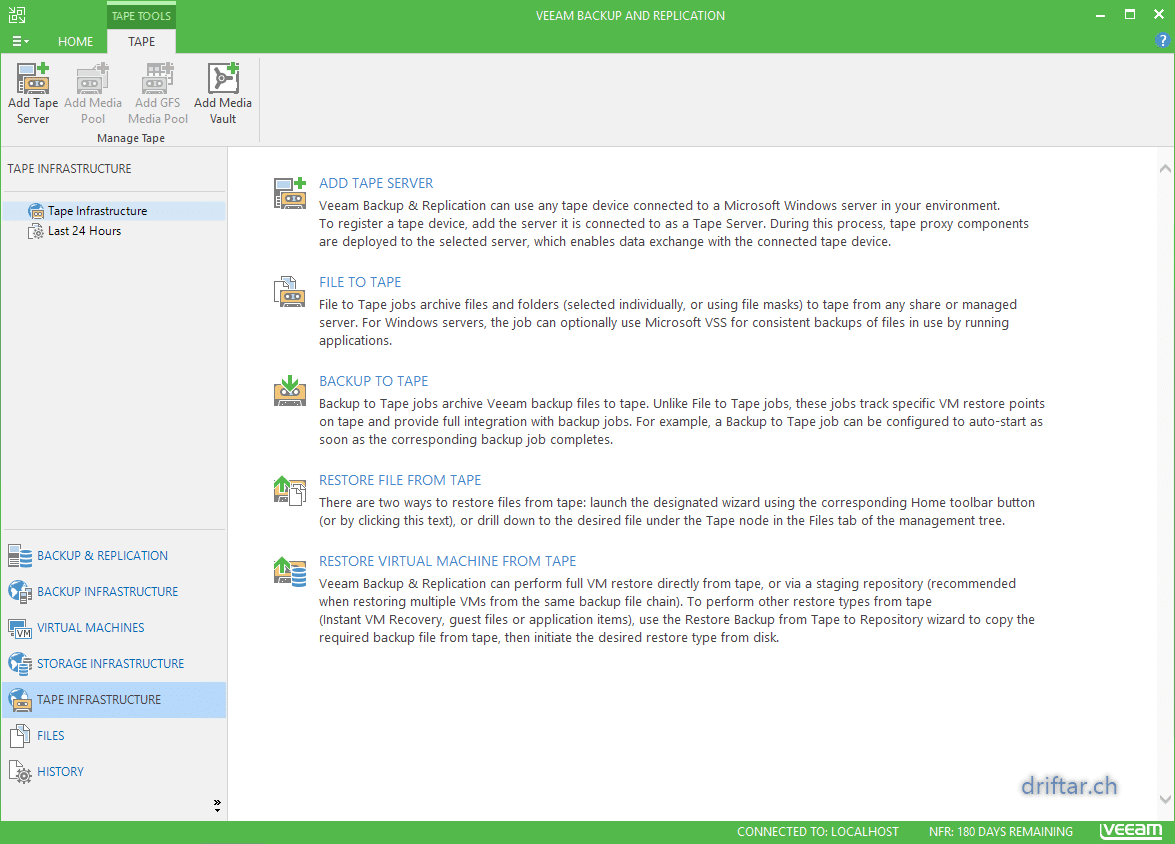
Open the Veeam Backup & Replication console.
Click Tape Infrastructure on the left hand side.
Click Add Tape Server.

-
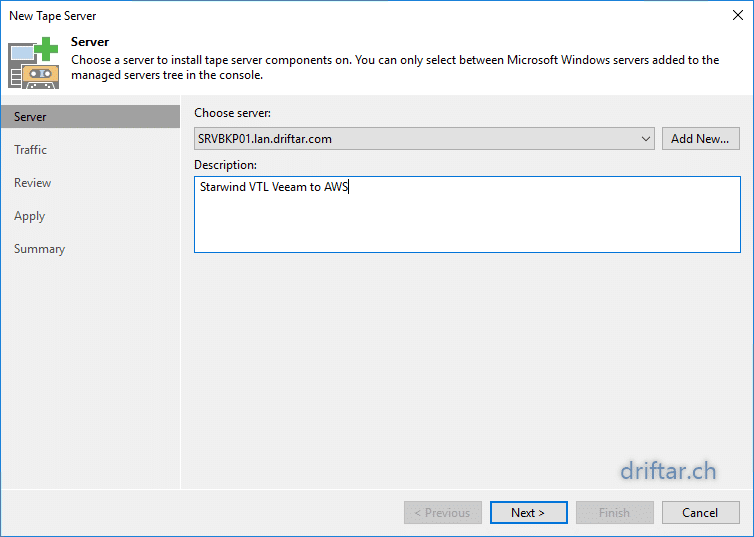
Since we’re still working on the same server, check that the correct server is set. Then click Next.

-
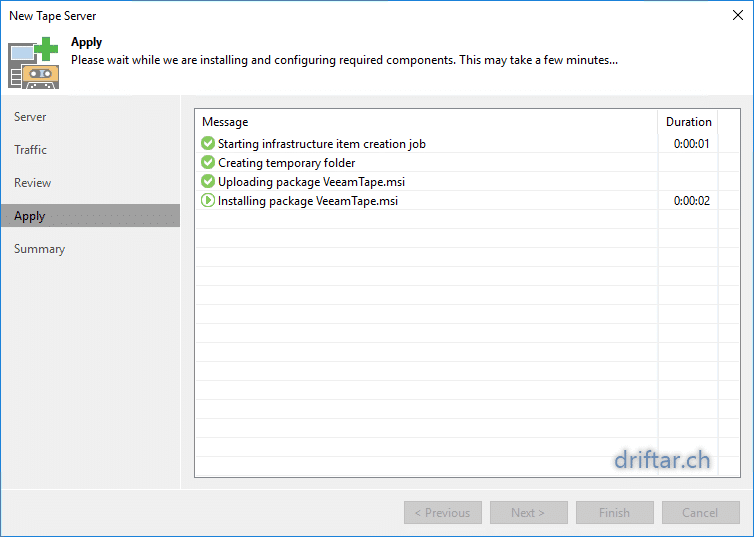
Follow through the setup assistant.
I didn’t mention the traffic rules. You can setup traffic rules if you need to.
Click Finish to close the assistant.
-
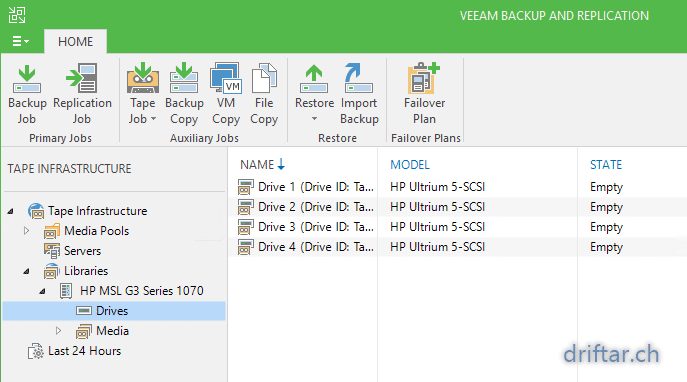
The setup should look like this.
You see the tape library with its drives.

Configure a Tape Backup Job
-
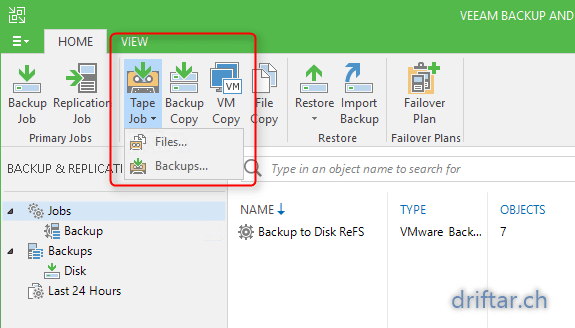
Still in the Veeam console, ad a tape job. It doesn’t matter if it’s a File to Tape or Backup to Tape job. In my case, for this setup, i created a File to Tape job.

-
Set a name and optional a description. Click Next.
-
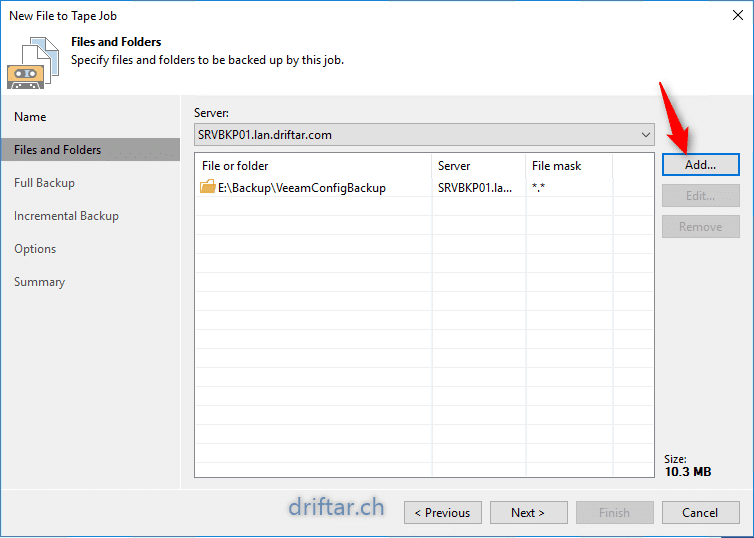
Specify the files and folders you want to have on tape. Click Next.

-
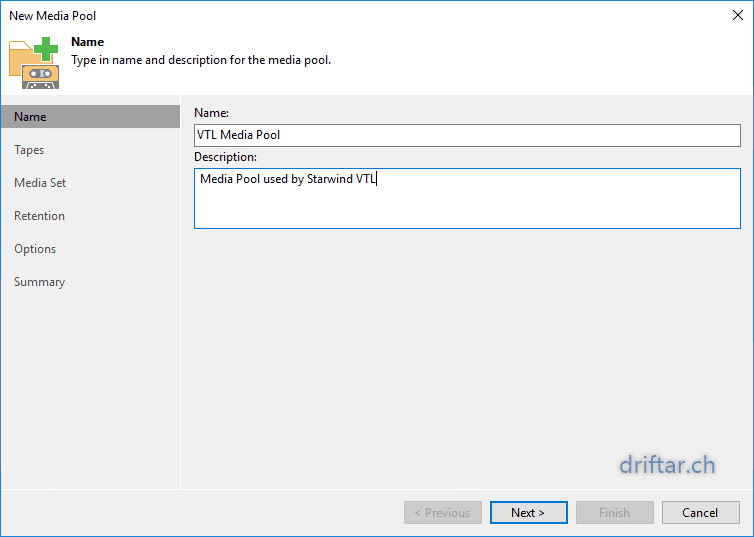
Since we didn’t setup a media pool (it’s possible to do this before creating the job), we have now the possibility to create a media pool.
At Full Backup, Click Add New….
Set a name and optional a description. Click Next.
-
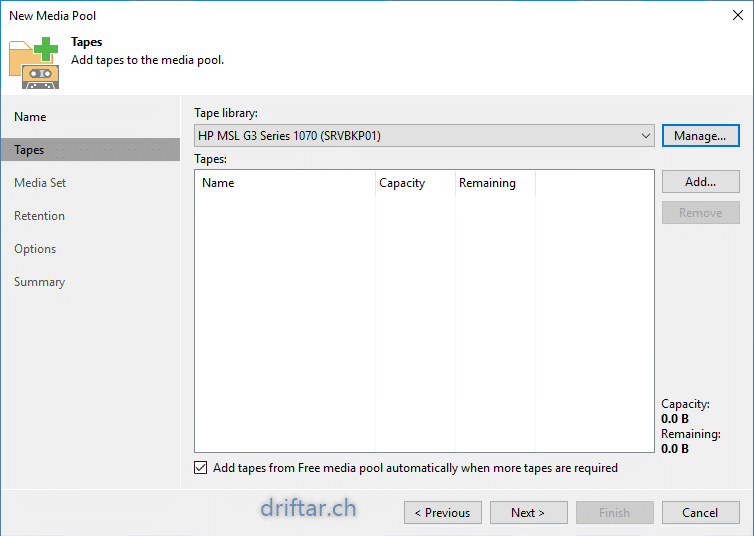
Now just follow the assistant. We don’t add tapes now. Click Next.

-
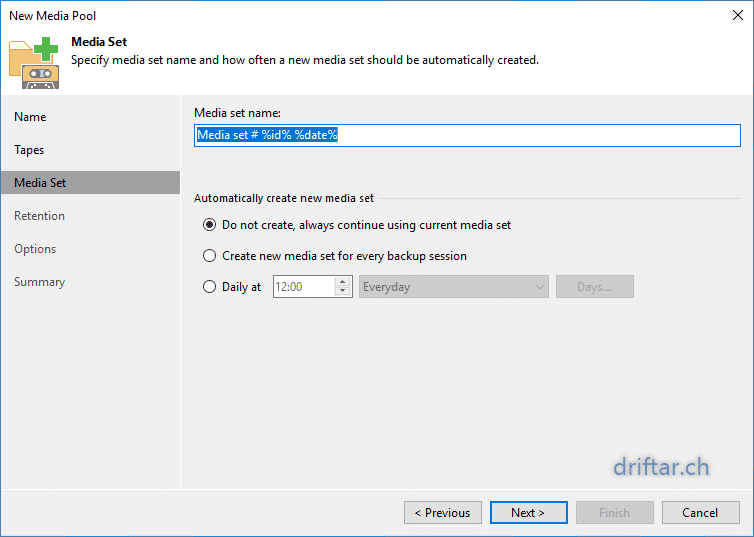
Specify the media set settings so they suite your needs.
-
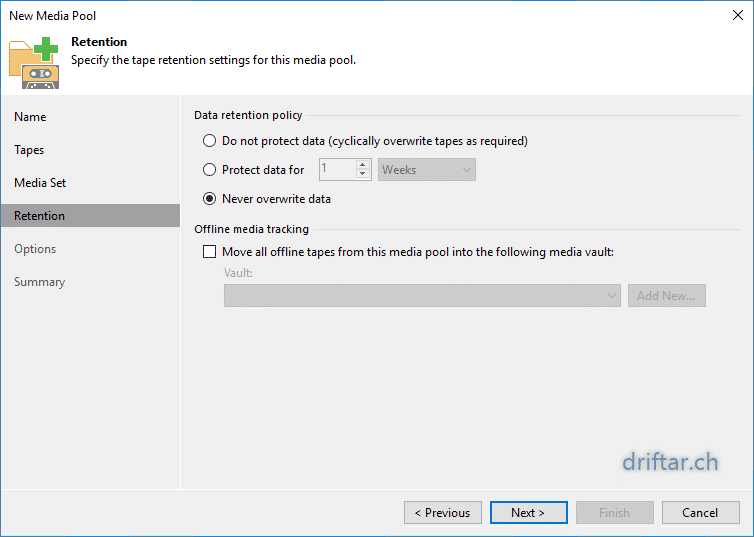
Make the same for the retention.
-
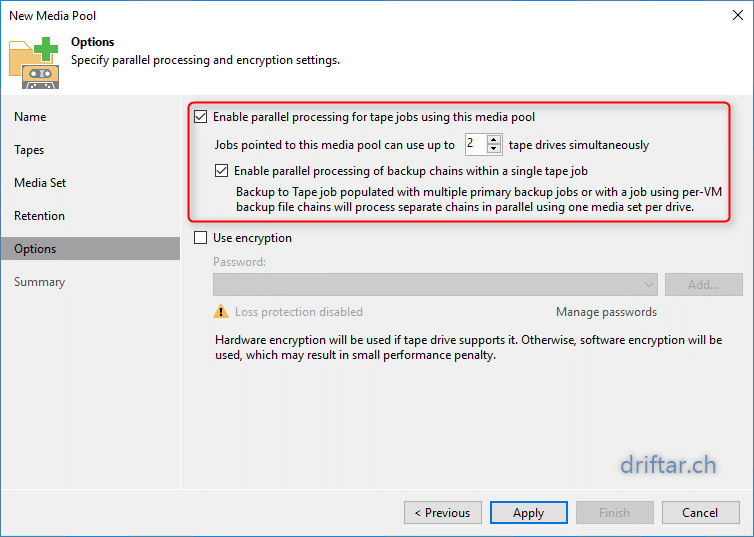
Enable parallel processing (we’ve got more than one tape drive…).
-
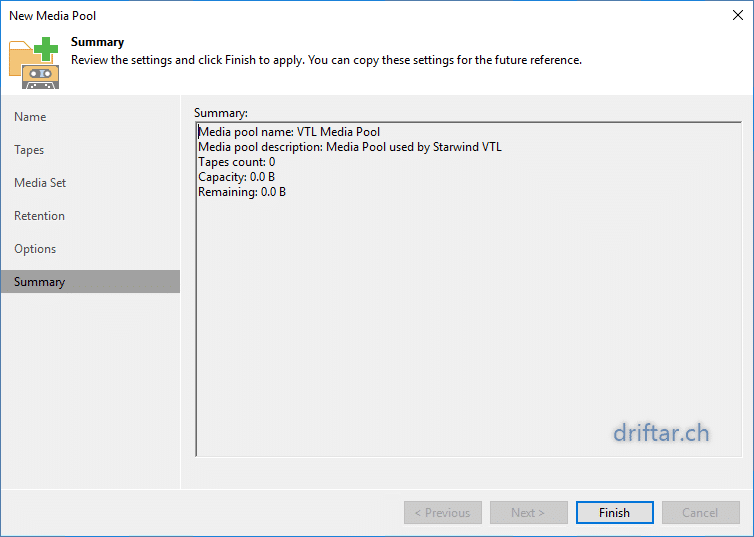
Review the settings and click Finish.
-
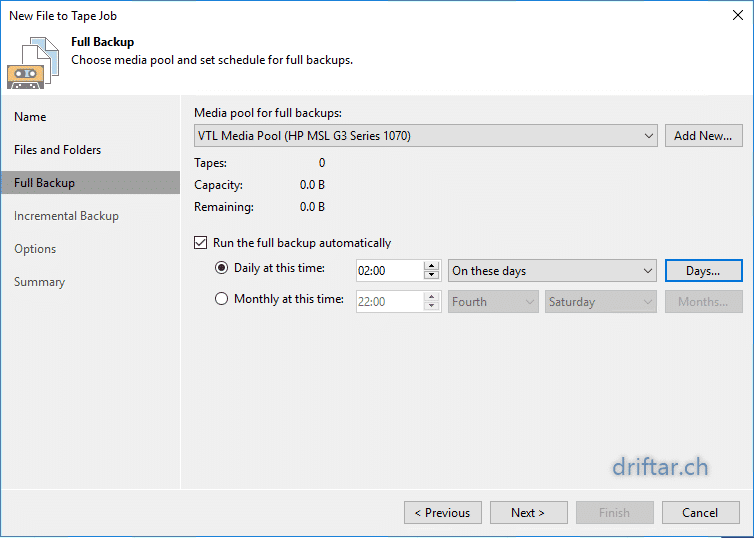
Back in the tape job settings, set a schedule according to your business needs. Click Next.
-
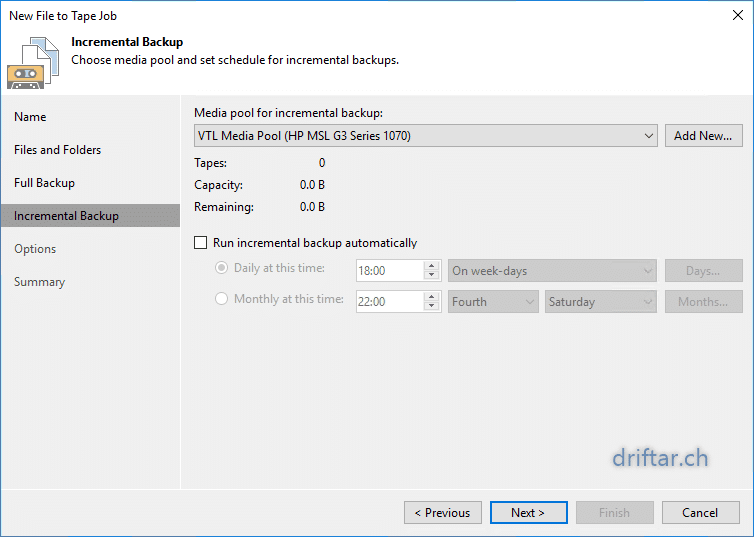
If you also do incremental backups on tape, repeat the steps as in Full Backup. Then click Next.
-
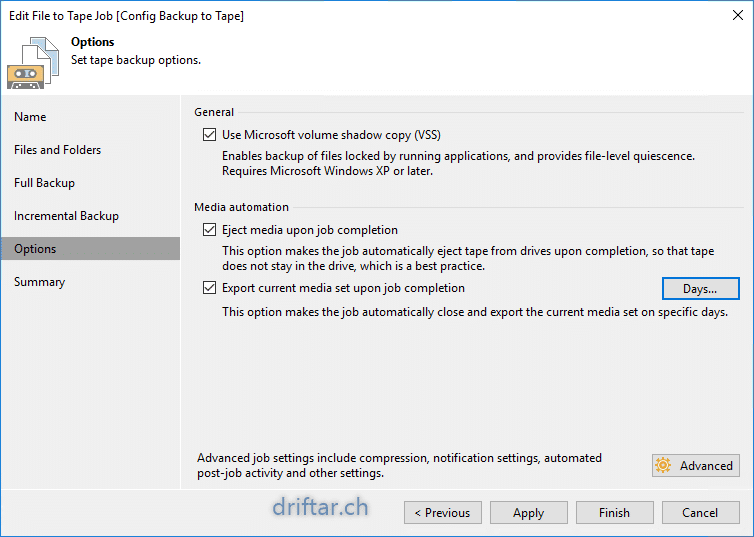
Enable usage of Microsoft VSS in General.
Enable also to eject media upon job completion.
IMPORTANT: Enable to export current media set upon job completion. Otherwise StarWind Cloud VTL won’t replicate to AWS!
Then click Apply.
To be honest, that happened to me.
-
Review the job settings and click Finish when you’re ready.

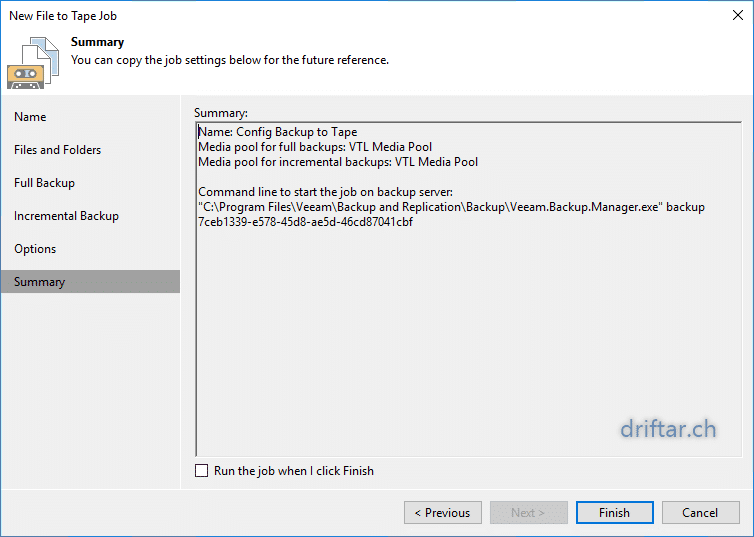
And that’s it! You finally made it! Congratulations 🙂
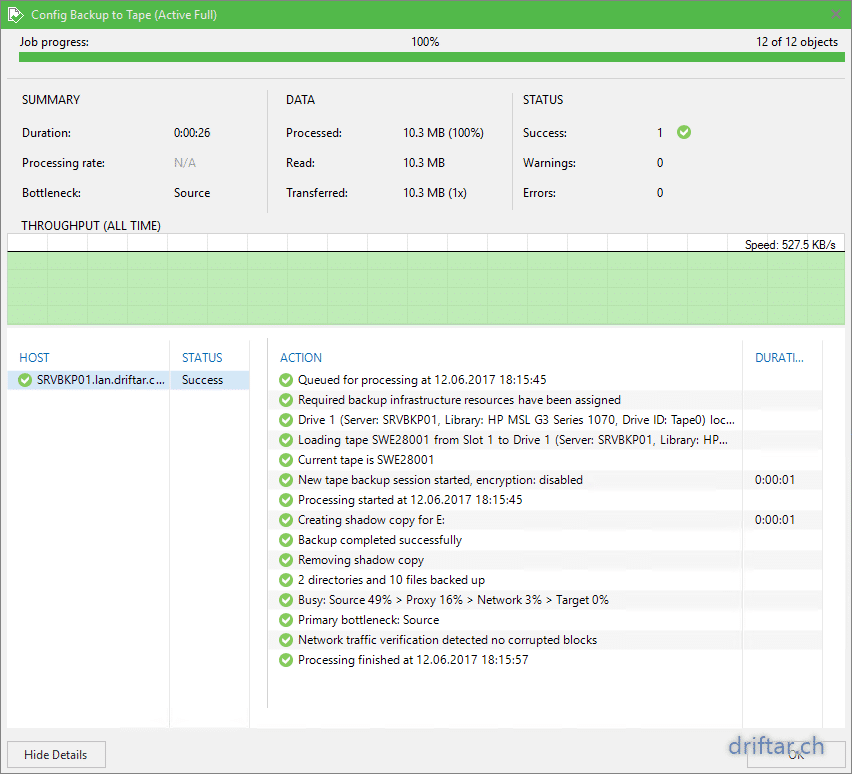
As the last thing, let’s look into the job when it’s running.
-
It looks totaly normal, like every other backup job.
You can see that Veeam assigns our virtual tape library and loads the tape.

-
If we look into Windows Explorer on the path for our storage pool we’ve created earlier, we can see that there is a bigger file now.

-
When we look at the taskmanager / network performance, we can see some spikes. I don’t have a huge internet bandwidth, and my lab is connected through DLAN (powerline), so again a loss of bandwidth.

-
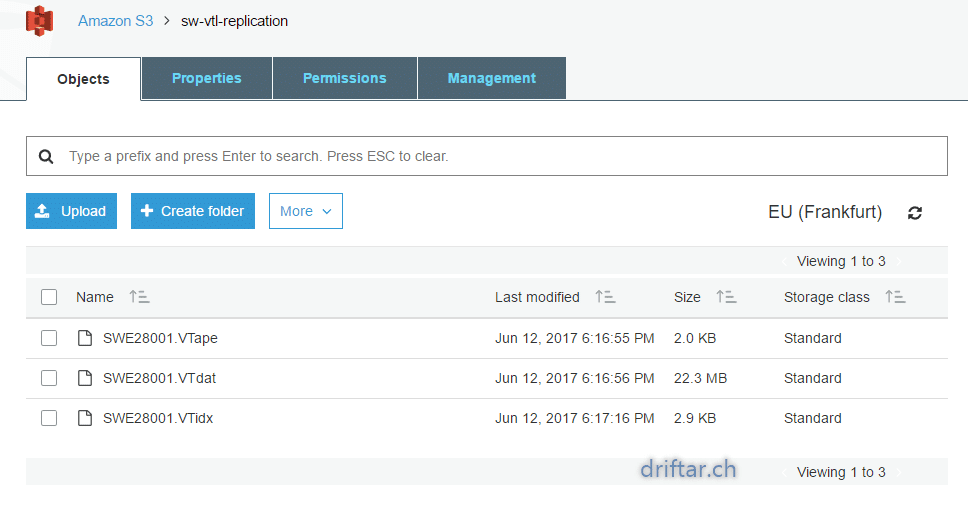
When we now finally look into our newly created Amazon S3 bucket, we can also see here that there some traffic going on.


Conclusion
It is some configuration to be done to make StarWind Cloud VTL work with AWS and Veeam. It’s not done in five minutes. But it doesn’t take you hours and hours. When i don’t count the time for doing screenshots and documentation, it took me about 20 minutes to get it up and running.
With StarWind Cloud VTL for AWS and Veeam you can leverage your backup data and airgap it to the cloud. Cloud storages prices starting from something like 0.002 US $ per gigabyte are cheap. The more data you backup to the cloud, the cheaper it gets. With such a solution you can save money because you don’t have to invest it in real hardware, energy and cooling. Oh, i forgot to mention that there is no hardware maintenance when there is actually no hardware to maintain.
From my personal perspective, this is by far one of the longest and most detailed guides i ever wrote, if not the longest. But it was worth the time and effort. It makes me happy when everything runs smooth at the first try. There wasn’t any issue, it just worked 😉
I hope that this guide will help you with the installation and configuration of StarWind Cloud VTL for AWS and Veeam. If so, i’m happy to read your comments!