Windows Activation on AWS fails

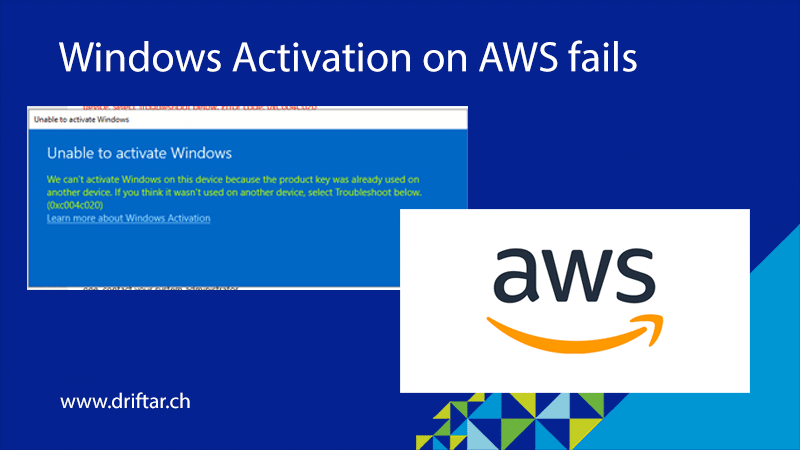
Sometimes it may happen that a Windows Server fails with the Windows activation when this virtual machine runs on AWS. I’ve stumbled across this issue from time to time, and with some research and trial & error, I was able to fix it. I haven’t been able to figure out what is causing this problem yet. But at least there is a solution that works. The solution is to activate Windows manually, and maybe “force it to its luck”. The following steps should help you to solve such a Windows activation issue.

Activate Windows manually

NOTICE: This guide is for Windows Server 2016 and later.

Reset Windows Activation

  1. Start the Windows Registry Editor as administrator (right-click → run as administrator)
  2. Navigate to the following location:
    Computer\HKEY_LOCAL_MACHINE\SOFTWARE\Microsoft\Windows NT\CurrentVersion\SoftwareProtectionPlatform
  3. Go to the right panel and right-click on SkipRearm
  4. Select the Modify option and a dialogue box Edit DWORD 32-bit folder should appear
  5. Here set the Value Data to 1 and click the Ok option
  6. Restart the server now
    It is important to restart the server at this step. Otherwise, the next steps will not work.

Reset Windows Activation timers

  1. Now go to the Start menu, and search for Powershell
  2. Select the run as an Administrator option
  3. Type the following command and press Enter:
    slmgr.vbs /rearm
  4. Restart the server now
    It is important to restart the server at this step. Otherwise, the next steps will not work.

Finally activate Windows

  1. Now go to the Start menu, and search for Powershell
  2. Select the run as an Administrator option
  3. Run the following commands:
    1. Press enter after each command
      Import-Module "C:\ProgramData\Amazon\EC2-Windows\Launch\Module\Ec2Launch.psd1"
      
      Add-Routes
      
      Set-ActivationSettings
      
      slmgr /ato
  4. It might be needed to add a Generic Volume License Keys (GVLK) here. To get the key for the correct operating system, you may visit this Microsoft article.
  5. Enter the following command and press Enter
    slmgr.vbs /ipk N69G4-B89J2-4G8F4-WWYCC-J464C
  6. Set the KMS server to the AWS KMS server with the following command:
    slmgr.vbs /skms 169.254.169.250:1688
  7. Run the next command to activate Windows:
    slmgr /ato

Information sources

The following guides and articles have been used to write this troubleshooting guide.

Setting up Visual Studio Code for WSL 2

Recently, I’ve published a blog post on how to set up the Windows Subsystem for Linux version 2 (WSL 2). I’m currently learning Ansible and I was searching for a solution that fits my needs in terms of usability, knowledge, etc. I’ve tested some Linux distributions, tried to connect remotely with my coding tool of choice, Visual Studio Code, but all were complex or didn’t work as expected. That’s the reason I gave WSL 2 a try.

I really like Visual Studio Code. It’s fast, supports a wide range of languages, and it’s free. Yes, free. And you don’t even need a registration nor a login to download it! VSCode also supports a variety of extensions. If it detects that you’re writing something in YAML, it might help you with a pop-up that there is an extension for it, for example, to properly highlight the syntax of that language. And that’s just one great example. With the combination of WSL 2 and VSCode, I’m able to write scripts (or playbooks in Ansible terms) and run them directly in the same tool. How cool is this?

Today, I’m going to show you how you can set up Visual Studio Code to use it with your already installed WSL 2 Linux distribution (at least when you read my previous blog post and followed the guide there).

Read more

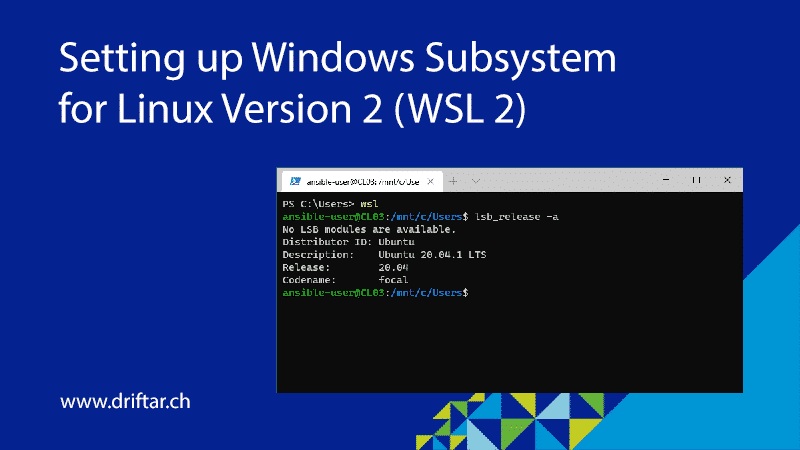
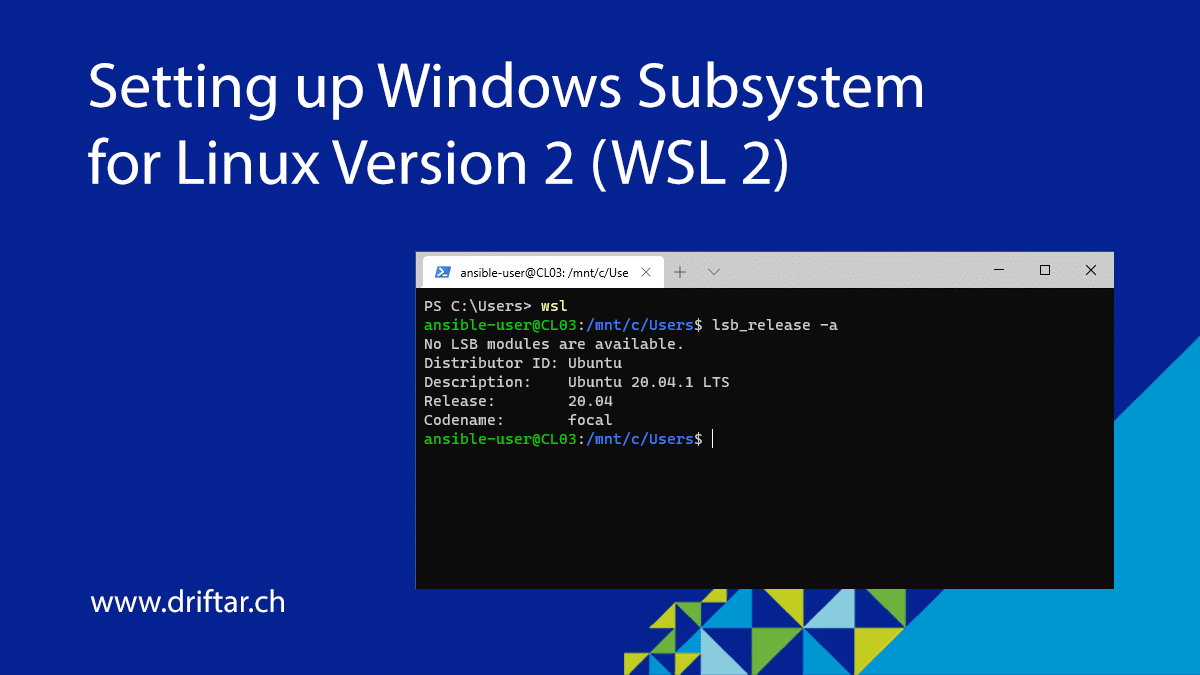
Setting up Windows Subsystem for Linux Version 2 (WSL 2)

A few weeks ago I started getting familiar with Ansible. I’m far away from being an expert, and I’m probably not going so far anyway. But I want to learn some new things and train my skills. One quote which reminds me every day when I try and fail at something:

Even a lesson learned the hard way is a lesson learned.

Before getting deeper into Ansible, I had to find out how I can use Ansible, how I have to set up everything I need to get started. And it wasn’t easy. But I might have found a very convenient way. I’m not a Linux pro, but I know some things, and I’m flexible in learning new things. I have created the following guide for my own documentation, but hopefully, you find it helpful If you’re new to Ansible and you want to find out more like I wanted to do.

And before we dive deep here, I just assume that you already know that Ansible is an automation engine, driven by so-called playbooks. The playbooks contain your code (like for example, the instruction to search updates and install them in a specific Linux VM), which you then run against your infrastructure.

So let’s dive into the topics now. And yes, there are many guides available on the internet, showing you how to set up WSL 2. I’ve checked many of these guides during my initial setup tests etc. Unfortunately, most were not complete, others missed some steps (which means more research and tests needed). This guide has been developed and tested by myself, step by step, to make the setup of WSL 2 as easy as possible for you.

Read more

Veeam – NEW Veeam Agent for Microsoft Windows 2.0

With Veeam Backup & Replication you can backup your whole virtualized infrastructure in a fast and easy way. It doesn’t matter if you’re using Microsoft Hyper-V or VMware vSphere, or if you’re using both virtualization platforms. It just works TM!

But what about physical workloads? Or even workloads in your private or public cloud? Due to various factors some physical servers and workstation cannot be virtualized. And sometimes backup of cloud workloads are in the responsibility of the customer. Or at least customer want’s to be completely safe and wants to have also a copy of his cloud data in it’s own safe place.

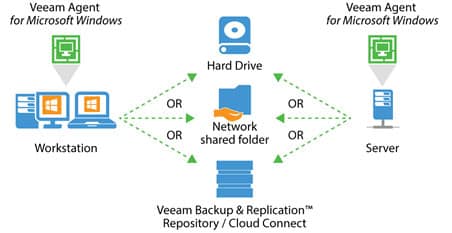
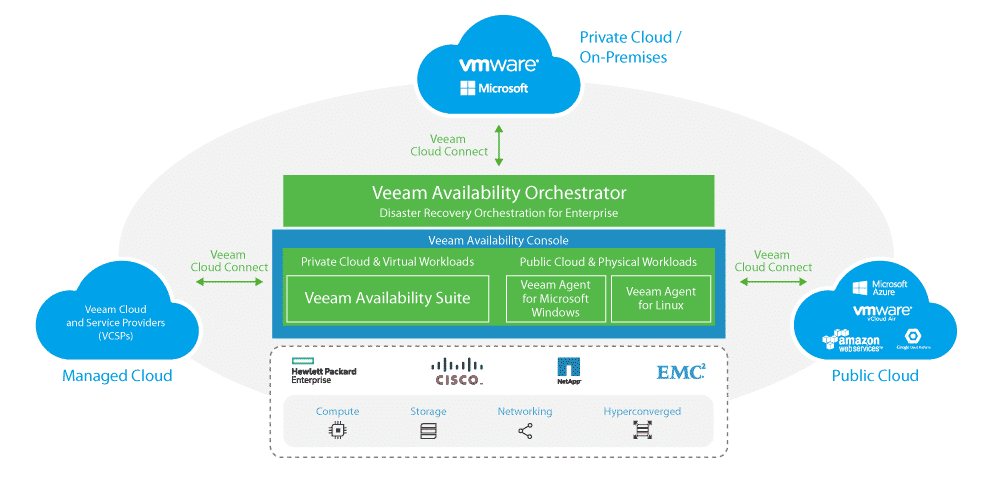
The new Veeam Agent for Microsoft Windows solves these issues. And it also closes the gap that some enterprises face with large, heterogeneous environments and further enables workload mobility by delivering Availability for cloud-based workloads.

If you know already the extremely successful Veeam Endpoint Backup FREE, then you will love the new Veeam Agent for Microsoft Windows 2.0. It’s built on Veeam Endpoint Backup FREE and includes two brand new editions, Workstation and Server.

Part of the Veeam Availability Platform

Veeam Agent for Windows is another key component of the Veeam Availability Platform and should be used for workloads that Veeam Backup & Replication cannot protect, such as:

  • Tablets, Laptops, Desktops
  • On-premises physical servers
  • Cloud-based workloads
  • VM’s running on-premises with RDM mappings
  • VM’s running on-premises on non-ESXi / Hyper-V hosts (like KVM etc.)
  • File-level backup to disk

Supported operating systems:

  • Windows 7 SP1 to Windows 10
    • has been certified by Microsoft as Windows 10 compatible!
  • Full support for Windows Server 2008 R2 SP1, 2012 R2 and 2016

You need a Linux backup solution? Veeam got you covered with the Veeam Agent for Linux: https://www.veeam.com/linux-cloud-server-backup-agent.html

Enterprise-level backup and recovery

Built on rock-solid and proven Veeam technology, with Veeam Agent for Windows you get the power and flexibility you need to ensure availability for your workloads. You get all the technology you already know from Veeam Backup & Replication:

  • Active full backups
  • Application-aware processing
  • file indexing and search
  • Instant recovery to Microsoft Hyper-V VM
  • Integration with Veeam Backup & Replication
  • Server-specific scheduling and retention
  • Synthetic full backups
  • Transaction log backup for databases
  • And much more!

Endpoint protection

You’ve got some important mobile users with laptops? Your boss? Accountants? Get them covered with Veeam Agent for Windows! It’s a great solution for endpoint devices wether they are in the office, at home or somewhere on the go. It helps you to overcome everyday challenges such as lapses connectivity, hardware failures, file corruption — even ransomware or theft.

  • CryptoLocker protection for USB devices: Veeam Agent for Windows automatically ejects USB backup storage after the successful backup.
  • Endpoint protection for mobile users: backups are cached localy when the target is not available, and synced once the connection has been reestablished.
  • And many more!

Workstation and Server editions include a remote configuration and management API. You can export the local agent’s configuration to a XML file, which then can be used for a silent deployment of pre-configured agents. You can even brand the interface using the white-label option so that your employees and customers can see that they’re beeing protected by a familiar and trusted advisor.

More information about Veeam Agent for Microsoft Windows 2.0

Click the link to get more information and to get your copy of Veeam Agent for Microsoft Windows 2.0.

https://www.veeam.com/windows-cloud-server-backup-agent.html

Download free trial here:

Or get a free 6-month license here if you’re a current Veeam customer with no limitations:

Pricing and packaging:

Windows 7 – No access to UNC path or network drives

Network

Today i had again some of the problems worth writing about it afterwards. A customer called because of a strange network issue on a computer in his network. He can’t access the network drives. They are connected but he can’t access them.  Also no access to UNC paths (like \\server\sharedfolder). Both ways he receives an “Access denied” error.

So i started with some tests just to make sure we are talking the same and if at least the basics on the computer, server and network are fine. It was one of the weirdest problems i have had the last few weeks. And the solution was so simple and cheap that it is embarrassing. But i don’t want to anticipate it. Let’s have a review.

The following list describe the troubleshooting steps which we did today. I’ll hope that this “checklist” (well, actually more a list of steps i tried) will help you if you are in the same situation as i was (or probably in a situation close to this).

Client steps

  • checked network configuration with “ipconfig /all”
    • everything fine (DHCP, all expected values were correct)
  • checked DNS lookup
    • resolving server hostname, domain, different websites, all good
  • nslookup (reverse DNS lookup)
    • IP addresses are resolved to hostnames

So basically on the client it looked all good. DNS was fine, internet connection was good. But we still don’t have access to UNC paths or network drives.

Server steps

  • the same as above (DNS / reverse DNS, generall network configuration, all was fine
  • checked permission for the specific user on there shares, permissions were granted correctly

DNS or permission issues are common in most IT environments. But at this time it wasn’t the root cause of this problem. Because we checked DNS and permissions and it was all fine. Let’s dig a little deeper.

Further client steps

  • on another computer we tried to login with the user which the customer called for
    • that worked all fine, no issues
  • on the affected computer we tried to login with another user
    • that worked, but the issues were the same (neither access to UNC paths nor network drives)

So now we knew that there has to be a computer related issues. Nothing with the user profile, no permission conflicts or DNS errors. But what the hell can cause this problem?

More client steps

Just to make sure there is no software causing some issues, we tried several things.

  • uninstall and re-installation of the antivirus program
    • did not help
  • checked other software that might could cause suche problems
    • we uninstalled some old pre-installed software
    • checked which Windows update were installed recently
    • we did not find any suspicious updates nor software which could cause something like that

The customer was in a hurry because he had to leave after lunch time (which we both didn’t had today). But he will call me in a few hours he said. So i ended up like a donkey at a five-barred gate. I can’t imagine were this issue has it’s root cause. All checked were good, all settings were correct. But just with this computer there is still no access to UNC paths or network drives.

A few hours later…

Later this afternoon the customer called me when he was back in the office. He said he don’t have that much time. So, let’s do this, computer. Let’s finally solve your problem.

The second last attempt was to remove this computer from the existing domain, delete the computer object in Active Directory and to join the domain again.

  • leaving the domain worked fine
  • no problems deleting the computer account
  • after the necessary reboots the computer wasn’t able to join the domain
    • “Could not join the domain. The network path was not found”

Damn, what have i done? What should i do now? Come on, it can’t be that hard! One last attempt i had in mind. What about to uninstall the network card of this computer? It can’t get any worse. Let’s try that!

  • uninstalled the network card via Windows device manager
    • also checked the box to delete driver software for this device
  • let Windows find a driver
    • surprisingly Windows found a driver (it was four years older than the previous)
    • network connection comes up again
  • restarted the computer

The customer tried to login after the last restart. Then we checked the network drives, and here they are! Access granted! A quick check with the UNC paths was also working now. Uninstalling the network card, deleting its software and letting Windows search for a driver did the trick.

The customer was happy today (the computer is for the secretariat, the user was out of office today) and the user will be happy tomorrow 🙂