New homelab hardware arrived!

Some weeks and months ago the gathering started. I did some long research, read blog posts and found very much helpful stuff. As you can read on my homelab page here, my lab evolved. It all started with VMware Workstation, then I recycled my old gaming rig, I’ve added some real servers and storage, and now, today, I’m announcing the arrival of totally brand-new and shiny homelab hardware!

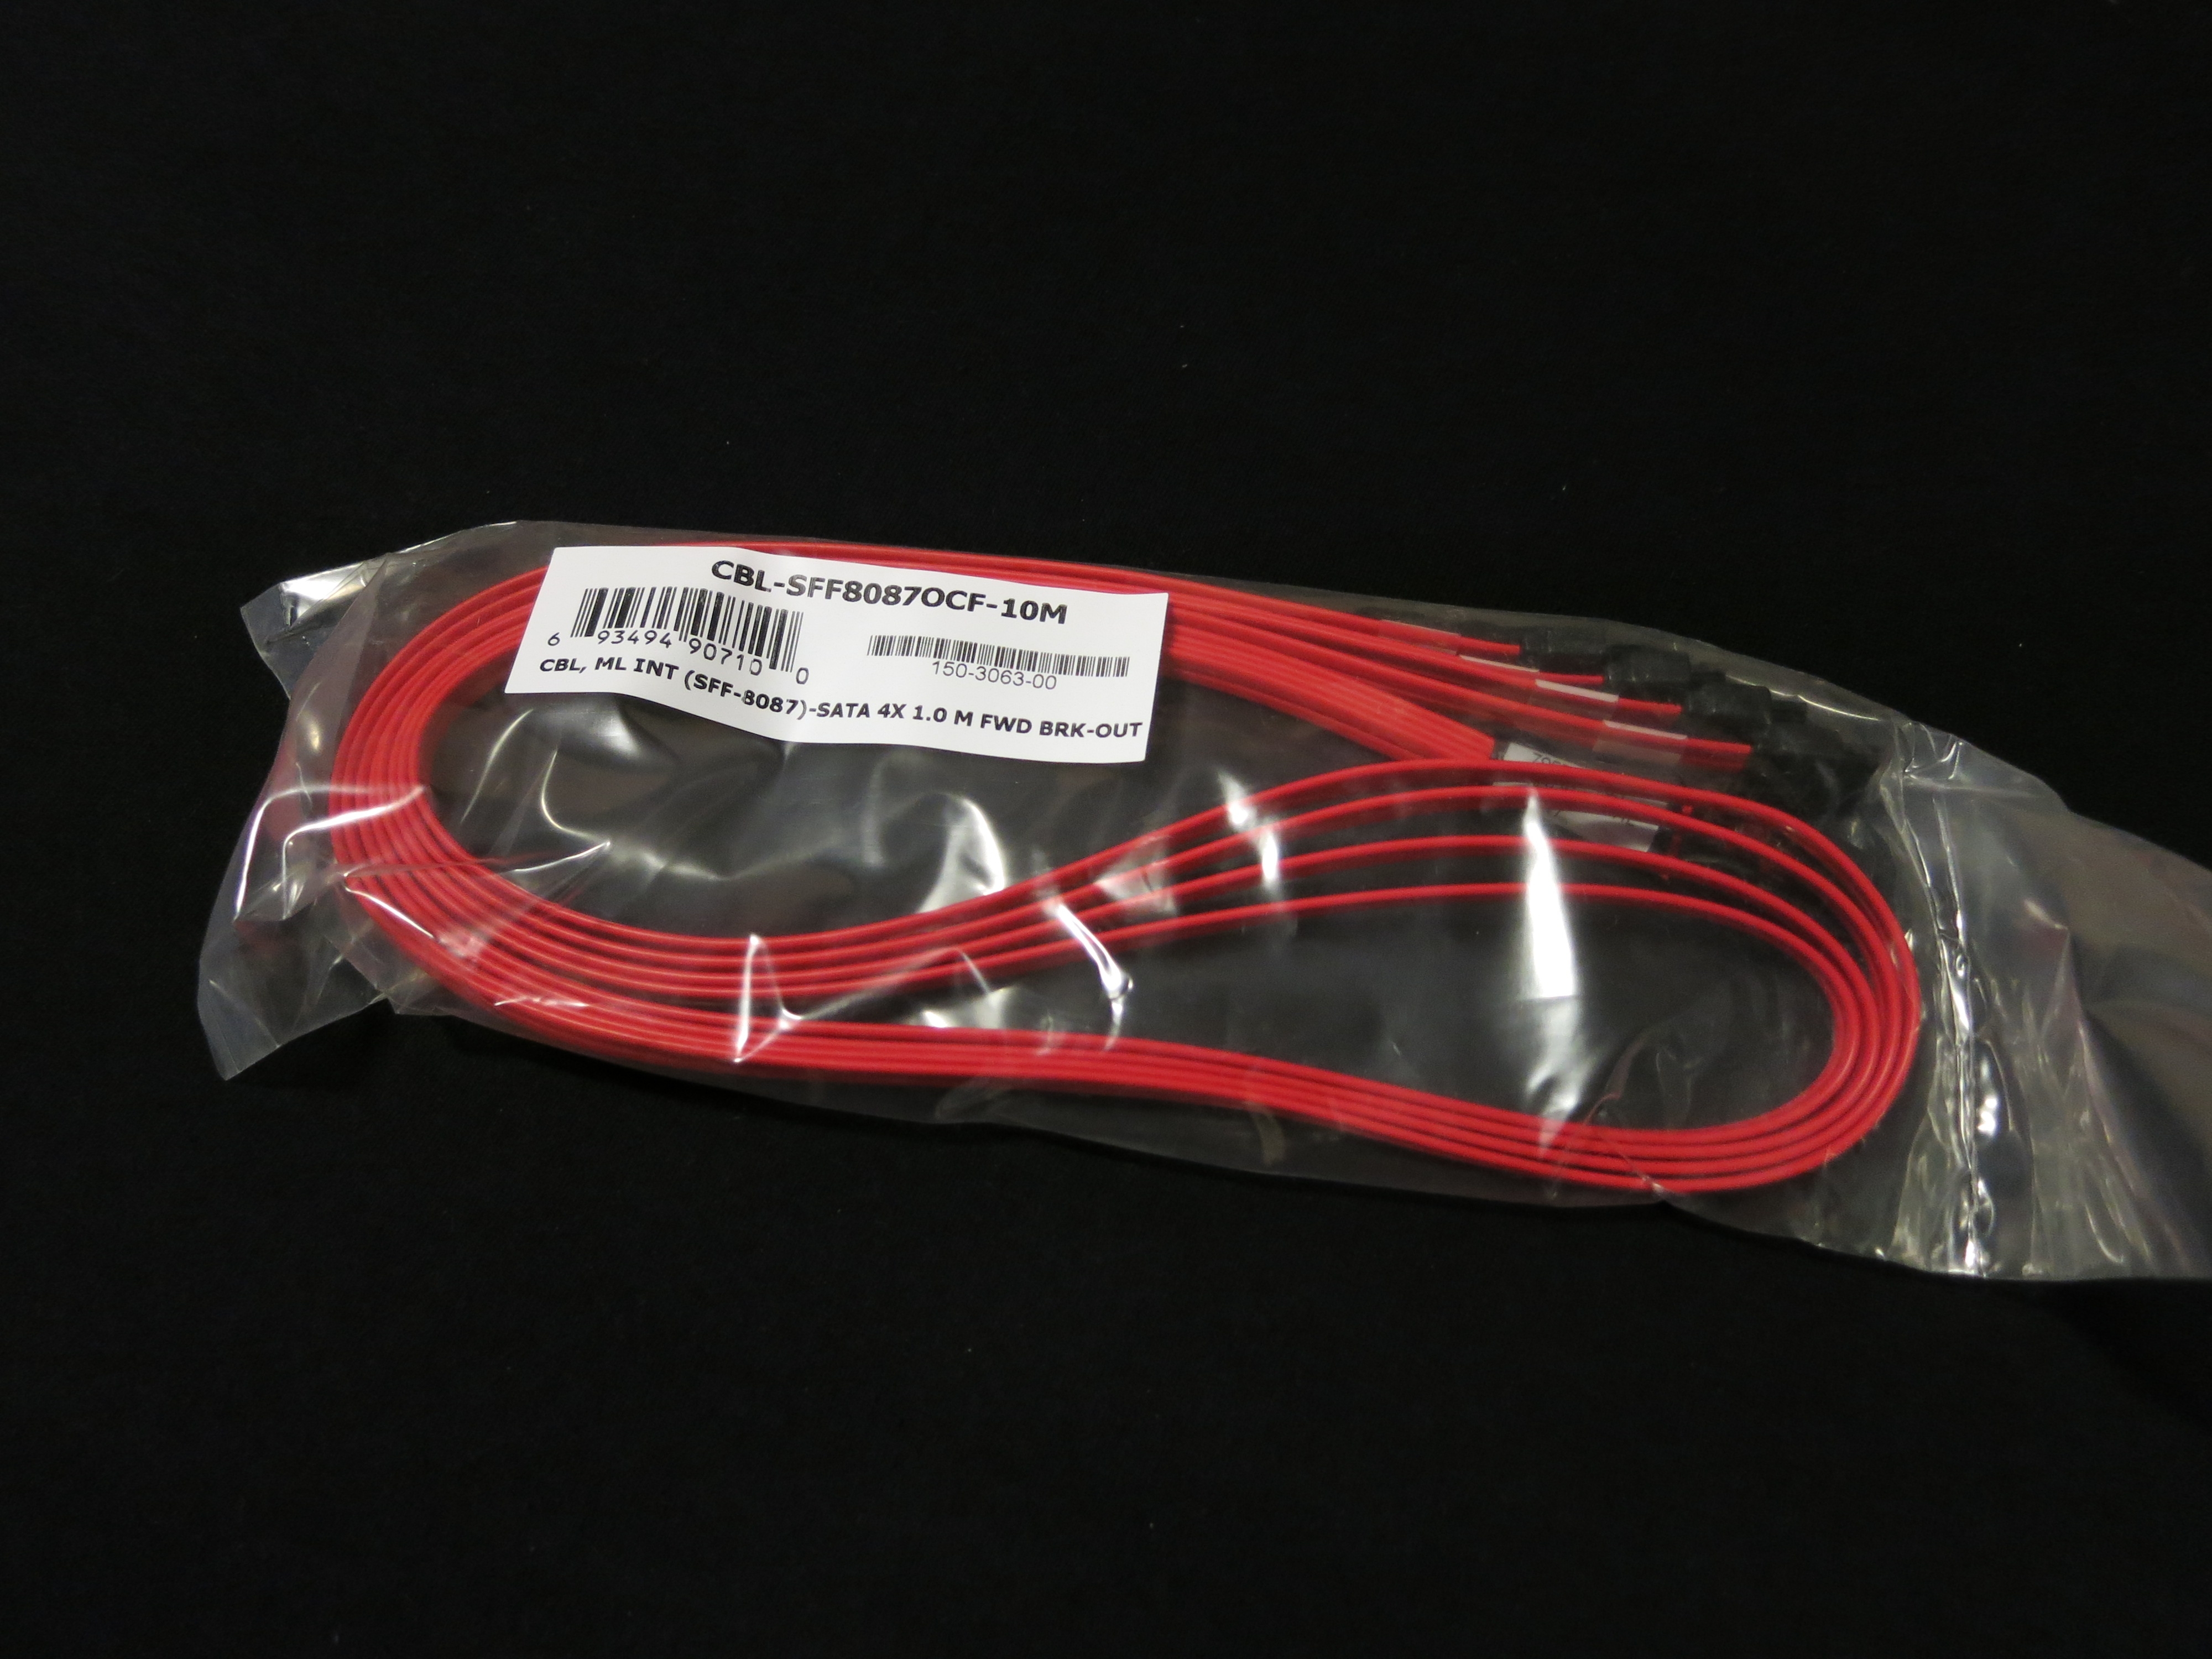
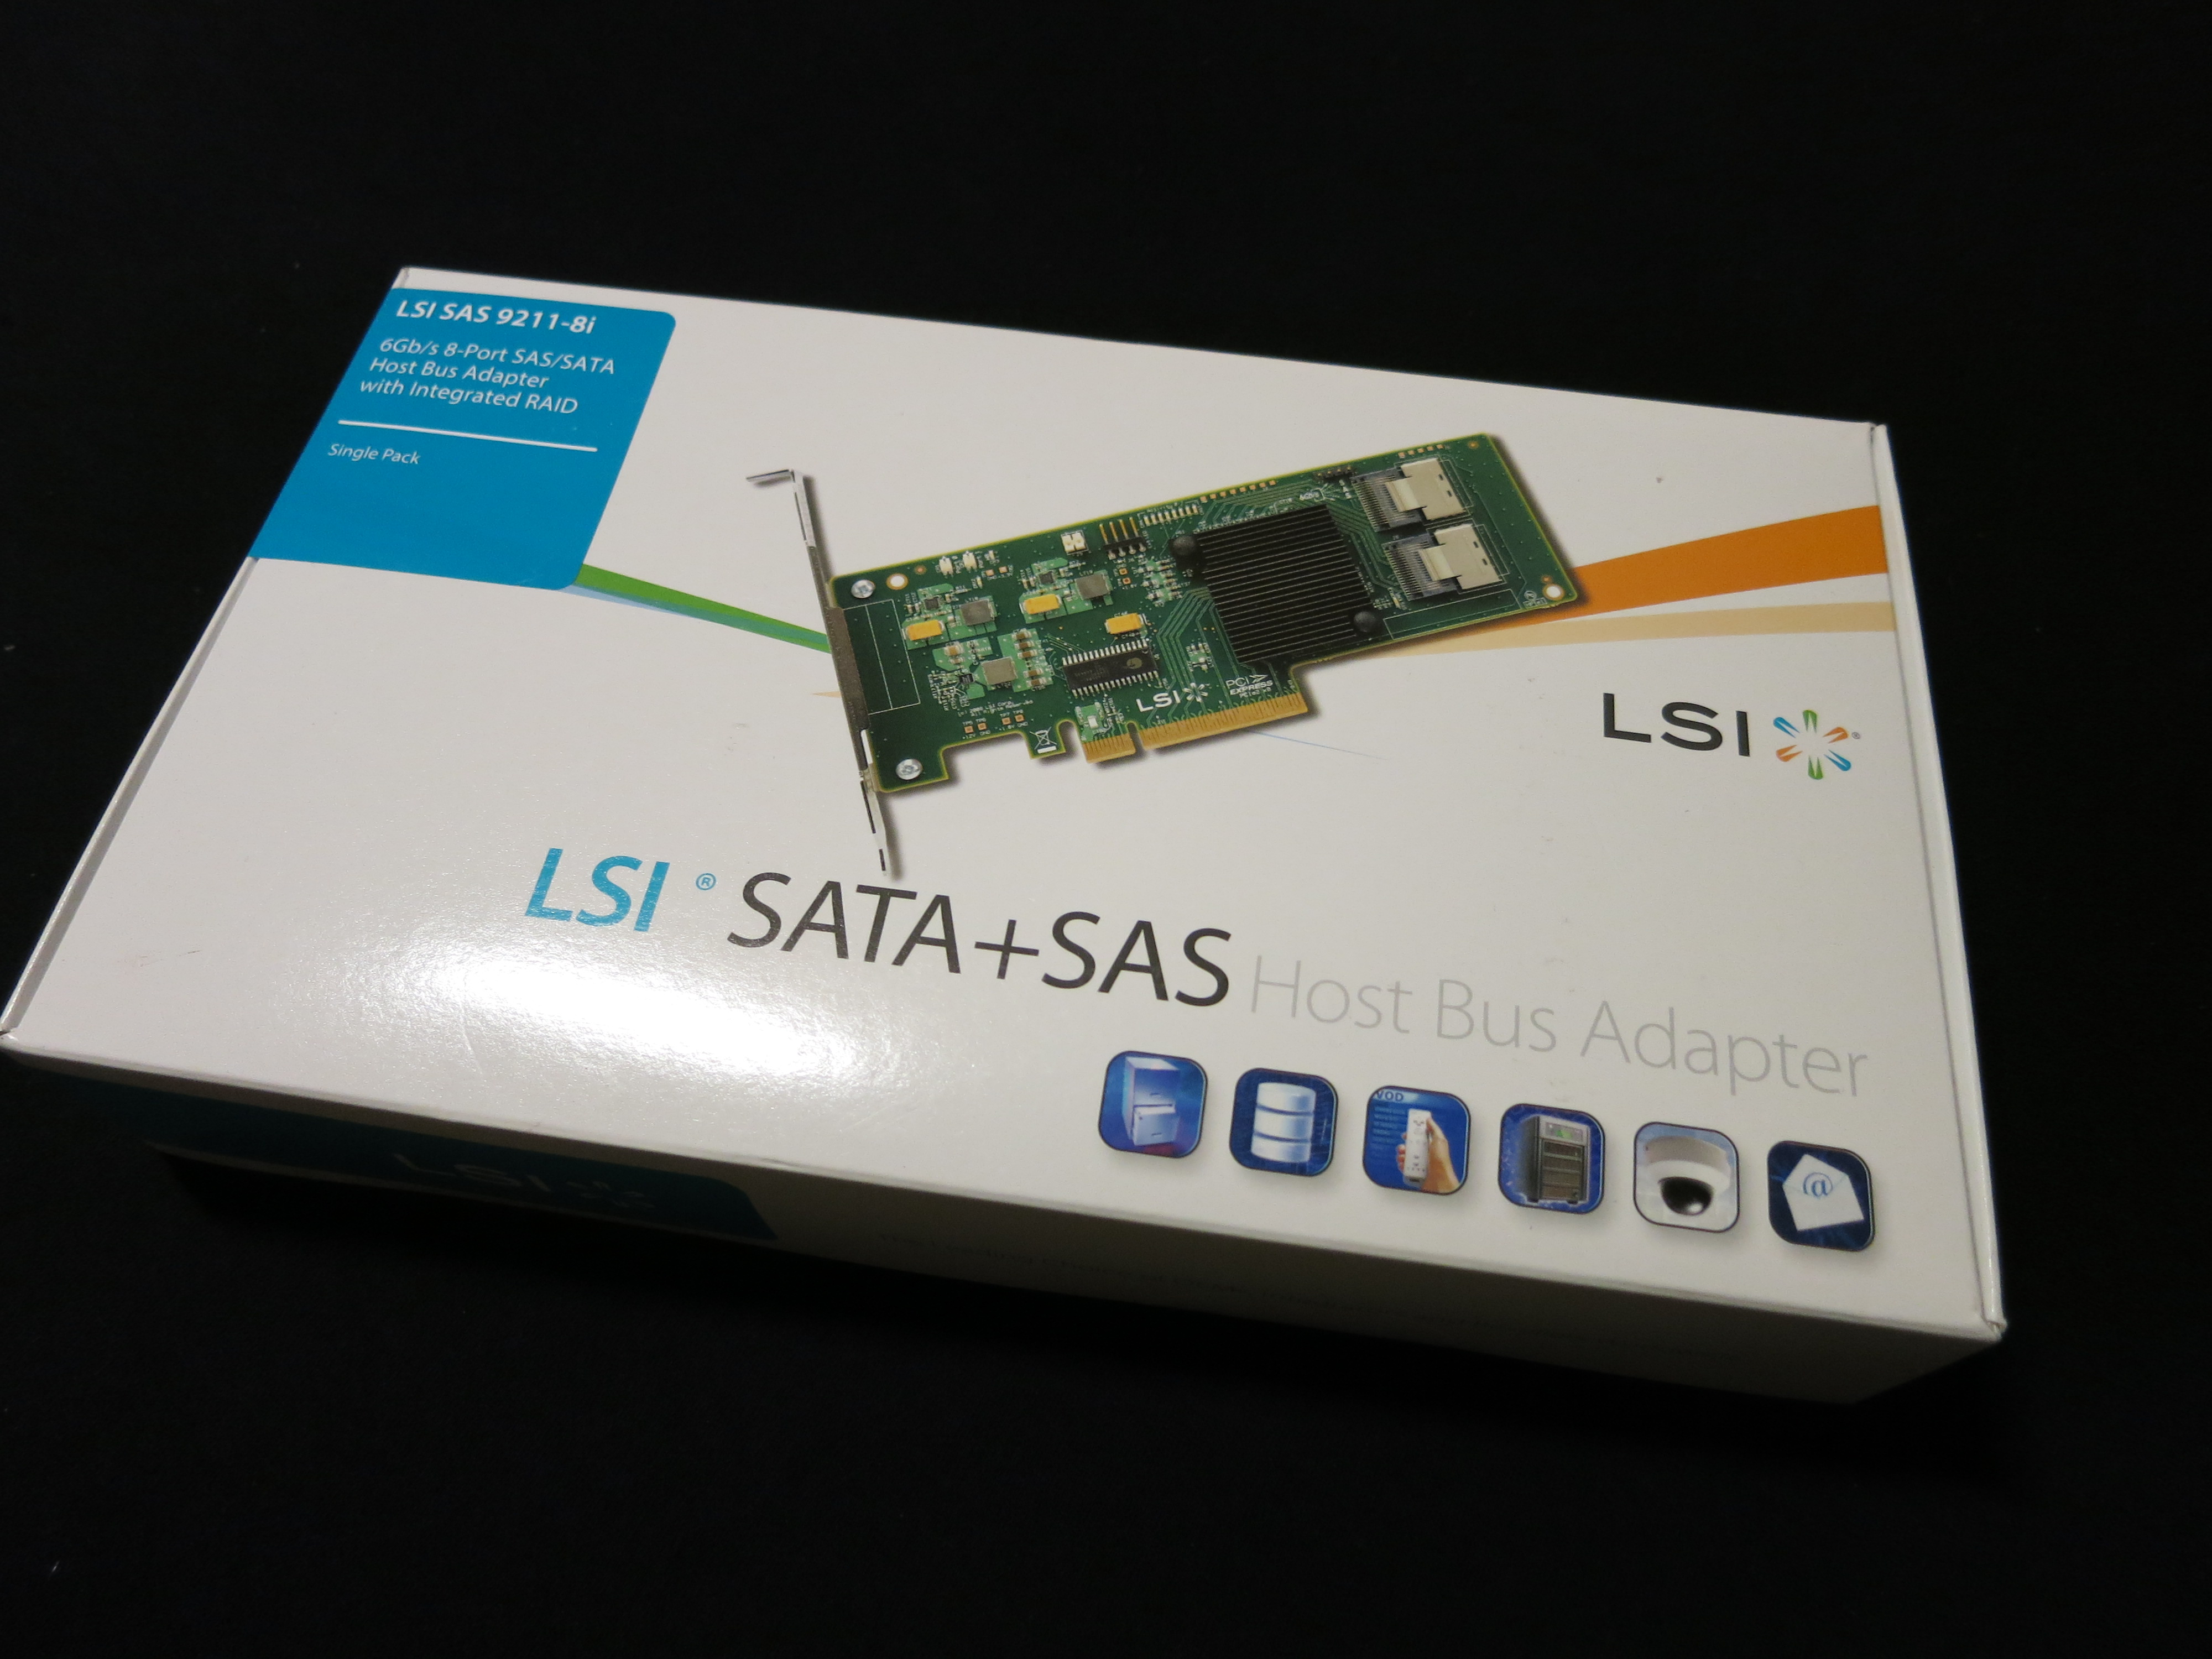
With this blog post, I’m starting a small series featuring my new homelab. In this very first post, you’ll get the BOM (Bill of Material), so you know exactly what happened. In the next posts, I’ll show you how I’ve set it all up and for what I’m using it.

Basic idea

Instead of having huge servers to heat the basement, I’ve planned to reduce my own data center footprint as much as possible. Ideally, everything related to my homelab should fit into a small 19-inch rack. A really small rack. This rack will be placed in my home office. Also, I want to run an all-flash VMware vSAN cluster with three nodes. I don’t want only two hosts and a witness appliance, even if it works and it is a fully supported concept for small- or branch offices. I want real beef. Each server should have one cache device and at least one SSD for the capacity tier. I went all-in and decided to go with two SSDs for capacity. All servers have to be connected with 10Gig SFP+ for vSAN and vMotion because I already own a 10Gig SFP+ switch (which wasn’t much used until yet). And all three servers should run as silent as possible. Sure, I’ve got headphones for gaming. But when the fans are constantly buzzing around and making noise, it’s not nice. And I’m

To conclude this:

  • Small data center footprint
  • Three node all-flash vSAN cluster
  • 10Gig SFP+ connectivity
  • Small form factor 19-inch rack
  • Silent operations because of home office placement

That’s pretty much it.

For what I’m going to use it?

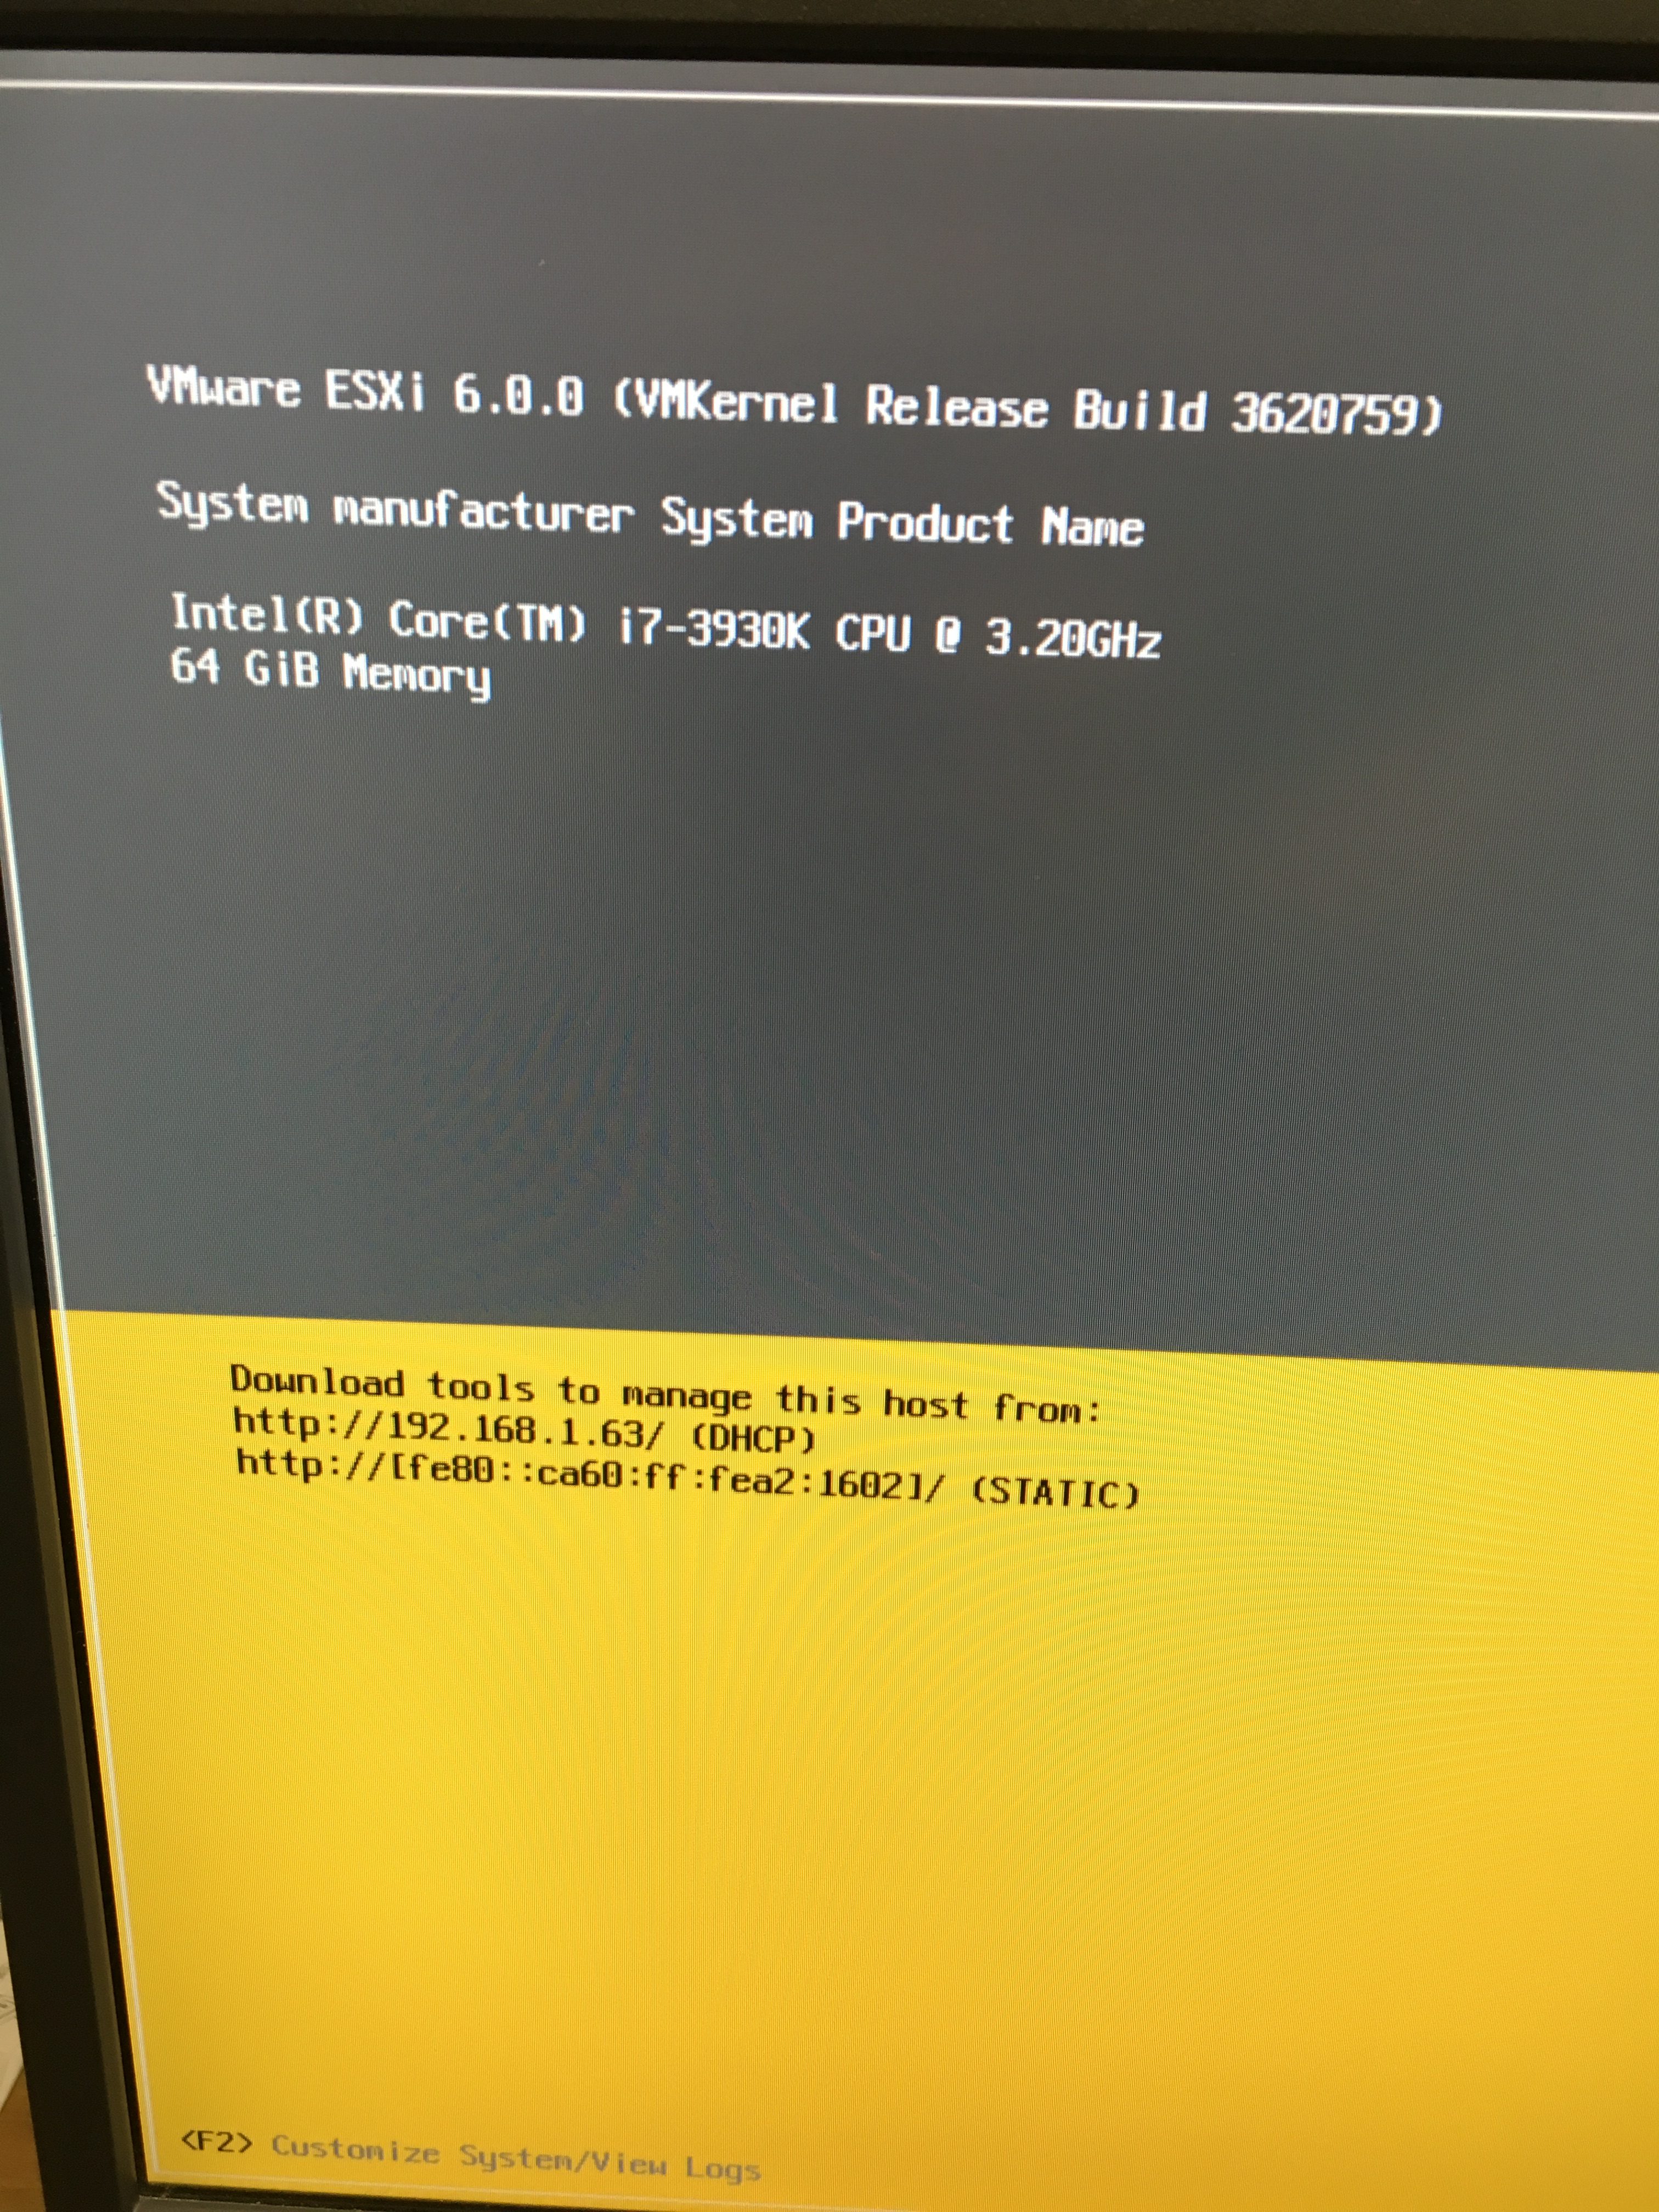
First, I love hardware! But I’m not buying hardware just for the sake of buying it. I learn new stuff because I didn’t have much to do with Supermicro except reading about it. I’ll install all the vSphere stuff I currently have running, and maybe something more. All that for learning how things work and for my exam preparations. Yes, I don’t have a VCP yet. I tried it several times but failed miserably. But not the next time, for sure! Maybe I’m gonna put also some “production” stuff onto it, like my Pi-Hole (reverse DNS add filter) or my Ubiquiti controller. We will see.

Read more

Veeam – Using Starwind VTL with AWS S3 in Veeam

StarWind Cloud VTL

I wanted to test this use case for a long time. Now it’s finally done and i’m happy that everything worked at the first try. Or should i be worried? Well, as Veeam always says “It just works (TM)”. So it did also during the write up of this guide.

Most of you will know this kind of backup media type. And some of you will not only have good memories of them. I’m talking about tapes. Tapes we’re once used for backups. Daily incremental and weekly full backups. It took ages the more data you had. You’ve been happy if a full backup fitted in a 8 hour window throughout the night. You know that. But tapes are coming up more and more again. If you heard about the recent ransomware WannaCry then you know what it means to airgap your backups. Even Google has it’s tape backup system. Yes, Google. And there are reasons why some companies still invent and develop new tape technologies like new LTO standards, new drives and libraries.

To be honest, most of us homelabbers don’t have a tape drive nor a tape library neither. And that’s the point where a Virtual Tape Library comes in very handy! You can emulate a complete tape library with software and even use this emulation in a availability software like Veeam Backup & Replication or Veeam Availability Suite! But that isn’t awesome enough. We want more awesome and that’s the reason we go to the next level.

To make it clear, i’m not only talking about homelabbers. This software is not a beta or alpha or something other. It’s a rocksolid production version which is available on the market. This guide will show you how to install and configure StarWind VTL for AWS and Veeam.

With StarWind Cloud VTL for AWS and Veeam you can leverage your backup data for the usage with a virtual tape library to archive your backups to Amazon S3 storage in the cloud. If you want you can even go further and archive your archived data from the Amazon S3 buckets to Amazon Glacier. Isn’t that awesome?

So let’s do this now! I’ll show you how to install and configure this solution, and how to make it work.

Read more

VMware – Create VAAI supported iSCSI LUNs on Synology

VAAI

Today i was working with storage topics. I tried to create iSCSI connections in my vSphere homelab and tried to figure out how to connect or mount iSCSI storage. I had already some iSCSI storage connected to my nested ESXi hosts. But i felt as there is something not correct. And i was right. After some research on the internet i’ve found out that you should take another approach to add iSCSI storage as i did in my previous post. There is a way that your new iSCSI storage on your Synology NAS is fully vSphere and VAAI compatible. Let me show you how you do that.

  1. Before we start to create storage and add it to our ESXi hosts you have to install the VAAI plugin from Synology:
    1. How do I install Synology NFS VAAI Plug-in on an ESXi host?
  2. Reboot your hosts after plugin installation

Now your hosts are ready to get connected to your VAAI supported Synology NAS. Let’s create now the iSCSI LUNs in the next step.

Read more

VMware – Homelab storage extension installed

storage

Recently i ordered the last piece of hardware for 2016 for use in my VMware vSphere homelab. I failled in the fourth VCP exam in December 2016 and that gave me the kick to extend my homelab a little, and look into storage stuff in detail.

Thoughts and requirements

I had some ideas in mind and received good inputs from my fellow homelab colleagues, but there are so much possibilities for extending storage. There are various NAS manufacturers and storage vendors. You can “extend” your storage even virtually with some virtual storage appliances. But i have to keep my budget small, well as small as possible for my needs. I don’t have a sponsor (would be nice indeed). So for the extension of my homelab any storage device other than a NAS costs way too much money. And i want to use real physical existent storage, so also a no-go for virtual storage appliances (which also requires some physical storage in the back end). This made the field of choice at least a little smaller, not much, and i’m still kicking out some devices to find the one which suits my needs the best.

Another point is network connectivity. My decision was to have four network ports on this specific NAS device. It should support link aggregation, load balancing and failover. The NAS device should also support NFS and iSCSI protocols so i can reach it from my ESXi hosts and use it. It would be the best for the integration into my homelab when i’m already familiar with a specific kind of device / operating system / manufacturer. Yes, i know, that’s not a real decision maker, at least not the best. But why struggle if there exist easy to setup systems? And last but not least it should be supported within VMware, for example with VAAI.

With all this points from above i decided to go for a Synology NAS device.

The hardware

The base system is a Synology DS1515+ NAS device. The technical specifications:

CPU Model Intel Atom C2538
CPU Architecture 64-bit
CPU Frequency Quad Core 2.4 GHz
System Memory 2 GB DDR3
Memory Expandable up to 6 GB (2 GB + 4 GB)
Drive Bay(s) 5
Hot Swappable Drive YES
RJ-45 1GbE LAN Port 4
VMware vSphere 5 with VAAI YES
VMware vSphere 6 with VAAI YES

Details specifications are available here: Synology DS1515+

Disks (capazity / cache)

I ordered also three WD Red SATA disk with 4TB each and two Sandisk X400 SSDs with 512GB each. In this configuration i’ll get enough raw storage space (roughly 8TB usable capazity). With two SSD in a Synology multi-bay NAS i can also configure read-write cache (you’ll get read cache only with one SSD).

So let’s get our hands on the hardware…

Read more

VMware Homelab – Hardware für den Homeserver

Die letzten Wochen über habe ich immer wieder häppchenweise Hardware für mein Homelab resp. den Homeserver bestellt. Ich konnte und wollte nicht alles auf einmal bestellen da ich zum einen, wie in einem vorherigen Post bereits angemerkt, kein unbegrenztes Budget habe, und im Moment auch nicht viel Zeit um die Hardware zusammenzubauen. Zudem will ich alles miteinander verbauen, und nicht jetzt mal etwas und in drei Wochen wieder etwas. Das macht mehr Spass 🙂

Nun ist die Hardware endlich komplett und der Zusammenbau kann beginnen. Als Homeserver habe ich meine ehemalige Game-Workstation wieder in Betrieb genommen. Diese bildet eine recht gute und solide Basis, wie ich finde, vor allem aber bietet sie ausreichend Platz für Hardware und Erweiterungen. Ein Intel Prozessor und ein ASUS Rampage Mainboard bilden das Fundament. Dazu gesellen sich insgesamt 64 GB Ram, ein LSI SAS-Controller, einige SSDs sowie ICY-Docks mit Hotplug-Einschüben.

Das ist die Hardwareliste für den Homeserver

CPU: Intel Core i7-3930K 3,2 GHz (Sandy Bridge E)
Mainboard: ASUS Rampage IV Extreme, Intel X79, Sockel 2011
Ram: Kingston Value RAM (2x, 8GB, DDR3-1600, DIMM 240)
SAS-Controller: LSI SAS 9211-8i HBAi (single)
SAS-Kabel: 3ware CBL-SFF8087OCF-10M, SFF-8087 zu 4 x SATA, 1m
VSAN Cache SSD: Crucial BX200 (240GB, 2.5″)
VSAN Capazity SSD: Samsung 850 EVO Basic (500GB, 2.5″)
Hotplug-Bay für die Disks: ICY DOCK MB996SP-6SB 6-Bay 2.5″ Backplane
Case:

Phanteks Enthoo Primo, schwarz (Big Tower, Schwarz)

Und so sieht das ganze aus

Geplanter Ausbau des Homelab

Auf dem Homeserver wird auf einer eigenen SSD ein ESXi installiert. Auf diesem ESXi wiederum werden drei weitere ESXi als virtuelle Maschinen laufen (nested ESXi). Jeder dieser VM sollen eigene physische Disks zur Verfügung stehen. Das Ziel dieses Homelabs ist eine nested ESXi Umgebung für den Betrieb mit VMware Virtual SAN. Auf den virtuellen ESXi werden schlussendlich einige weitere VMs laufen, um Dinge wie HA, DRS, FT etc. zu testen. Auch werde ich meine liebste Backup Software für die Datensicherung einsetzen. Alles in allem ein kleiner feiner Server. Leider lässt das Board nicht mehr als 64 GB Ram zu. Aber für den Anfang ist das für mich absolut ausreichend.

Vielleicht werde ich auch mal in Intel NUCs investieren und das Homelab weiter ausbauen. Drei Stück, mit all-Flash Konfiguration und 32 GB Ram sind die Basis für ein Homelab mit VSAN. Die bekommt man schon für wenig Geld. Müssen ja keine Hochleistungsrechner sein…