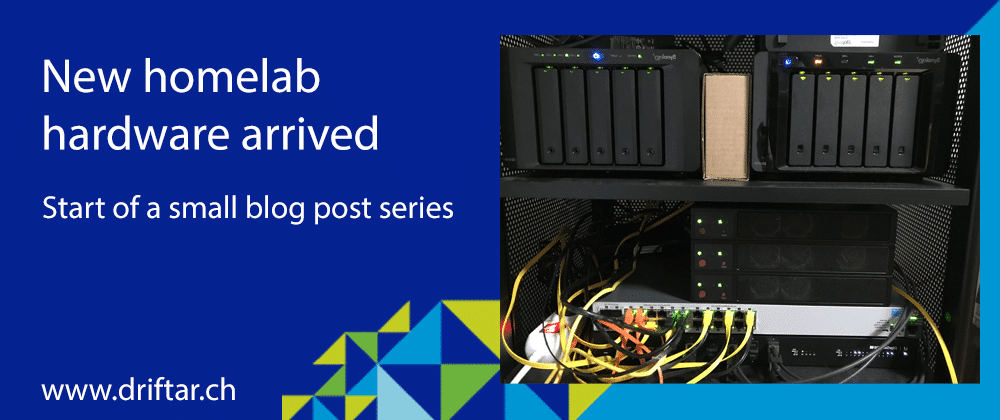
Some weeks and months ago the gathering started. I did some long research, read blog posts and found very much helpful stuff. As you can read on my homelab page here, my lab evolved. It all started with VMware Workstation, then I recycled my old gaming rig, I’ve added some real servers and storage, and now, today, I’m announcing the arrival of totally brand-new and shiny homelab hardware!
With this blog post, I’m starting a small series featuring my new homelab. In this very first post, you’ll get the BOM (Bill of Material), so you know exactly what happened. In the next posts, I’ll show you how I’ve set it all up and for what I’m using it.
Basic idea
Instead of having huge servers to heat the basement, I’ve planned to reduce my own data center footprint as much as possible. Ideally, everything related to my homelab should fit into a small 19-inch rack. A really small rack. This rack will be placed in my home office. Also, I want to run an all-flash VMware vSAN cluster with three nodes. I don’t want only two hosts and a witness appliance, even if it works and it is a fully supported concept for small- or branch offices. I want real beef. Each server should have one cache device and at least one SSD for the capacity tier. I went all-in and decided to go with two SSDs for capacity. All servers have to be connected with 10Gig SFP+ for vSAN and vMotion because I already own a 10Gig SFP+ switch (which wasn’t much used until yet). And all three servers should run as silent as possible. Sure, I’ve got headphones for gaming. But when the fans are constantly buzzing around and making noise, it’s not nice. And I’m
To conclude this:
- Small data center footprint
- Three node all-flash vSAN cluster
- 10Gig SFP+ connectivity
- Small form factor 19-inch rack
- Silent operations because of home office placement
That’s pretty much it.
For what I’m going to use it?
First, I love hardware! But I’m not buying hardware just for the sake of buying it. I learn new stuff because I didn’t have much to do with Supermicro except reading about it. I’ll install all the vSphere stuff I currently have running, and maybe something more. All that for learning how things work and for my exam preparations. Yes, I don’t have a VCP yet. I tried it several times but failed miserably. But not the next time, for sure! Maybe I’m gonna put also some “production” stuff onto it, like my Pi-Hole (reverse DNS add filter) or my Ubiquiti controller. We will see.
BOM – Bill of material
I’ve ordered the hardware listed below. I didn’t order stuff from Amazon, but all from Swiss hardware dealers. For your convenience, I’ve put the links to Amazon in the table, always the original manufacturer product number. Maybe you’ll grab it from Amazon (no affiliates) or you search for it at your local hardware dealer as well.
| What? | Link to Amazon (product number) |
Pricetag (Swiss Francs converted to US$ / Price per part/total of all parts) |
| 3x Supermicro E300-8D Quad-Core | SYS-E300-8D | $830 ($2490) |
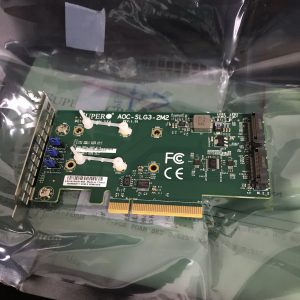
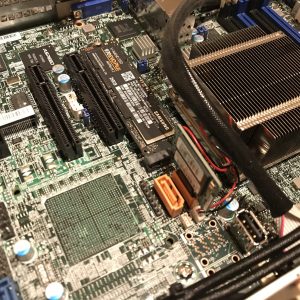
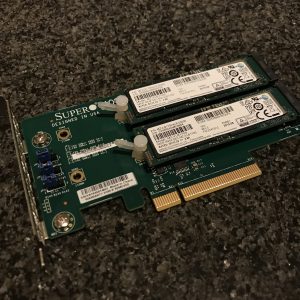
| 3x Supermicro NMVe add-on card | AOC-SLG3-2M2-O | $48 ($144) |
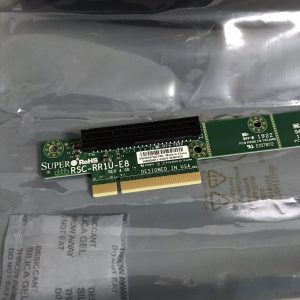
| 3x Supermicro Riser Card | RSC-RR1U-E8 | $48 ($144) |
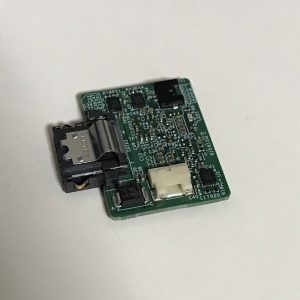
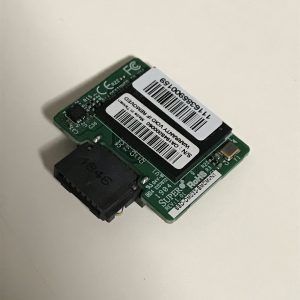
| 3x Supermicro SATA DOM 32GB | SSD-DM032-SMCMVN1 | $76 ($228) |
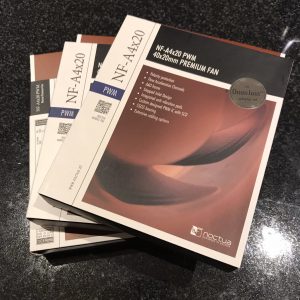
| 12x Noctua 40mm fans | NF-A4x20 PWM | $25 ($300) |
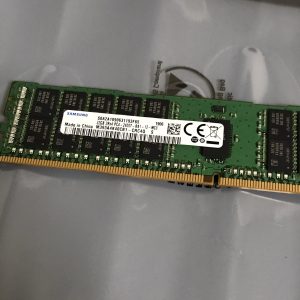
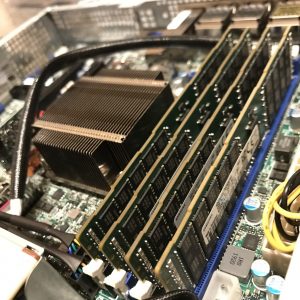
| 12x Samsung 32GB memory modules | $160 ($1920) | |
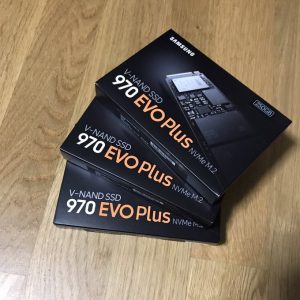
| 3x Samsung 970 EVO 250GB (cache tier) | MZ-V7S250BW | $88 ($264) |
| 6x Samsung PM981 1000GB (capacity tier) | MZVLB1T0HALR-00000 | $168 ($1008) |
That’s a good amount of money I’ve spent on that new hardware. But it’s worth it. And as the HomelabKing himself, Marc Huppert, mentioned on Twitter, it’s an investment into education and career:
The power bill is 15.000 kWh per year. I have no sponsor, not for the electricity or hardware 😔
This is my invest into education and my career https://t.co/WU4f5R2mFq— Marc Huppert (@MarcHuppert) December 19, 2019
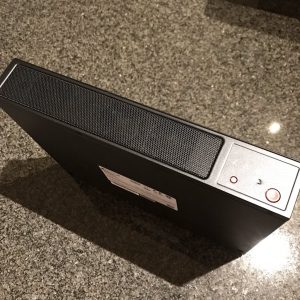
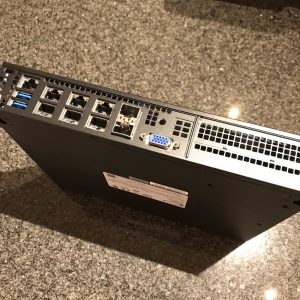
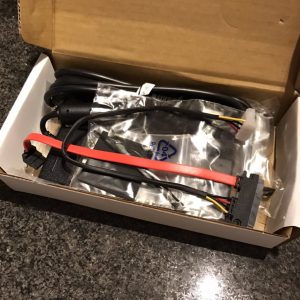
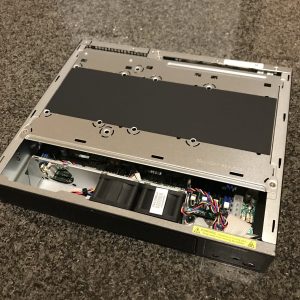
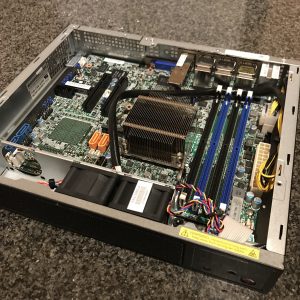
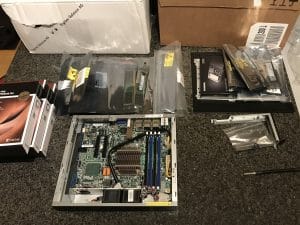
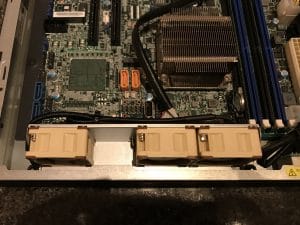
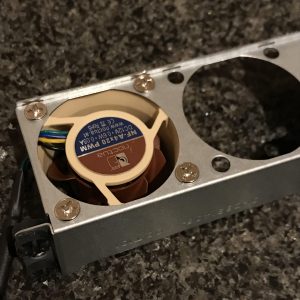
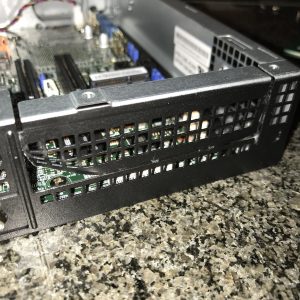
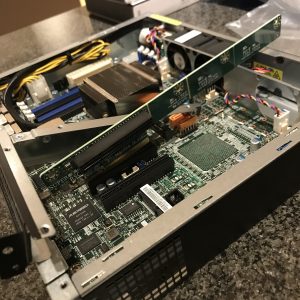
Pictures – or it never happened
I’m glad you’ve asked for pictures. As we all know in the vCommunity, when there’s something special happening, we always ask for pictures. Or it just didn’t happen. So with my new homelab hardware.

