Long time no hear, and I’m really sorry for that. It was a busy time, with a new job, huge project and also military duty in between. But now things are calming down, and so do I. And I’ve got some time for a new blog post.
Recently i stumbled across a newsletter from Synology. They now have a backup tool for Office 365 available which is free of costs for 10 users. Extra license packs can be purchased for adding and renewing additional licenses. That doesn’t sound so bad. But wait. Office 365 is in the cloud, doesn’t Microsoft back it up so that I don’t have to worry about? Well, long story short, NO. There is some retention like deleted items and stuff, and you can modify specific settings. But backing up Office 365 data is all in your own responsibility. There are various backup solutions like Veeam Backup for Office 365 which work absolutely great, and also the recently announced solution from Synology which I’m writing about today. Let’s look at it a little closer.
Unfortunately not every Synolgy NAS system is supported, so please have a look at the list here if your devices is on it or not. Lucky me, i bought a new NAS for my vSphere homelab some months ago which fits perfectly for this test setup.
Supported NAS systems
- 18 series:FS1018, RS3618xs, RS818RP+, RS818+, RS2818RP+, RS2418RP+, RS2418+, DS3018xs, DS418play, DS918+, DS718+, DS218+, DS1618+
- 17 series:FS3017, FS2017, RS3617xs, RS3617RPxs, RS4017xs+, RS3617xs+, RS18017xs+, DS3617xs, DS1817+, DS1517+
- 16 series:RS2416RP+, RS2416+, RS18016xs+, DS416play, DS916+, DS716+II, DS716+, DS216+II, DS216+
- 15 series:RS815RP+, RS815+, RC18015xs+, DS3615xs, DS415+, DS2415+, DS1815+, DS1515+
- 14 series:RS3614xs, RS3614RPxs, RS814RP+, RS814+, RS3614xs+, RS2414RP+, RS2414+
- 13 series:RS3413xs+, RS10613xs+, DS713+, DS2413+, DS1813+, DS1513+
- 12 series:RS3412xs, RS3412RPxs, RS812RP+, RS812+, RS2212RP+, RS2212+, DS3612xs, DS712+, DS412+, DS1812+, DS1512+
- 11 series:RS3411xs, RS3411RPxs, RS2211RP+, RS2211+, DS3611xs, DS411+II, DS411+, DS2411+, DS1511+
More information about Active Backup for Office 365
Synology has plenty of information about Active Backup for Office 365 on their website.
Some of the features:
- Protection of mail, calendar, contacts, OneDrive
- With Active Backup for Office 365 Portal enabled, both employees and admins can easily locate items for restoration and restore/export them with simple clicks
- Mail/calendar attachments (if stored in Btrfs volumes) and OneDrive files that contain identical content will only be stored to Synology NAS once, which saves storage space
- Files stored in Btrfs volumes on Synology NAS can be deduplicated with previous versions, minimizing the storage space required
But now let’s talk tech and let’s dive into the setup and configuration of Active Backup for Office 365.
Install Active Backup for Office 365
Let’s dive now into the basic setup, which is more or less downloading the backup tool through the Synolgy DMS package center and configure your Office 365 main account after launching the tool. But let’s go a little more into the details.
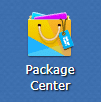
- Login to your Synology NAS system and open the DSM Package Center.

- On the lefthand side click “Backup” and look for the “Active Backup for Office 365”.Click “Install” and wait until it’s finished.

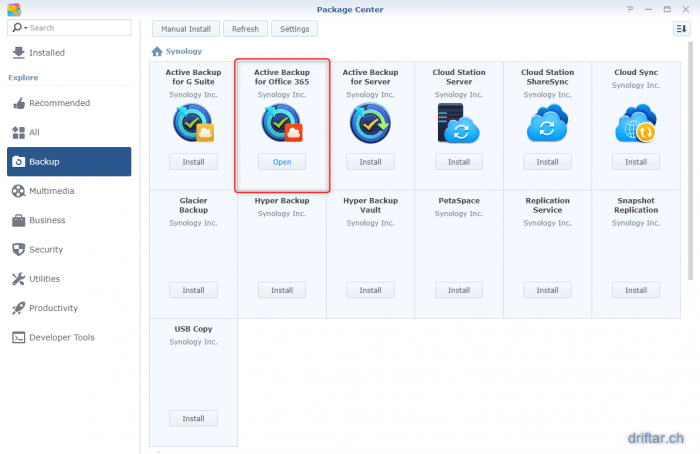
- Probably the setup will fail because Synology Universal Search have to be updated first.If setup tells you to do so, just go back to the Package Center, look for “Universal Search” and click “Update”.

Now we’ve got the basic setup done. Wasn’t that difficult, right?
Setup Office 365 Account and create backup task
Then let’s now move on with the configuration of the Synology Active Backup for Office 365. Next step is to add your Office 365 main account to collect all e-mail accounts and create a backup task. Let’s do that now.
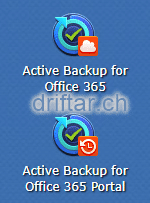
- Look out for the “Active Backup for Office 365” and the “Active Backup for Office 365 Portal” apps.Right after setup they are located in the menu on the top left corner.For your convenience you can drag them to the DMS desktop.

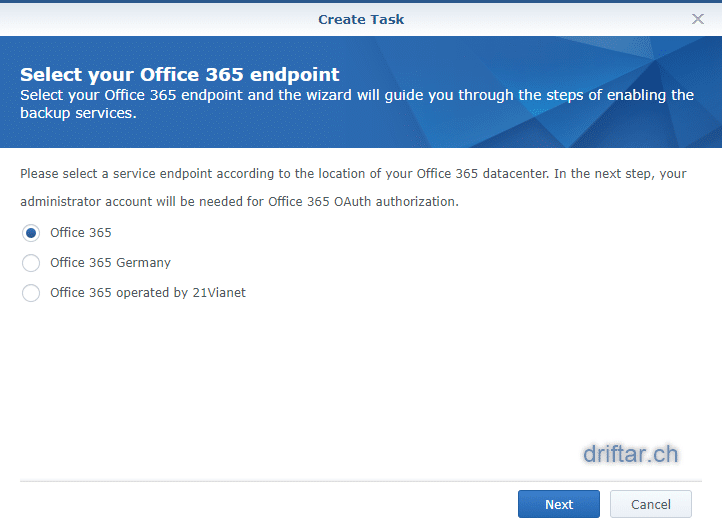
- Now just start the “Active Backup for Office 365” app to configure your account.First you have to choose if it’s a regular Office 365 setup, or if it’s located in Germany or if it’s operated by 21Vianet (China).Then click “Next”.

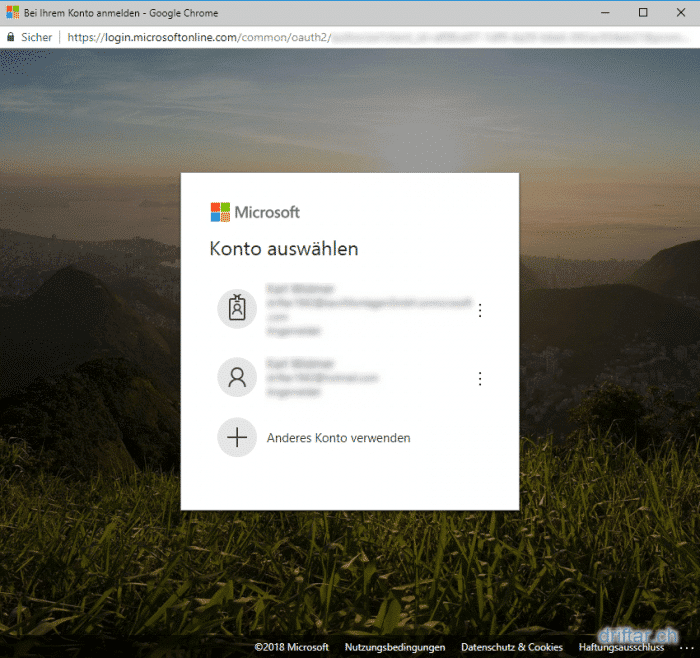
- If you’re not already logged in into your Office 365 account (like i did), please enter your Office 365 master credentials here.

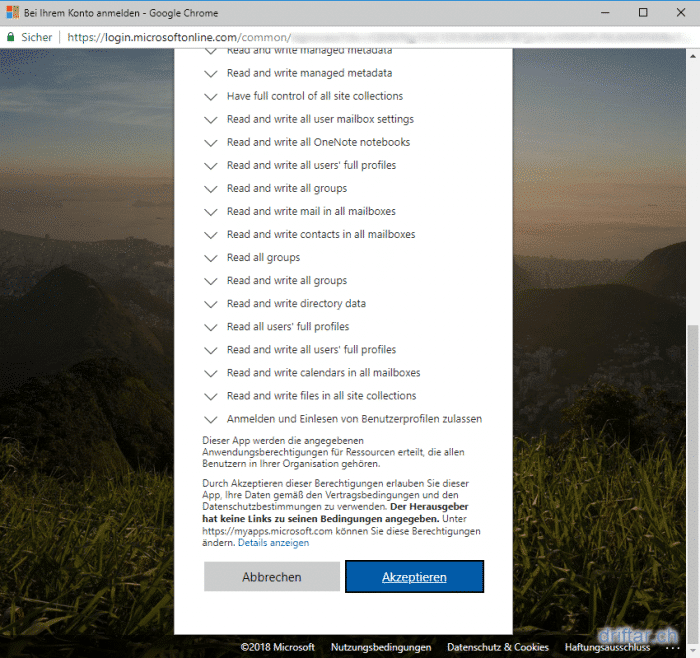
- It is necessary to grant some permissions to the Active Backup for Office 365. And the list is long…Click “Accept” to go to the next step.
- After you’ve selected your Office 365 account type and gave the permissions, Active Backup for Office 365 will now connect to your public cloud.
- You will be redirected to your Synology NAS by the Synology authentication webservice.
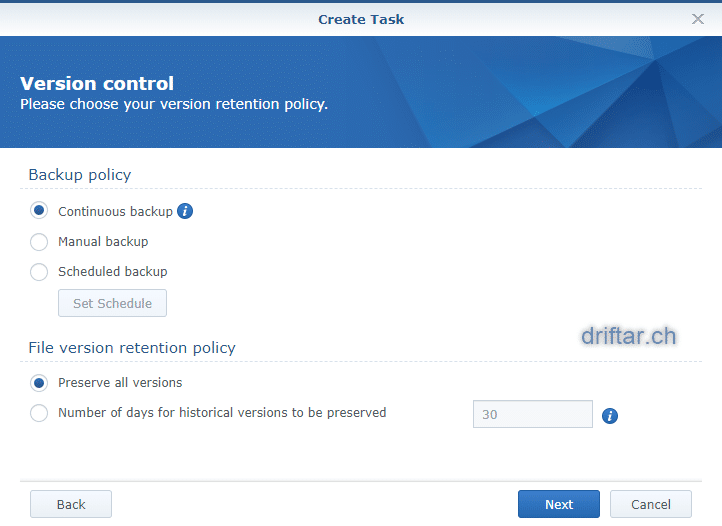
- After you’ve been redirected, the backup assistant starts and helps you setting up the backup.You can choose between Continous backup, manual backup and a scheduled backup.You can also set how to preserve historical versions.Then click “Next”.
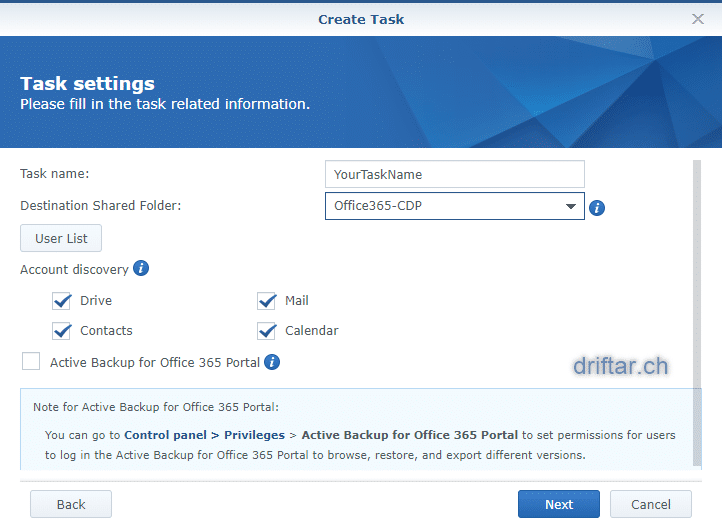
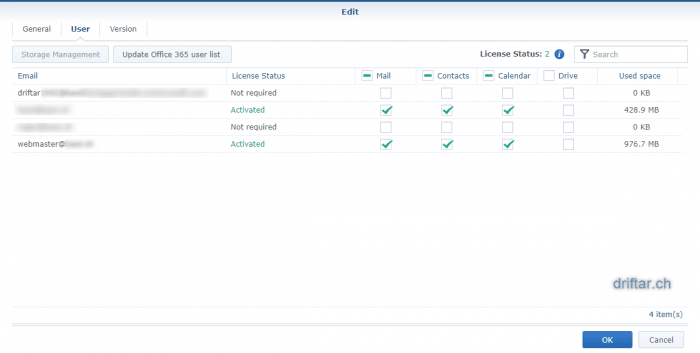
- Enter a task name and choose a shared destination folder on your NAS device. If you’d like to create a new one, go to the DSM control panel and create a new shared folder.On this screen you can also select which user / mail accounts you’d like to backup. Click “User List” to do so.Then click “Next”.

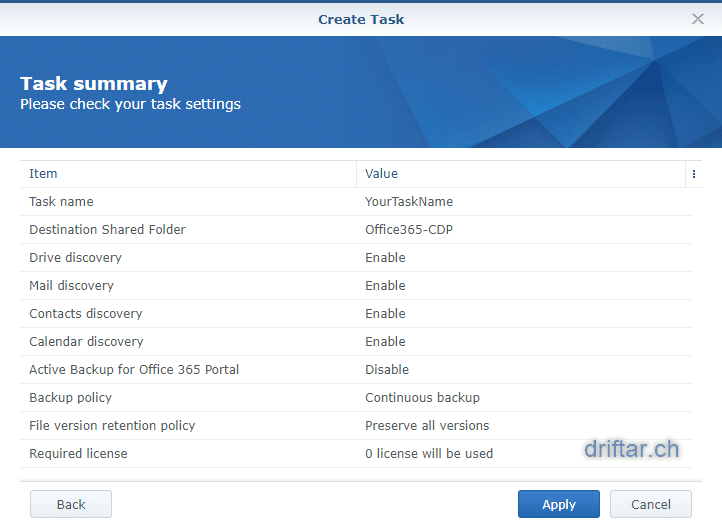
- At the last screen you will the the task summary. If everything is ok click “Apply”, or “Back” if you’d like to change a setting.
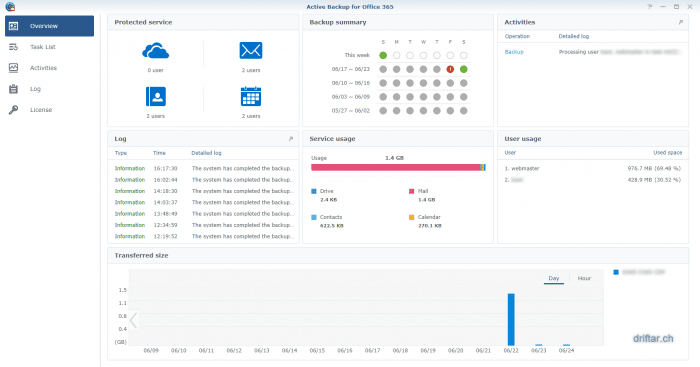
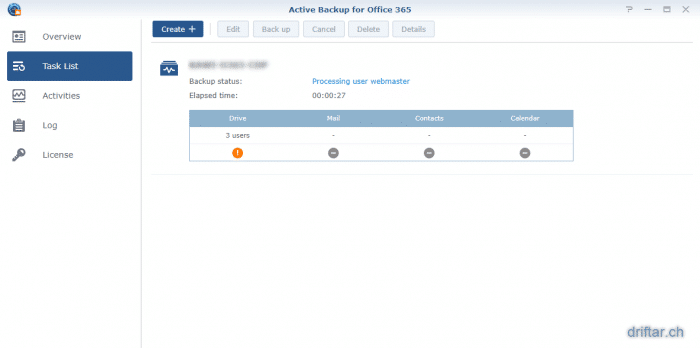
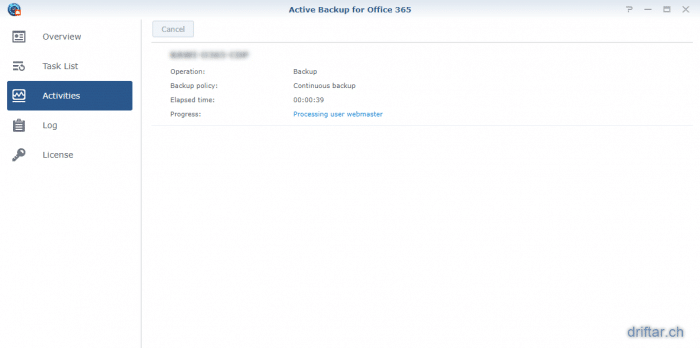
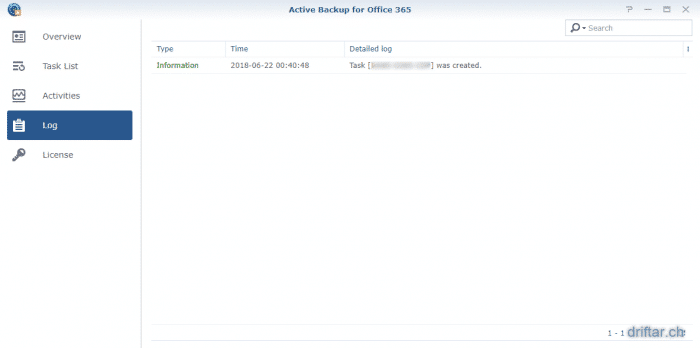
- After the initial configuration the Active Backup tool starts and presents you the overview screen.Let’s just click us through the various screens to have a first look.


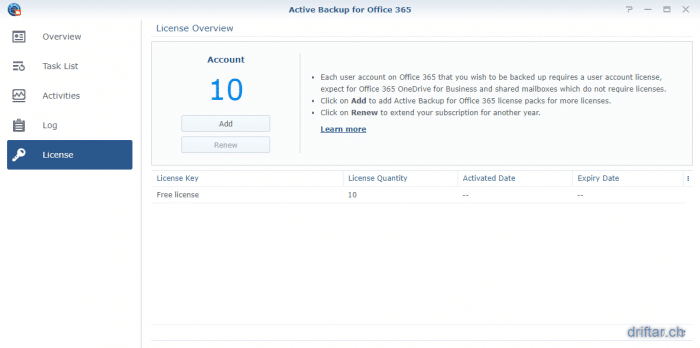
And again, not so hard, right? We’re done with the basic configuration. In the steps above we’ve added the Office 365 master account and setup the backup.
Restore objects from backup
Backing things up is one thing. Restore them is another thing. Let’s look into the restore operation now.
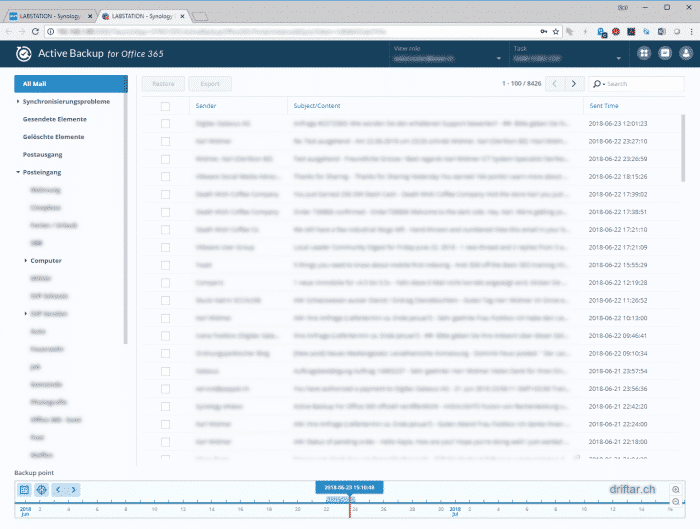
- Look for the “Active Backup for Office 365 Portal” app. Start it.The program will start in a new browser tab / window.

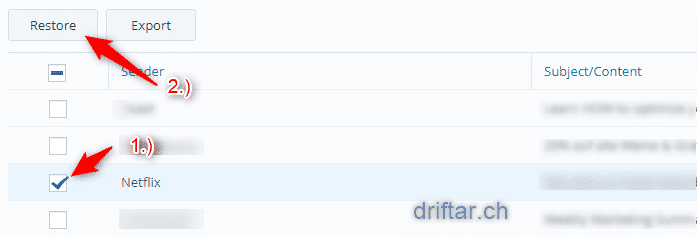
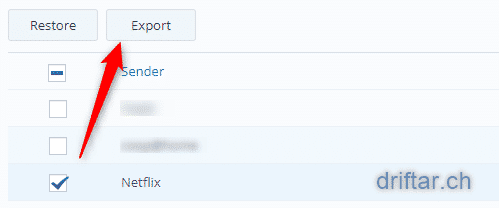
- Choose the mail you’d like to restore and check the tickbox of this item.On the upper side click “Restore” to start the restore assistant.


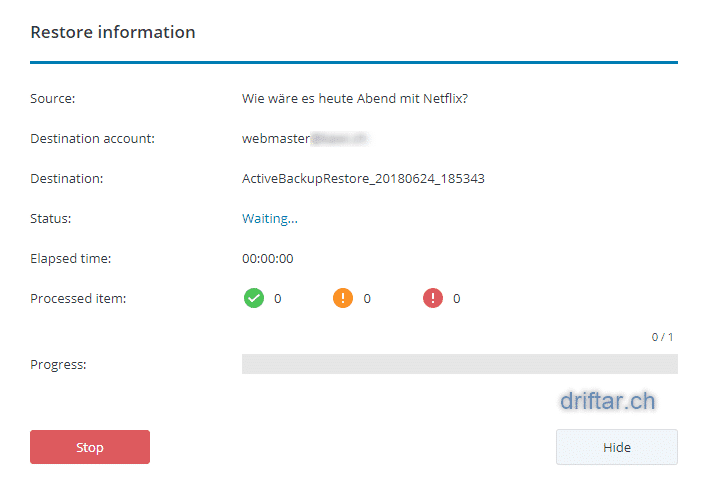
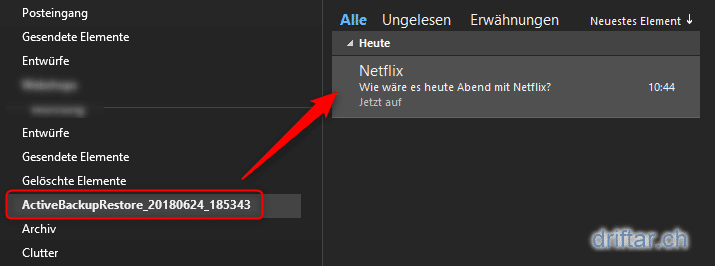
- In your Office 365 mailbox a folder will be created.The folder will be synchronized into your Outlook client.

- You can also click “Export” to export the item as an *.eml file.


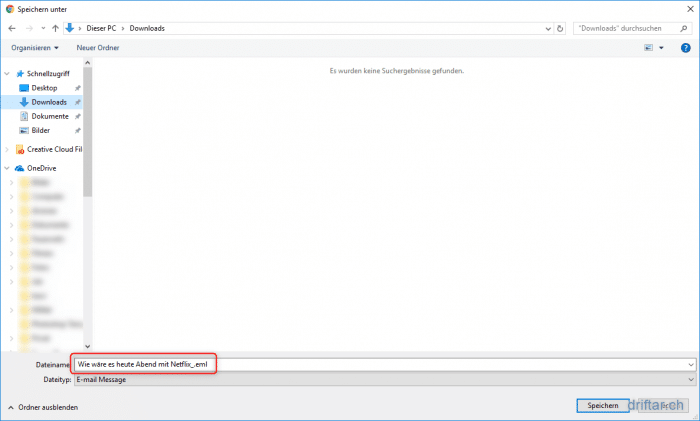
The same works if you check multiple items. They will be either restored to the folder created in your mailbox, or exported as a zip file containing all *.eml files.
That’s it folks.