Veeam recently released the update 3 for Veeam Backup & Replication. One of the biggest innovation is the integrated management of Veeam Agents for Windows and Linux. Veeam didn’t wait until the release of version 10 with this feature, but have brought it now.
With the integrated agent management you have the total control of your physical and cloud workloads. If you have some physical servers, like special database applications or a domain controller, or workloads in public or privat cloud environments, which are not running in your on-premises infrastructure, then Veeam Agent is the perfect solution for you.
You can backup your physical servers located in your own datacenter by using Veeam Agent. But not only limited to servers but also for workstations. Like the very important laptop from your boss, or other special computers with complex software configuration.
And you can also reach out to the cloud with Veeam Agents. Imagine you’ve got some web and database servers running in the cloud, but there is no backup available. With Veeam Agent you can backup also these workloads to your local repository, to be able to restore things to the cloud or your local infrastructure.
In this what’s new article i’ll show you how the agent management works, how you create protection groups and backup jobs.
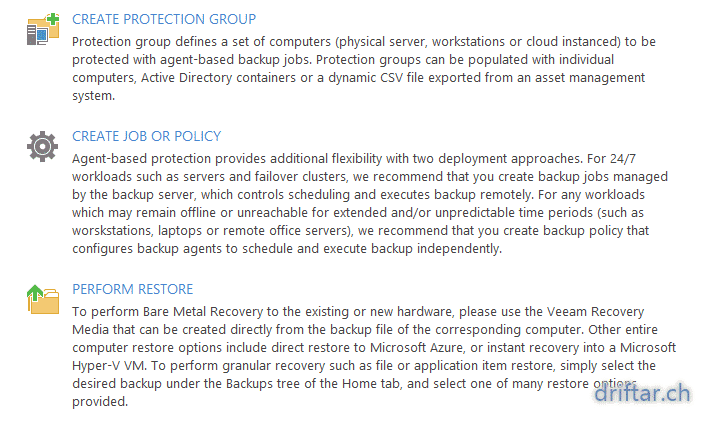
Create a Protection Group and deploy the Agent
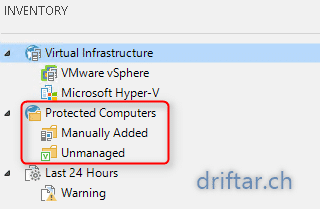
- On the left hand side, click on “Inventory”.
- Then click “Protected Computer”.
- To create a Protection Group you can either right-click on protected computers or choose the appropriate menu item from the right hand side.


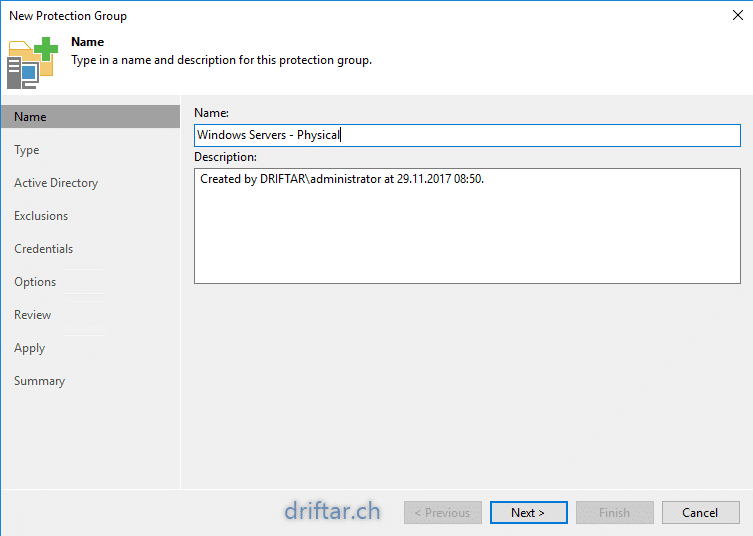
- The assistant to create a new Protection Group will now open.Start with a good name for that Protection Group.

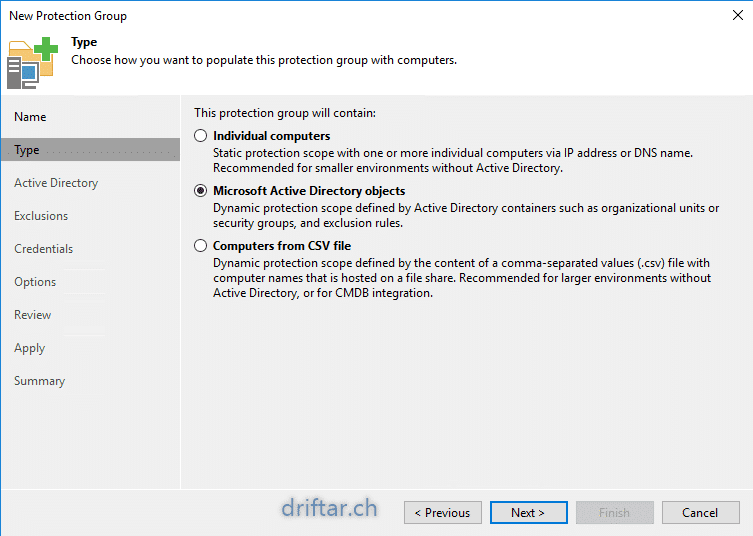
- Choose the type of Protection Group.
Individual Computers: single computers, for example through IP address or FQDN / computer name.Microsoft Active Directory objects: as the name says it, you can choose an AD organizational unit.Computers from CSV file: import a list with all the IP addresses etc.
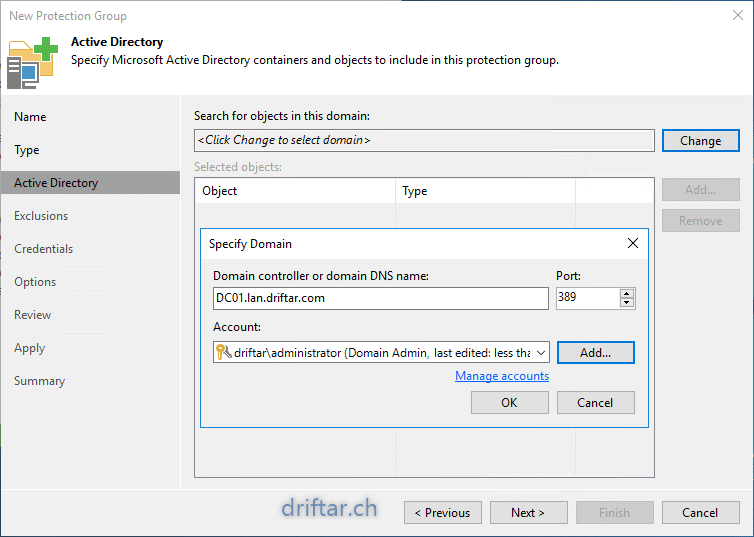
- For initial configuration you have to specify your Active Directory domain.

- Veeam now queries the domain. This can take a moment.

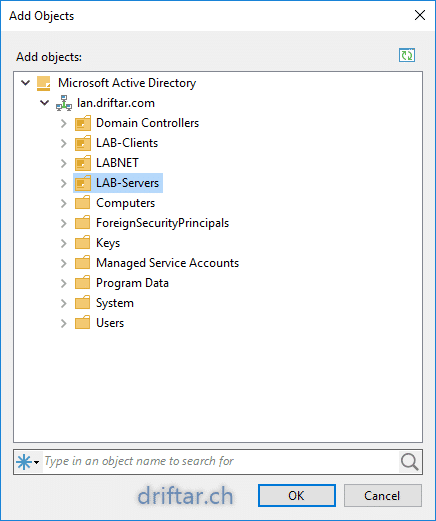
- Now choose the appropriate organizational unit from your Active Directory where the computers you’d like to backup are located.

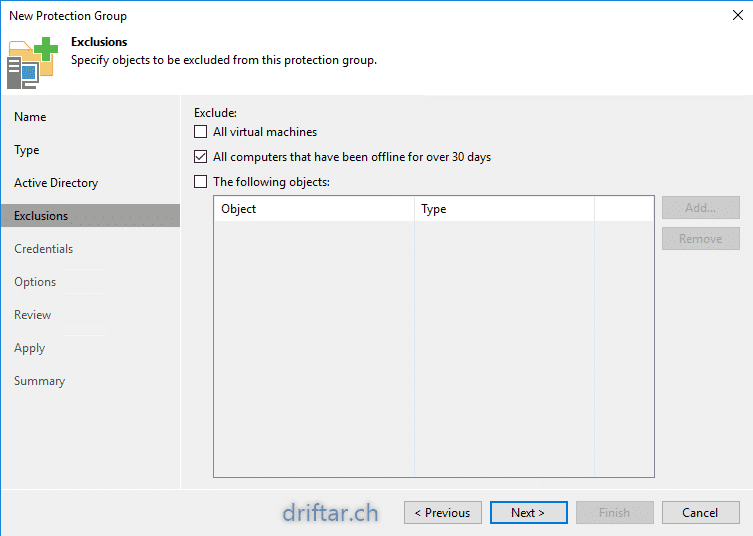
- If necessary you can set explusions.
One example is when virtual and physical servers are in the same OU. If you’re already using Veeam, then the virtual servers should be already backed up by Veeam Backup & Replication…
- Now choose the appropriate organizational unit from your Active Directory where the computers you’d like to backup are located.
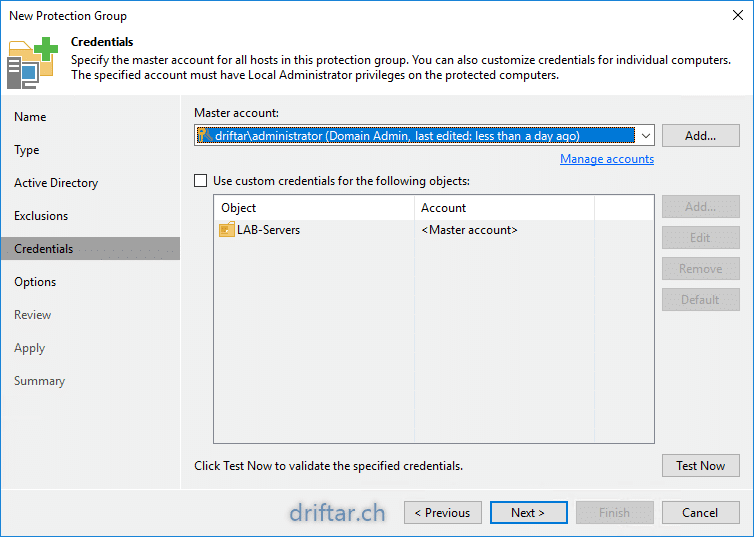
- Now set the credentials required to deploy the Veeam Agent on to the computers. You have to provide an account with administrative privileges on these computers.
For example a domain administrator, a special service account or something the like.
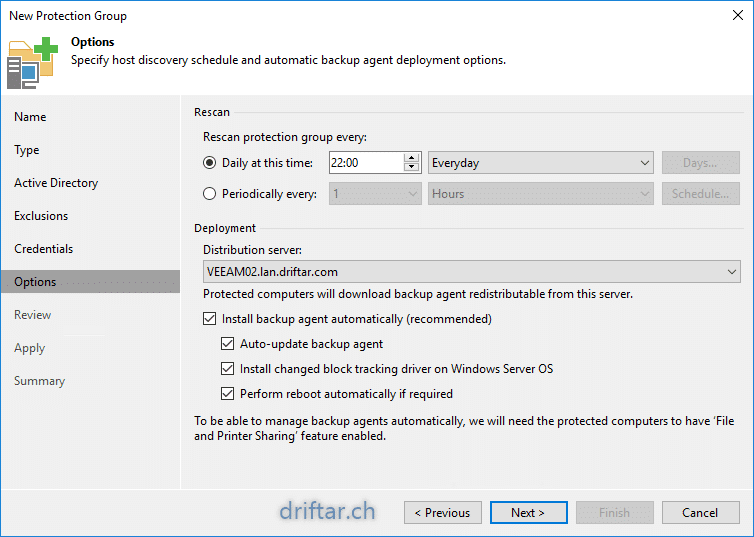
- In the next step you can set the rescan interval and deployment options.
Daily at a specific time, on specific days.Periodically every XY hours.You can also set deployment options, like auto-update, installation of CBT driver and automatic restart.
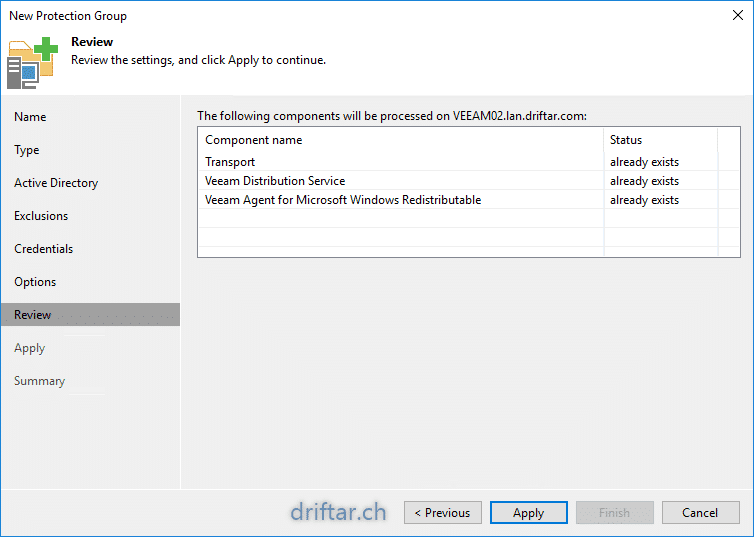
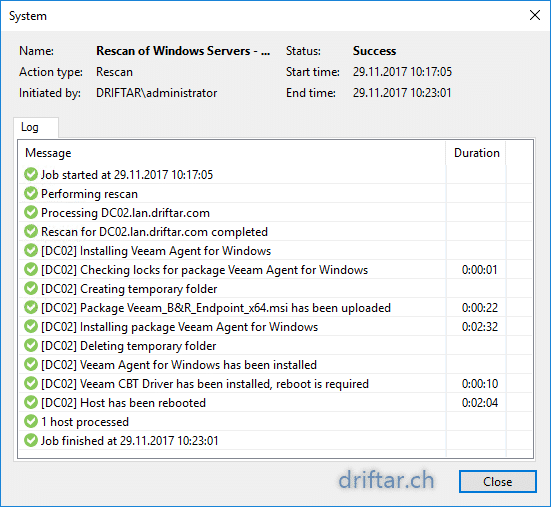
- Now finish the assistant, and check the live log for issues.
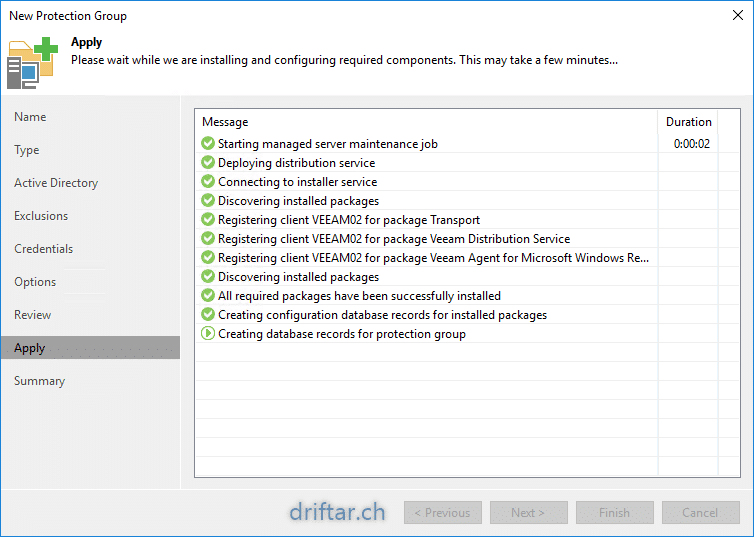
- Veeam now starts the agent deployment with the options you set before.


Create a Backup Job
Now that we have created a Protection Group, we’re now ready to setup a backup job, based on this particular Protection Group. So let’s do this now.
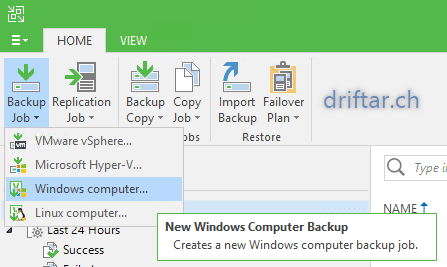
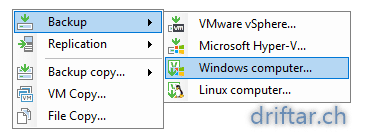
- On the ribbon bar click “Backup Job => Windows computer…”.
Alternatively you can click on the white space on the right hand side if you’re already in the backup job view.


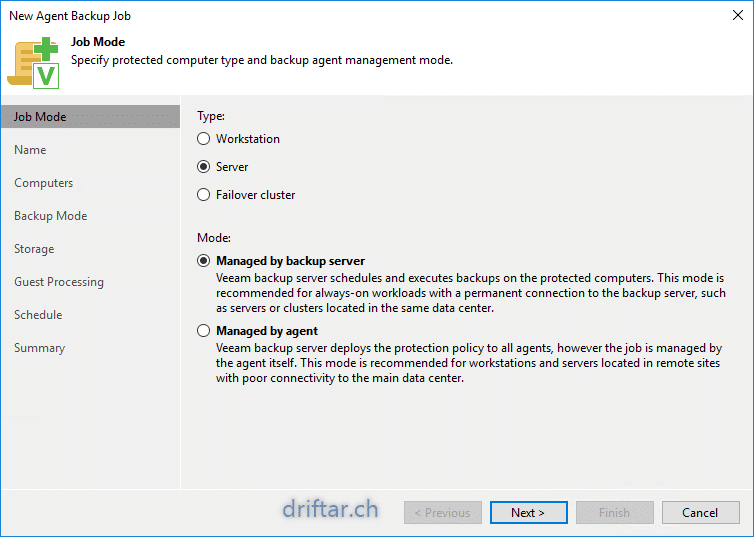
- The backup job assistant now opens.
- First, set the type and the appropriate backup job mode.
- Continue the assistant by providing a good name for that Backup Job.
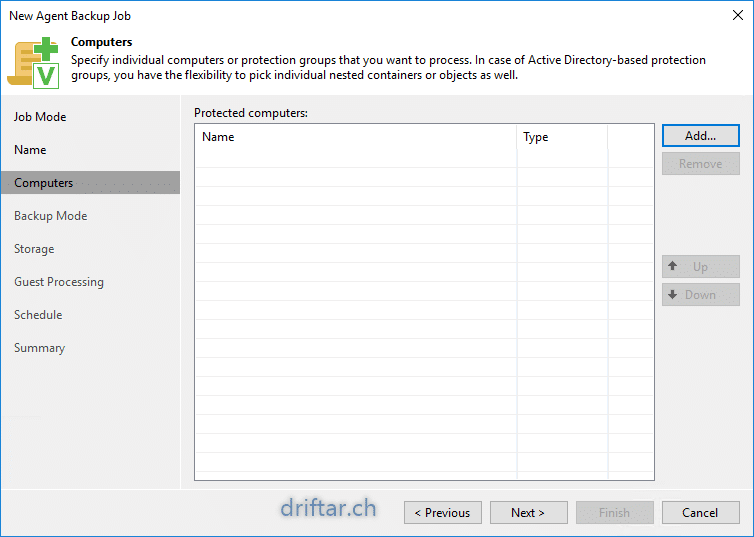
- Now we want to add our servers in the recently created Protection Group.
Click “Add…” to add the Protection Group.
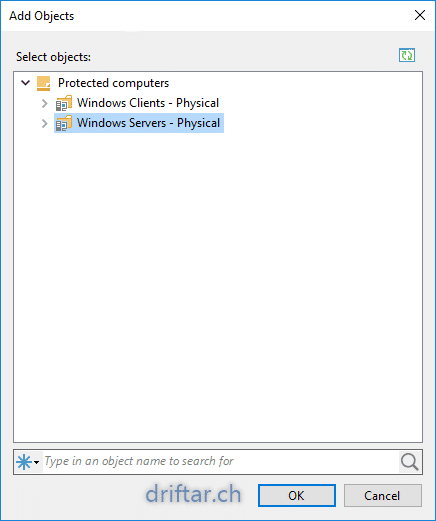
- In the “Add Objects” window you can see all the protected computers / protection groups. Chose the appropriate group you’d like to add.
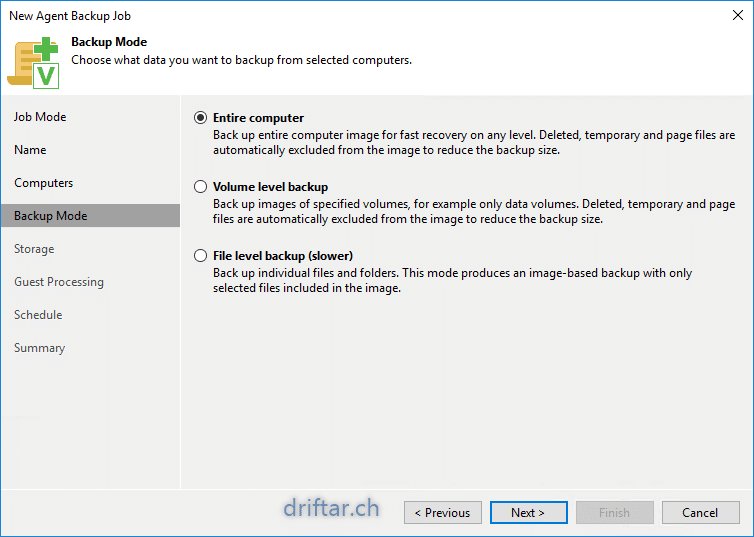
- In the next step you have to define what to backup.
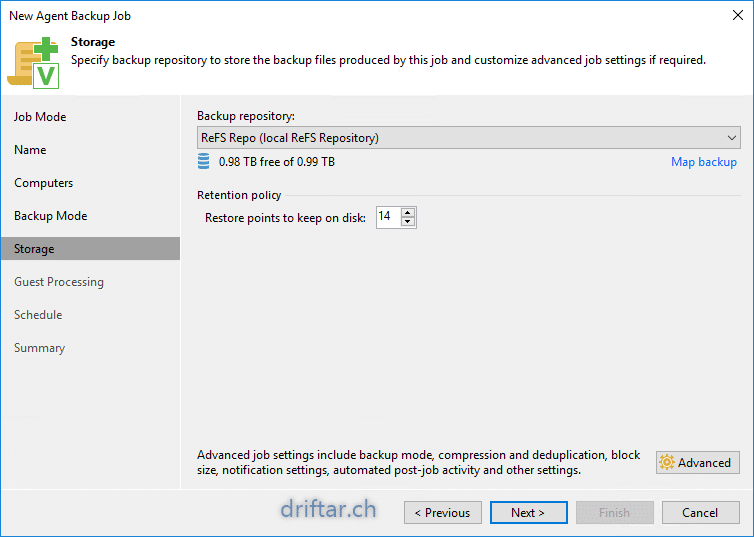
- As you might know it from other normal backup or replication jobs, you also have to set a repository for your protection group backup job.
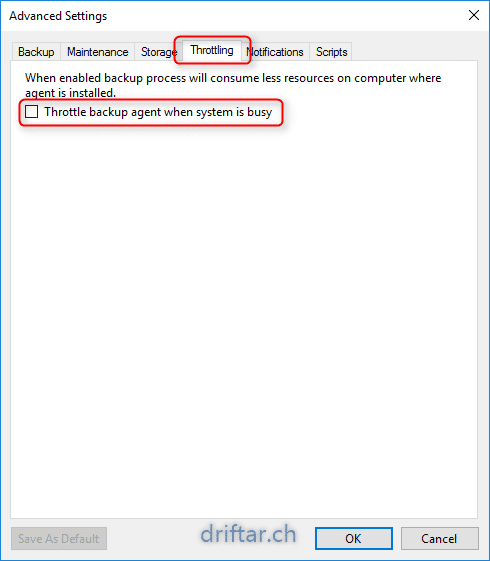
Click “Advanced” to get some more new things…
- In the advanced job settings you can throttle the agent if the source system should be busy, so the workloads on that system will have higher priority than the backup job.

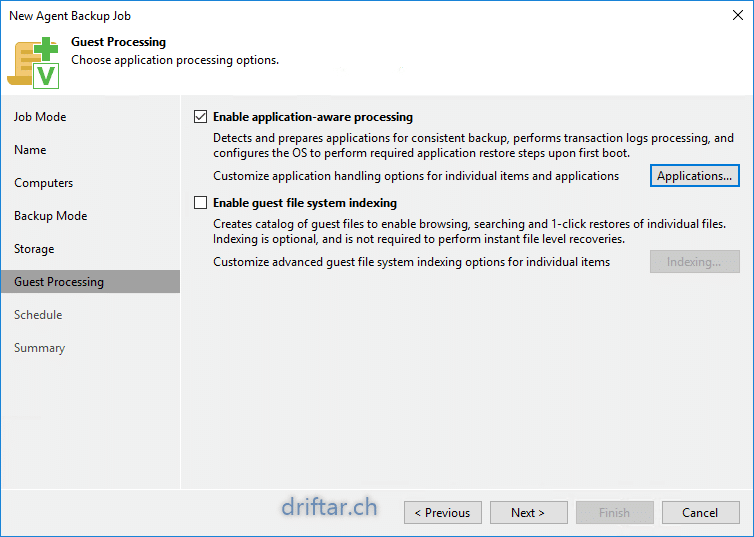
- Enable application-aware processing if necessary (depending on the operating system and applications used).
No there is no “credentials” button for this as you might know it from regular backup jobs.Veeam Agent takes the credentials from the protection group, which are specified there.
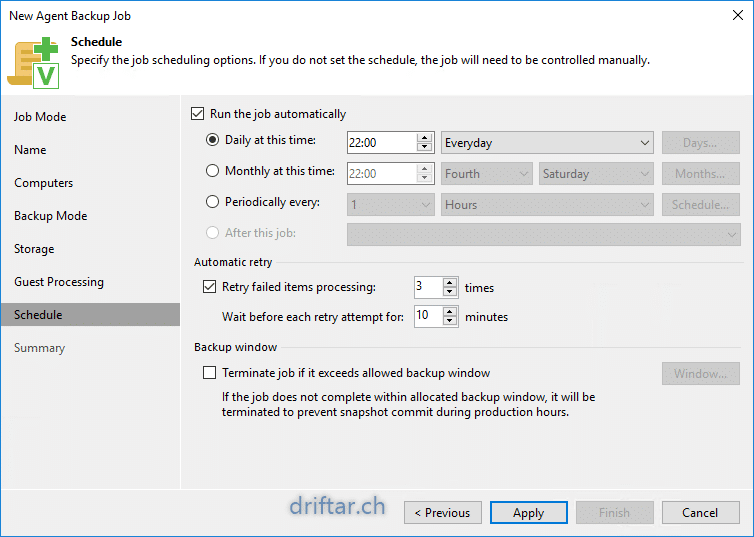
- Now we’re closing in. Set a schedule for this new Backup Job.
You might also set some options, depeding on workload, backup window etc.
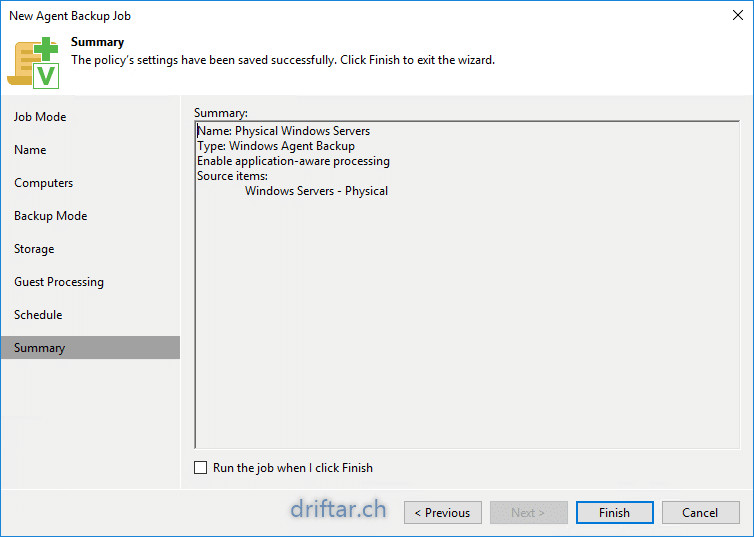
- In the last step check the summary if everything is as you configured it. If not you can go back in the assistant and change the options.
You can start the backup job directly after finishing the assistant. Just mark the checkbox.

Update 3 Release Notes
As you already know it, you can find the change log in the Veeam Knowledge Base with this link: https://www.veeam.com/kb2353
Some key points:
- IBM Spectrum Virtualize Integration
- Support for Microsoft SQL Server 2017, Microsoft Windows 10 Fall Creators Update, Microsoft Windows Server 1709, Microsoft Windows Server Hyper-V 1709, VMware Cloud on Amazon AWS, VMware vCloud Director 9.0
- Built-in agent management
- …and a lot more!
Some words to Veeam Agent licensing
You can add the FREE or the paid Veeam Agent, but can’t mix them. All versions of Veeam Agent for Microsoft Windows support Windows Server 2016, but the Server edition includes server-specific features (e.g., application-aware processing, file indexing and search, server-friendly scheduling and retention, etc.), making it the best choice for enterprise-level physical server backups. Workstation and Server licenses of Veeam Agent for Microsoft Windows include 24.7.365 technical support for the term of the purchased license – either one or three years.
If you’re looking for more information about licensing, please visit the Veeam website, and ask your reseller for a quote.
https://www.veeam.com/agents-windows-linux-pricing.html
https://www.veeam.com/windows-backup-agent-faq.html
If you’d like to know more about the Veeam Agent itself, checkout this article.