This project started a long time ago. When I planned the hardware needs for my homelab, I also thought of getting a rack. I had a real IT rack in mind, as you know it from your daily business, maybe back in the days when at least some stuff was on-premises and not everything in the cloud. I wanted to get a small rack with enough space to mount my whole homelab hardware into it, to have a proper cabling solution, and to have flexibility in case my homelab gets an extension.
But that wasn’t easy. There are various flavors of racks. The normal 42 unit IT rack, half-hight racks, and also various wall-mountable racks for patch panels, switches, and smaller devices. I was thinking and tinkering, looking for specs. But in the end, nothing satisfied me. Well, at least not from a price perspective, of being not able to transport it. And then, there was something going on on Twitter:
Thanks to my colleague Michael Schroeder I’ve found something. He mentioned his IKEA rack, and that made me curious. Earlier in June, my colleague Fred Hofer announced that he moved his hardware into a bigger rack and that it was easier as when he moved from an IKEA Lack rack to the small rack:
And that was the trigger! Why not building my own rack and tailor it to my needs? I don’t have to spend much money on a real IT rack, and I can do something handcrafted. The rack didn’t have to be anything special, there was not much in my personal specification book.
That’s the specifications planned:
- Small (not full 42 rack units)
- It should be lightweight
- Enough space for at least three servers, some switches, and a NAS (or two)
- Enough space for future homelab upgrades
- Extensible, if needed
- Should withstand some weight
- Wheels!
The idea of building my own IKEA Lack Rack was born.
This whole homelab IKEA Lack Rack story will be covered in a small blog series. This blog post will start the series with some planning stuff, the first pictures, and the BOM, as far as I can provide it already. At least the BOM will be updated if there is a reason for it.
BOM – Bill of material
You can imagine that the whole project didn’t cost much. The two main parts of the rack are IKEA tables, which cost me only a few bucks, plus some screws and small parts to hold everything together. Sure, some other components might be more expensive, but this is just one idea for a homelab rack out of many. And I wanted to build my homelab rack at least in a minimum possible “professional” way.
| Component | Link (if available) | Price (single item / total) |
| 2x IKEA Lack table | IKEA.us | US$ 9.99 / 19.98 |
| 2x Squared timber (2400mm x 44mm x 44mm) | jumbo.ch | US$ 7.27 / 14.54 |
| 4x Flat connector (steel) | hornbach.ch | US$ 1.45 / 5.80 |
| Various small screws | – | – |
| 1x MDF / medium density fibreboard (550mm x 550mm x 16mm) => custom cut | bauhaus.ch | US$ 53.71 |
| 1x IKEA rill (set of 4 wheels) | IKEA.us | US$ 10.00 |
| 2x Adam Hall rack rails | eventtechnik3000.ch | US$ 36.45 / 78.48 |
| 2x sets Adam Hall cage nuts and screws (bag of 24) | eventtechnik3000.ch | US$ 14.48 / 28.96 |
As also mentioned, I’ll update the BOM as needed. The rack is not yet done, I’m still waiting for some parts ordered and there is still a lot to tinker, test, and study.
Assembly
Reinforcements needed
I assembled one table first to see how it looks and if I have to install improvements. I quickly figured out that I have to reinforce the table legs because they are hollow and consist only of pressed cardboard, black paper, and a woodblock. I assumed that this isn’t strong enough to hold the weight of my homelab hardware. So I installed some 44mm x 44mm squared timber. The inner diameter of the table leg was just a bit more than 45mm, but I couldn’t find a squared timber with that dimensions, and it would barely fit in I thought.


Getting the things on wheels!
In the next phase, I assembled and reinforced the second table as well and installed an MDF base plate. This base plate has more weight than an assembled table. You can imagine how much “material” has been used with that kind of table. The MDF base plate was perfect to mount the wheels. They should be able to carry the weight of the rack with all installed hardware. The second table has been stacked on top of the first and has been secured with some flat steel connectors.


Heavy-weight champion!
Thanks to the reinforced table legs I was able to secure the tables bomb-proof together with that flat connector. And I will also be able to install professional rack rails, which then will hold my precious hardware in place.
Stay tuned for the next update of this blog post series!
Update November 2020
Rack fitting issues…
It’s some time now ago when the basic rack has been assembled. Thanks to my dad, I was able to tinker and assemble in his garage/workshop. The basic rack is completed, now I want to install the rack equipment, like rack rails, and finally, the hardware.
I knew that this build would not proceed like in a picture book. I knew that there will be issues. And the first issue was the Supermicro server not fitting properly. The culprit was quickly found. It was the power supply carrier. This carrier has to be attached to the right side of the server (when looking at the front of the server). But unfortunately, the server with the attached carrier was a little too wide to slide into the rack. I had two options now. Either mill a thin slot in the table leg or find another position for the power supply carrier. The first option wasn’t really an option because the tables have been stacked already, and with this, I wasn’t able to mill a slot into the table leg. So only the second option was the way to go.


Installing the rack rails
But that was just a first test if the hardware will fit at all. Unfortunately, I don’t have dozens of different rack rails to test and play with. I was evaluating many rack rails online, at different shops, with their specific technical drawings. I even built small models out of cardboard to get at least an idea how it could fit. And none of the rack rails fitted the way I’d liked. That means that I had to make them fit, somehow. And that meant that I had to install some more wood to my rack.


And finally, after installing some additional wooden slats, I was able to fit the rack rails nicely. There’s enough space to fit the cage nuts, and the hardware fits perfect!


Hardware installation
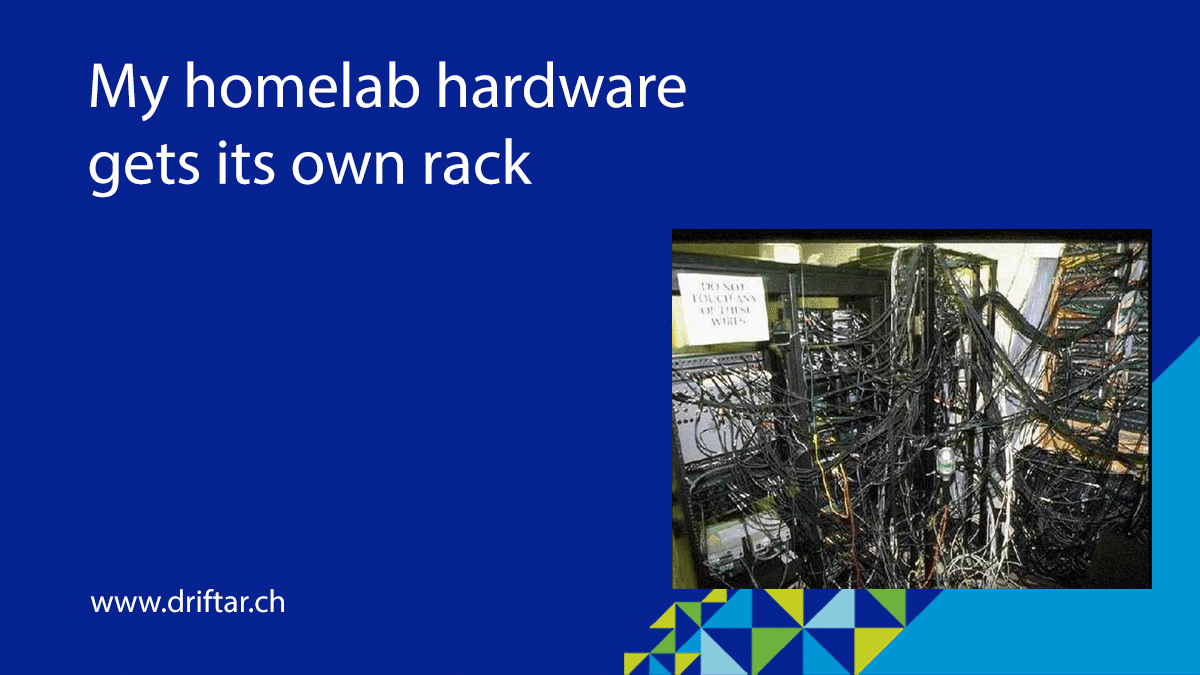
First things first, I’m sorry for not having more pictures of the hardware installation. But in review, installing hardware in a rack isn’t that exciting 😉
But yes, the rack looks nice and clean, and there’s still some space available for more servers (at least one additional server with the current countermeasures against high hardware temperatures). But for the start, three servers are fine. And everything which I need fits into the rack.


Update December 2020
Noise insulation installed
Yes, that’s right. I installed some special acoustic foam as it is used in sound studios for noise insulation. There is always that quiet rustling noise of the fans. It’s quiet, but it’s there. I already replaced some of the stock fans of switches and NAS devices with Noctuas, or installed some low-voltage converters to existing fans, but that only helped a bit. The installation of acoustic foam was now on the to-do list. I had to research a little but finally found a company that was able to provide me with some nice fitting foam sheets. I had to adjust them only a little. The side panels consist of Forex, which is a rigid foam board. It’s not wood nor a medium-density fibreboard (MDF). It is a lightweight material and extremely easy to work with.


Conclusion
This rack build took me now about four months, not including the planning before and waiting for the tables to be delivered to me. But it was totally worth it. It was interesting, fun, sometimes frustrating, but overall, it was a great experience to make actually something, to work with wood and steel, to tinker and study, try and error. Maybe next time, I’ll invest some money in a full-height 42-inch rack 😀

Hey
Im also a Homelab”er” but a starter.
Can you give me some tipps and give me some advise to reduce the power bill?
Kind Regards
Grumpyblade
Hey there,
It might already help when you decide what hardware you want to use. You can go big, with full rack-sized servers (DELL EMC or HPE, for example). Or you can go small-scale with Supermicro, or even smaller when using Intel NUCs.
Hope that helps!
Best regards,
Karl
Hi Karl,
Thank you for sharing your experience of building your server rack. It looks smashing and your experiences, good and not so good, have definitely helped many to learn and emulate your server rack build.
Thank you.
I do have a couple of questions if you would not mind sharing your thoughts….
1) are you able to provide any details of the wooden slats you used to mount the rack rails (size, dimensions, placement etc)
2) the acoustic foam and the board used – could you please point me in the direction of the supplier
Regards
Ali
Hi Ali,
I bought two wooden slats (2400mm x 44mm x 20mm) and saw them into pieces of the correct length. After cutting it, I first primed it and then painted it.
I screwed the cut pieces of wood directly onto the table legs, as you can see in the pictures. On the inside they had to be exactly 19 inches apart, because of some equipment not fitting directly between the table legs.
I bought all the material at Swiss retailers or vendors, I’m not sure if they do international shipping. But I’m pretty sure that you can find similar materials in your area.
Best regards,
Karl
Super impressive setup. I have 2 lac rack at home but you really went to the next level. Glad to see also you are in Switzerland (so am I with our funny T13) 😉