Today i had a day off in the office because of a national holiday. I used the day to relax a little, and to get some hands on the new Veeam Agent for Windows Beta. I downloaded and installed it on one of my virtual servers in my homelab. This server is a Active Directory Domain Controller, which is located on the physical ESXi host which is providing the lab platform. This virtual server wasn’t backed up until today because i was waiting for the new Veeam Agent for Windows.
Download and Setup of Veeam Agent for Windows
If you’re interested to get hands on this new Veeam Agent for Windows Beta version, go to this website and register. You’ll receive an email with further information how to download this nice piece of software. But be informed, you probably won’t get an email with download information immediately. As it was by me it took a while. I think the mails go out in waves. But stay tuned, it’s worth to wait a day or two 😉
Let’s install the Veeam Agent for Windows now. It’s pretty simple. Download the zip file, extract, double click, next, next, finish. You know the process from Veeam Endpoint Backup FREE already, if you’re using this software. Let’s have a quick look at the process.
-
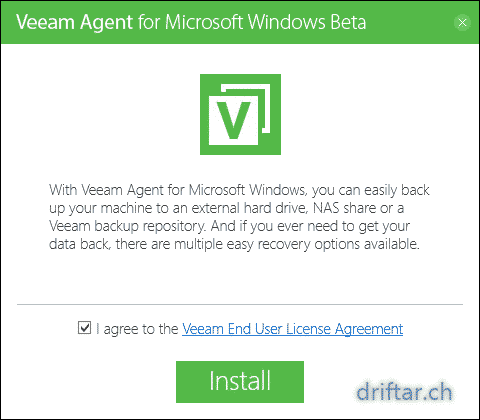
Extract the installer from the zip file and launch it with a double click.
Agree to the Veeam EULA and click INSTALL.

-
Setup now installs the required components.
-
After basic installation setup starts the services.
-
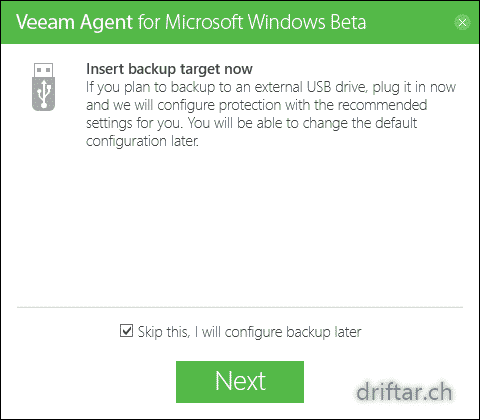
The next step could be adding a backup target (USB disk) now.
We’ll skip this task because we are configuring it later. Click Next.
-
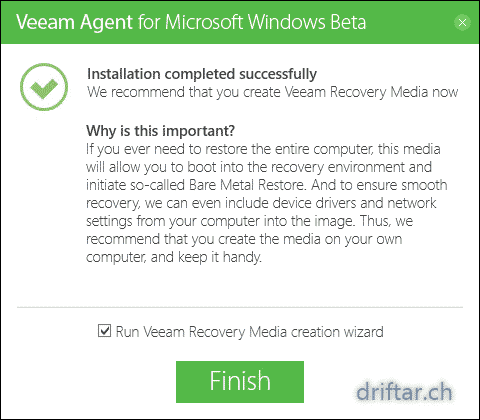
I highly recommend to run the recovery media creation wizard. Click Finish.
-
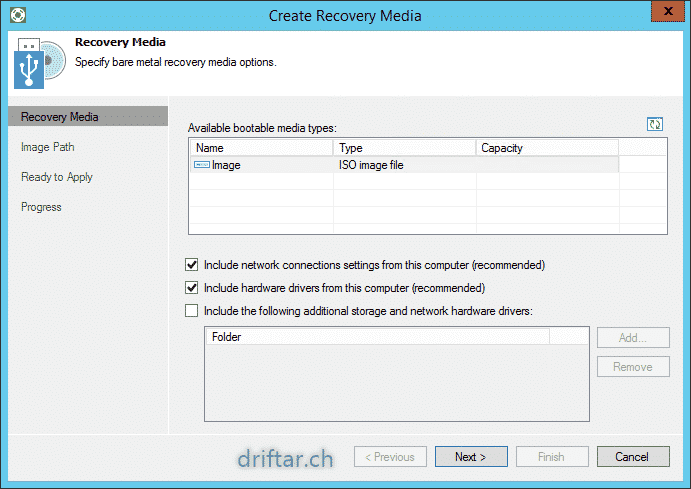
In my environment my only media type is an ISO file.
In other (physical) environments you’ll probably have options like a USB thumb drive or others. Click Next.

-
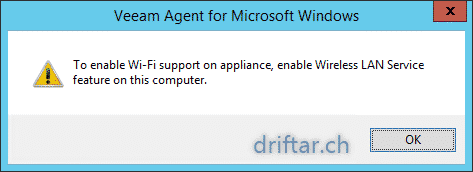
To be honest, on a server we can ignore the Wi-Fi support… Click OK.

-
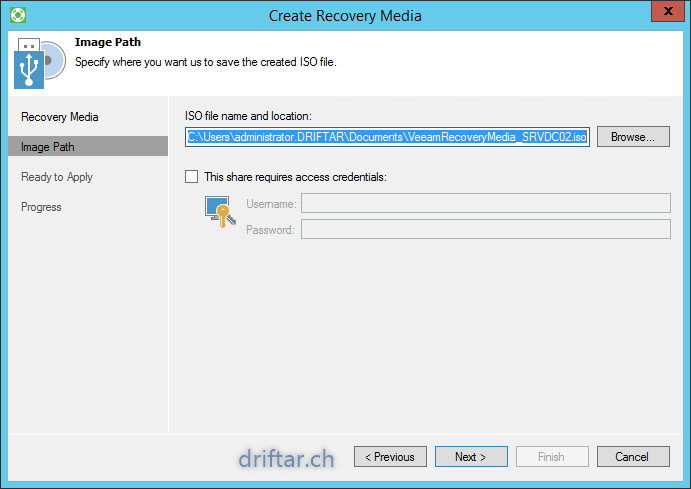
Specify an image path were to store the ISO image.
If you’re using some kind of network storage you probably need to provide username and password. Click Next.
-
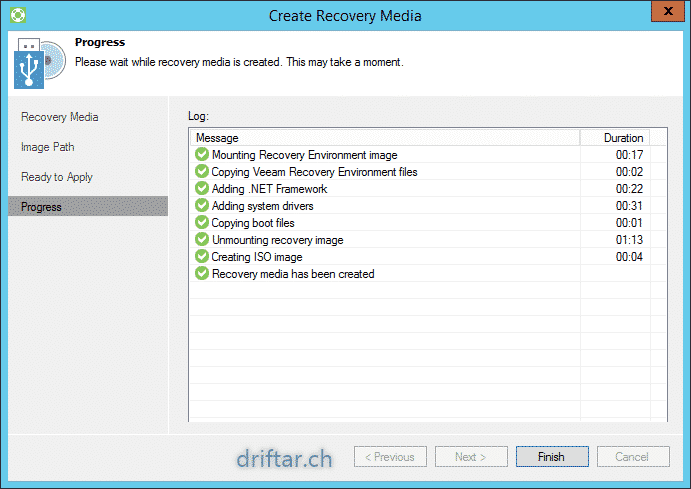
Click Create to start the process.
-
On my virtual server it took about two and a half minute to complete. Click Finish.


Basic configuration
Now after the installation we want to configure the software. In the first step we just do the basic configuration (like creating a recovery media and adding the license which is included in the zip file).
-
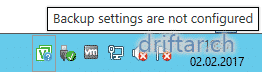
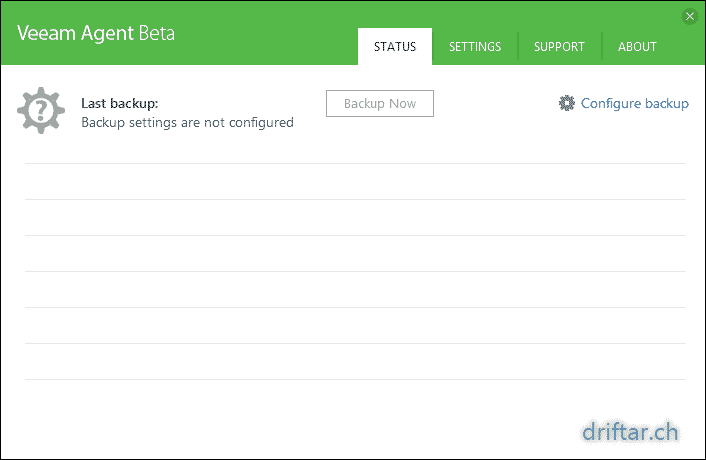
If you hover the mouse cursor over the taskbar icon, you’ll see that there is no backup settings configured.
Let’s do that now.

-
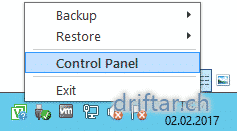
Right click the taskbar icon and select “Control Panel”.

-
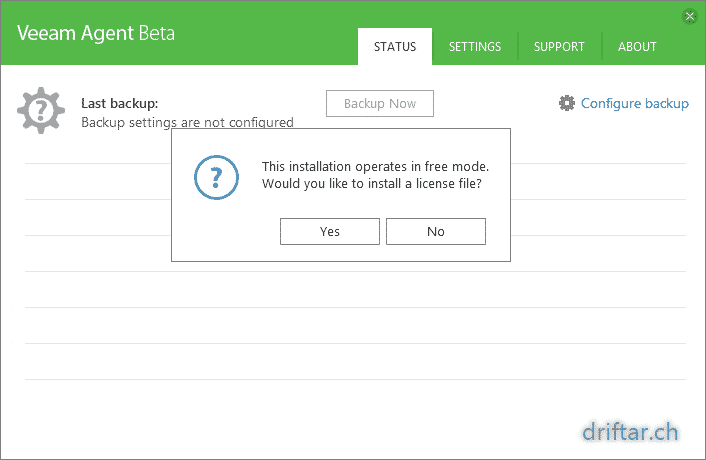
Yes, we want to add the included license now, so click Yes.

-
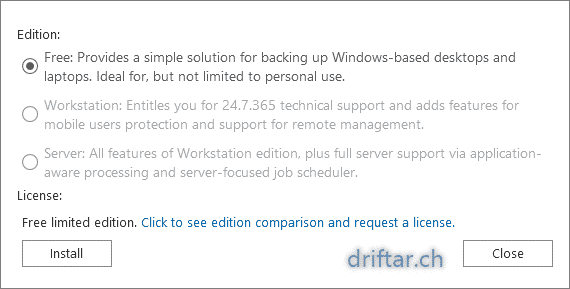
Included with the zip file there is also a license file which you can add here. Click Install to open the dialog box.

-
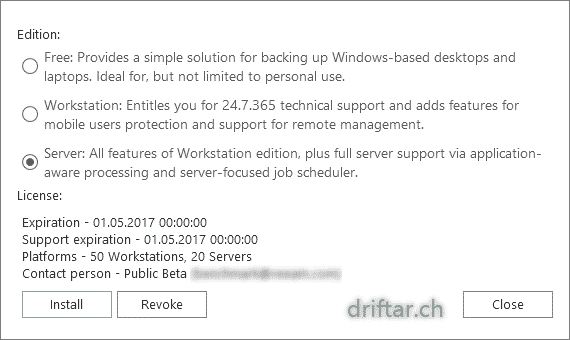
I’ll choose the Server option. Click Close after adding the license.

-
After adding the license we are now ready for the configuration.
Configure a backup job
We have a recovery media and also added the test license. Now we are ready to configure a backup job and point it to an existing repository from Veeam Backup & Replication. If you are already using this software i’ll recommend to use a Veeam repository instead of a local USB disk or so. If the physical server fails you can easily create a virtual machine out of it, directly from the Veeam repository. So why not using it?
-
Click Configure backup to create a backup job.
-
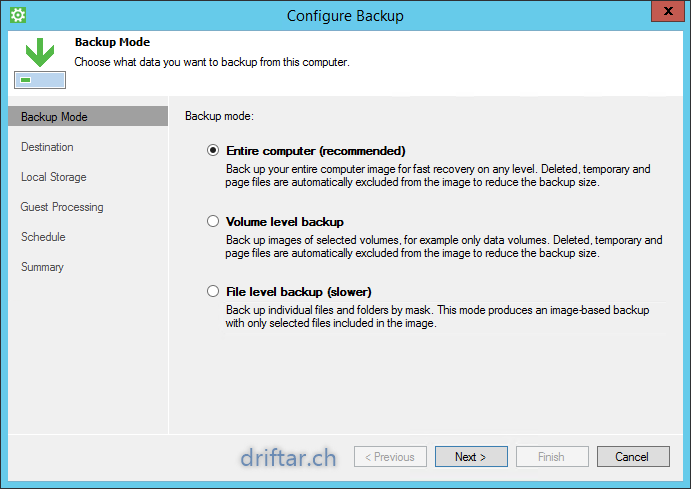
In my case i’ll backup the entire computer.
Depending on your configuration you probably don’t wan’t to backup every disk, or only some files.
In this case you can choose between these three backup methods. Click Next.
-
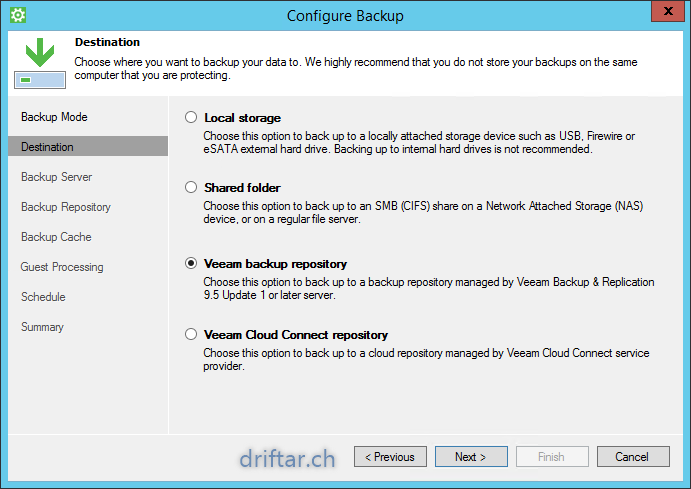
I’m already using Veeam Backup & Replication in my homelab. So i’d like to use my Veeam backup repository. Click Next.
-
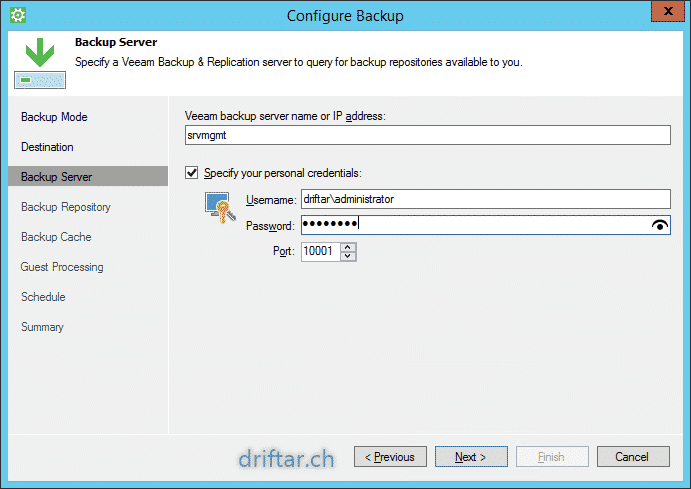
Specify the Veeam backup server name or its IP address.
You’ll probably need credentials to login to this server. Add them too here. Click Next.
-
After clicking Next Veeam Agent for Windows will detect the available repositories on the server specified.

-
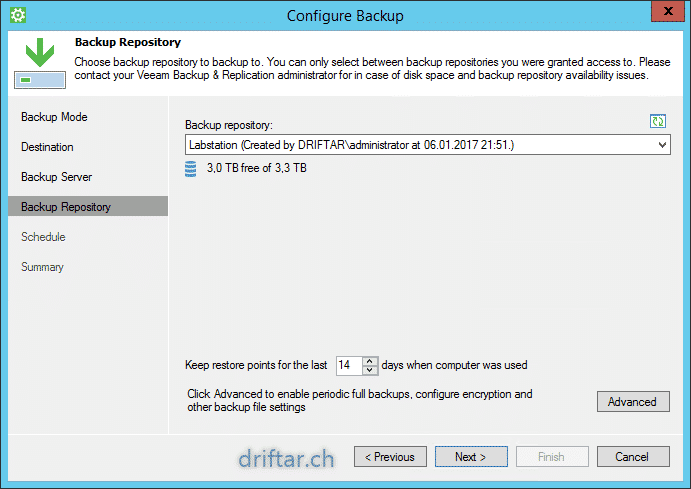
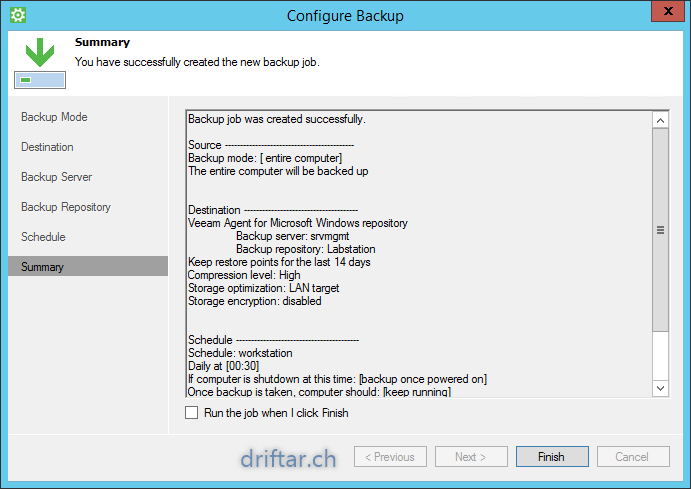
Pick the most suitable backup repository from the list and adjust the number of restore points. Click Next.
-
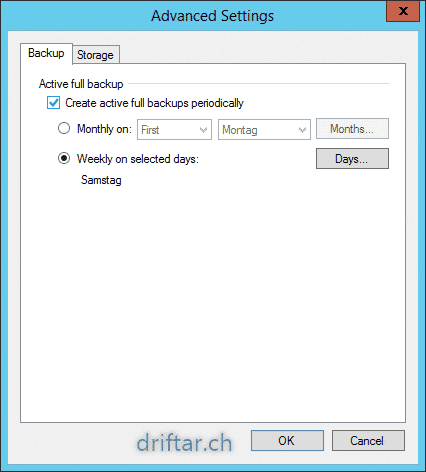
In the advanced settings you can activate the creation of a active full backup…

-
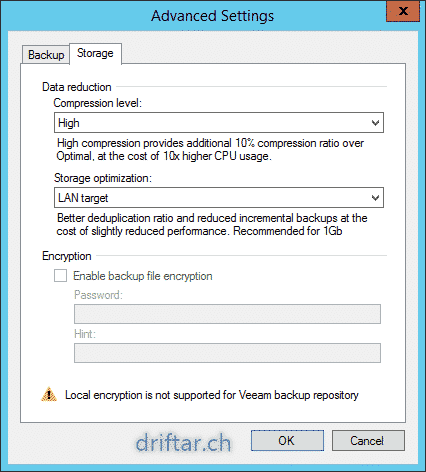
…and also settings like compression and storage optimization.
-
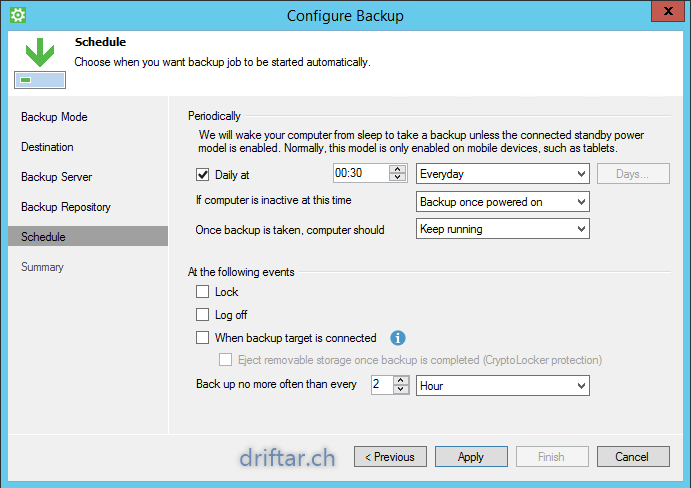
Set a schedule according to your needs. Click Next.

-
In the summary review all the settings and click Finish.

Verification
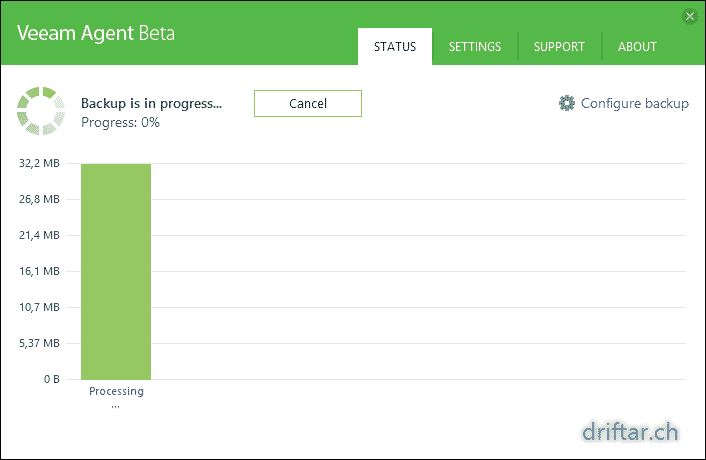
Veeam Agent for Windows is now ready and running. As you can see it’s doing its job and it’s writing the backup data to the existing Veeam repository. Awesome!
-
As you see the backup is now running.
-
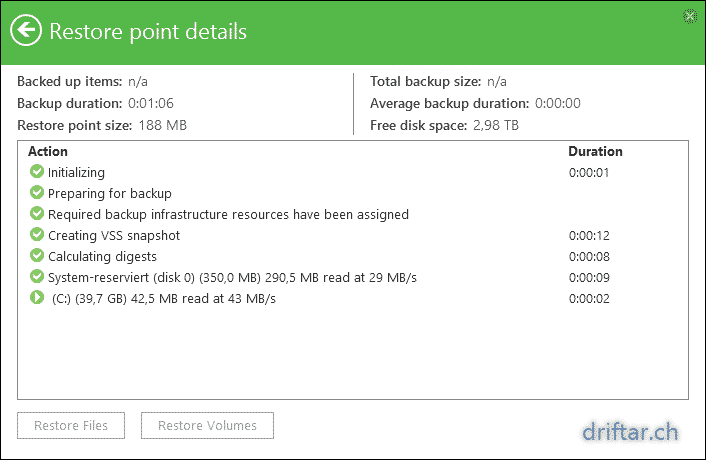
Click the green progress bar to get more details what’s going on.
-
You’ll even see the progress in the taskbar icon.

-
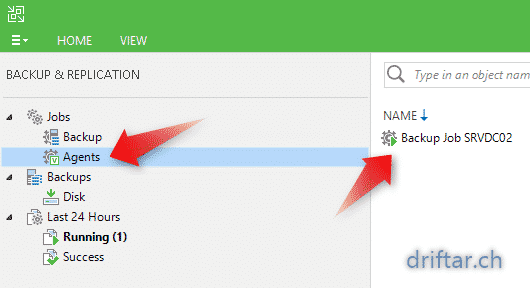
And we even see that the job is registered in Veeam Backup & Replication, and that it’s running fine.

-
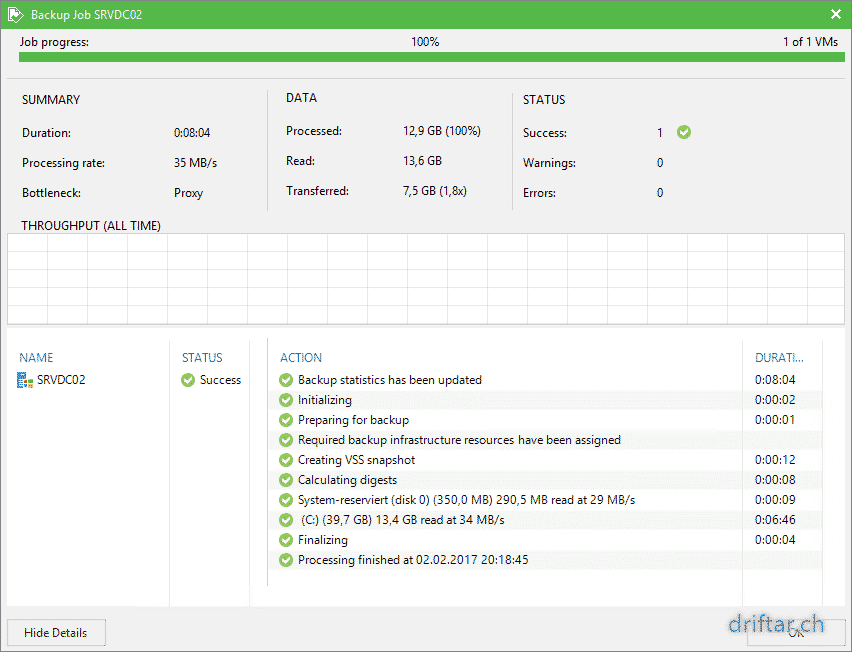
The initial backup (full backup) tok only about 8 minutes. Not bad.
-
Veeam Backup & Replication confirms that. Very good!


Conclusion
If you’re familiar with Veeam Endpoint Backup FREE and you like it, then you will love the new Veeam Agent for Windows Beta. It’s quickly installed and configured too. It’s doing a great job and it’s doing it fast. With the new features added with the licensing part you can still use it in free mode, or use it with Workstation or Server mode.
- Free: simple backup solution for Windows-based endpoints. Not limited to personal use.
- Workstation: adds features for mobile users protection and for remote management.
- Server: all Workstation features plus full server support and application-aware processing.