A few days ago one of my co-workes asked me if, and if yes, how i test the backups of my customers. I answered him that i don’t do that personally, but let it test automatically. He asked me how i do that, and so i showed him one of the coolest features in Veeam Backup & Replication. It’s called SureBackup, and it makes your life as a sysadmin a lot easier. Believe me.
It's always good when you can share your (#Veeam) knowledge with your co-workers. Teaching is also a good way to learn. #VeeamVanguard
— Karl Widmer (@widmerkarl) November 24, 2016
SureBackup in Veeam Backup & Replication (available in Enterprise and Enterprise Plus versions) is a great feature to test your Veeam backups automatically. So you can make sure that a VM is working if you really need to restore a whole VM and not only single files or folders. But it’s not only automatic backup tests. With Veeam SureBackup you can also easily create lab environments. Leverage your backups for patch testing, development and other stuff. You don’t have to deploy new virtual servers for patch testing. You don’t have to deploy new virtual servers only because of a new software release. Test all that stuff with your SureBackup lab to see if everything works as it should. The todays blog post is all about SureBackup. I’ll show you how you set it up and try to give you some hints about it.
The challange
Your daily backups are running fine. You receive the success mails after backup and / or replication and you know it’s all good. But how can you be sure if a restore of a whole virtual machine will work if you really need it? Most of the companies test their backups once a month. It is like an insurance. It’s good to have one, but it’s better you don’t need it. Your backup job checks the health of the backup file. And SureBackup checks if your VMs really can boot and all the necessary services come online. Veeam SureBackup is like your insurance.
The solution
With just three simple steps you can be assured that your backups really work when time comes to restore a complete VM or business critical applications.
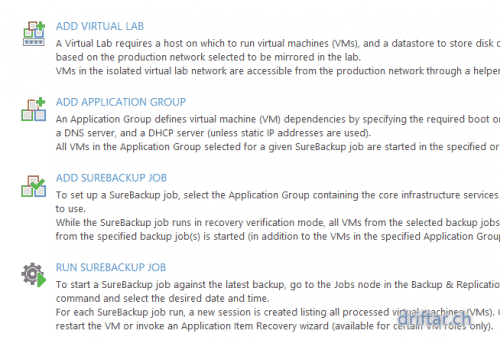
Step 1 – Add a virtual lab
The virtual lab in SureBackup is nothing more than a VMware ressource pool and a virtual proxy appliance. The ressource pool and this proxy appliance are configured here and are used to run your application group, which we create in the second step. You can create a virtual lab for all your SureBackup jobs or you can create one for each SureBackup job.
-
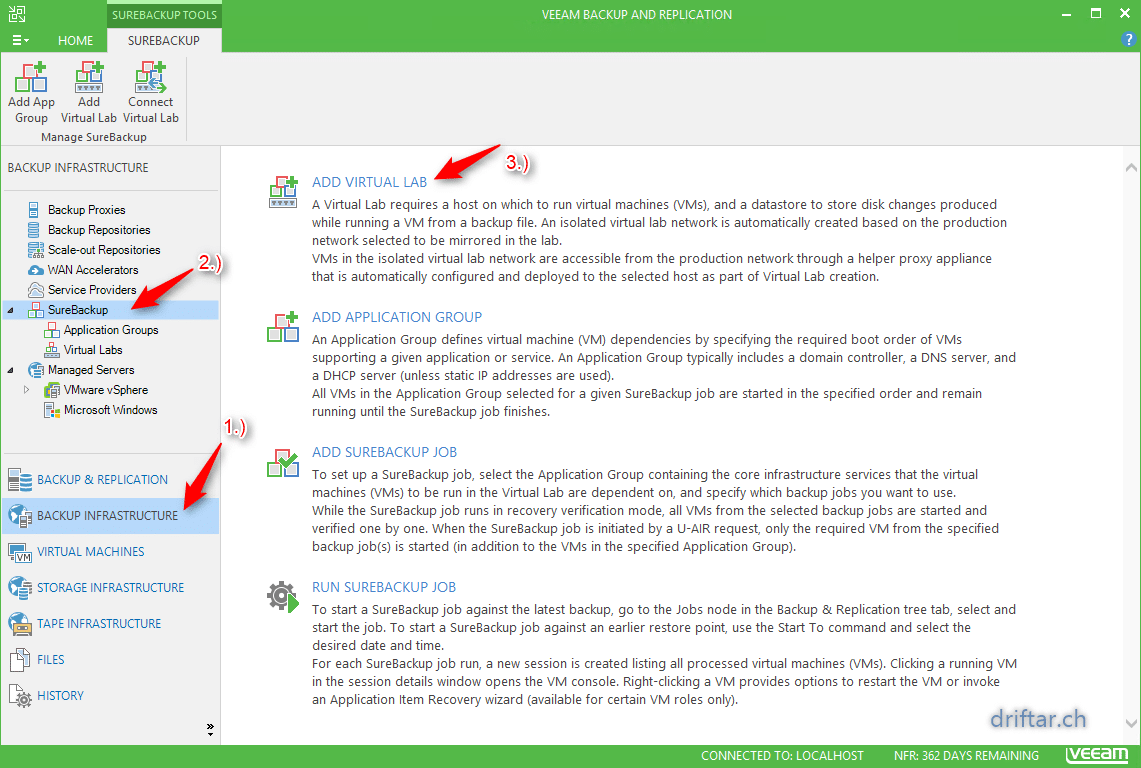
Login to your Veeam Backup & Replication console.
-
Click on “Backup Infrastructure“.
-
Click on “SureBackup“.
-
Click “Add a virtual Lab“:
-
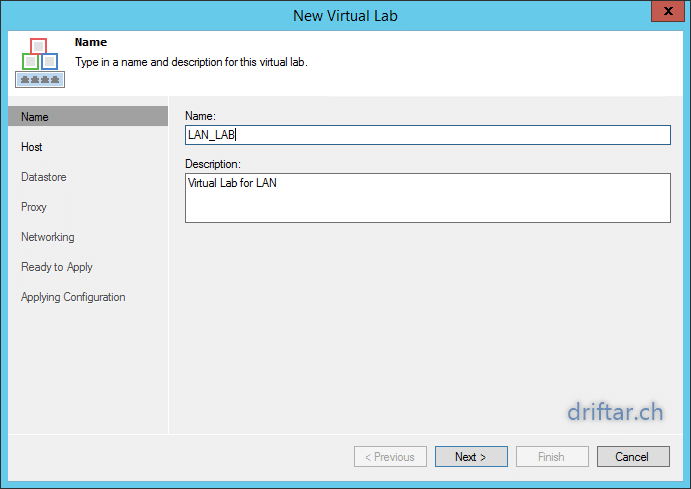
Enter a name for your virtual lab:
-
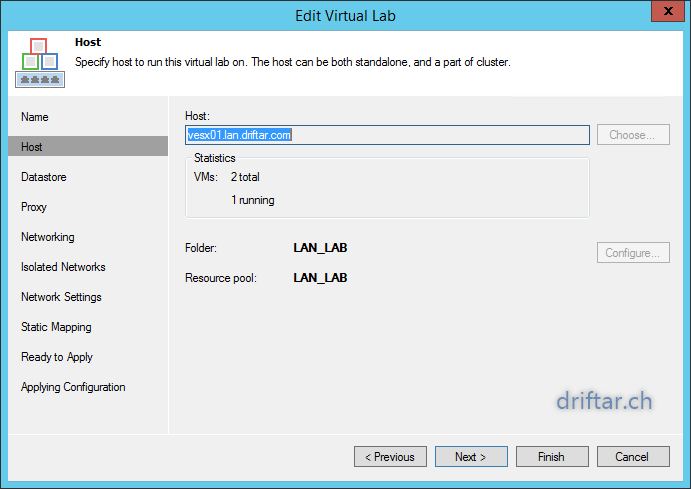
Choose a host to run your virtual lab on:
-
Navigate through your vCenter to pick a host:
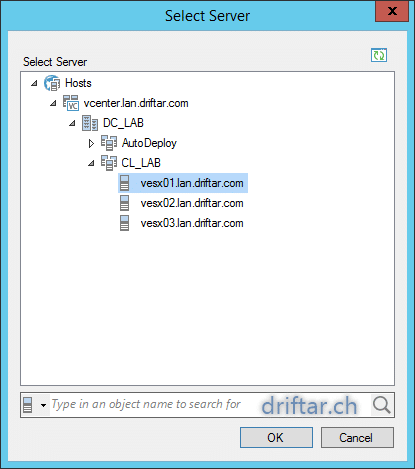
-
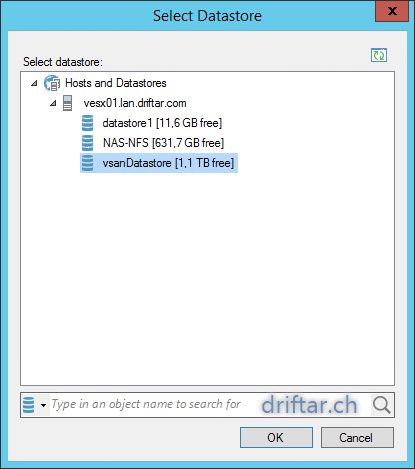
Choose datastore where your virtual lab should run on:
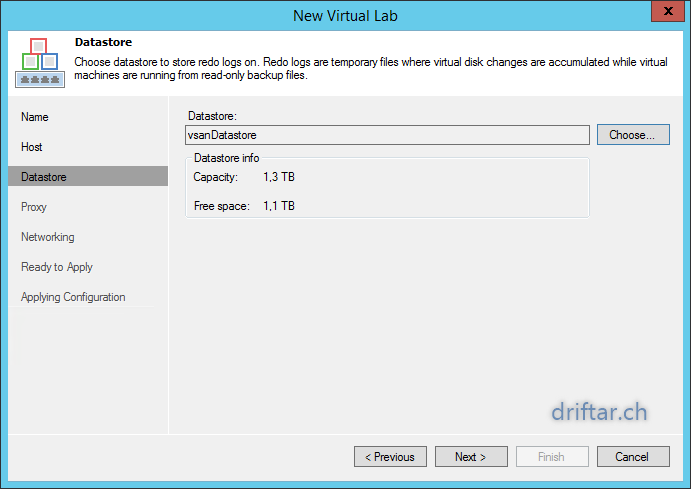
-
Navigate through your vCenter to pick a datastore:
-
Configure the proxy appliance:
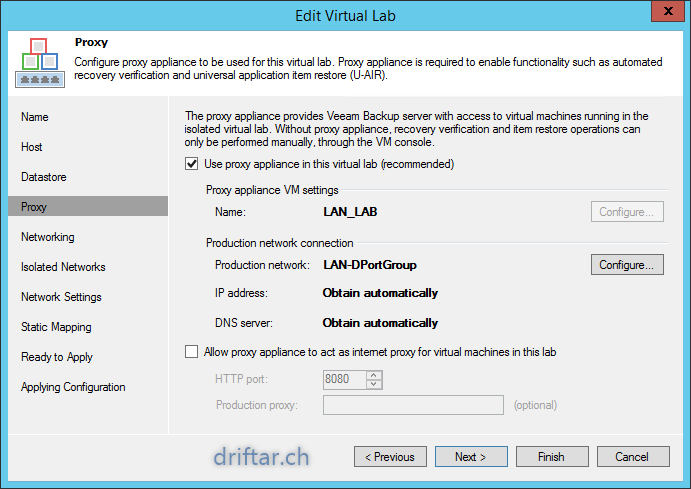
-
Specify the deployment scenario:
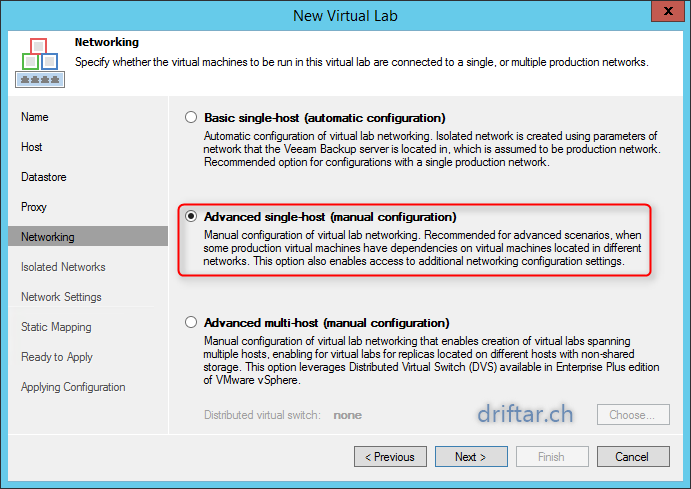
Hint: From my own experience I recommend the use of “Advanced single-Host (manual configuration).
-
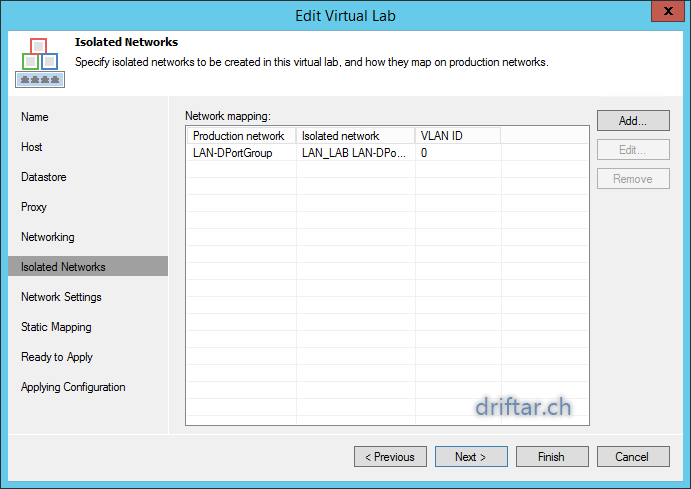
Specify isolated networks:
-
Specify network settings:
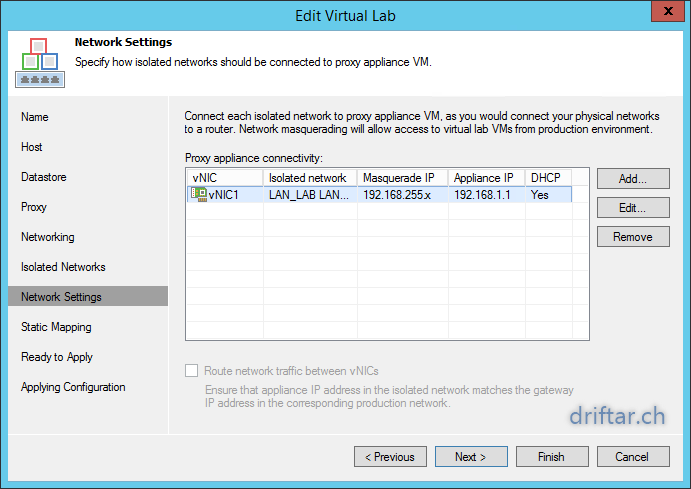
Hint: Make sure that your proxy appliance has the correct IP address. If not, your tests will probably fail. Usually this IP address represents the default gateway of your virtual machines.
-
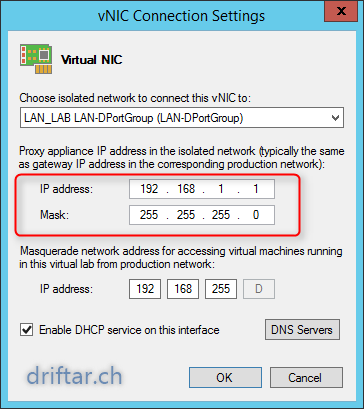
Edit vNIC configuration of the proxy appliance (if needed):
-
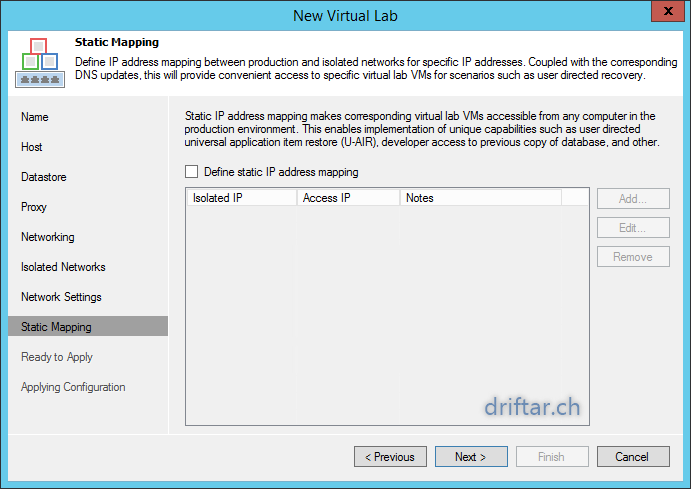
Define IP address mapping (if needed):
-
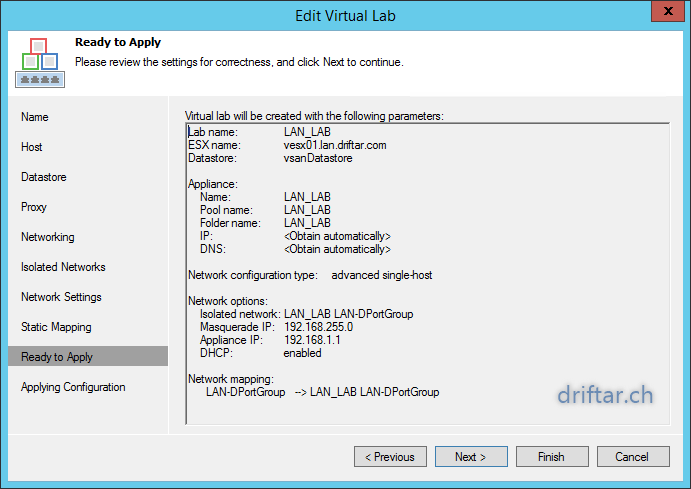
Review the settings:
-
Click “Next” and “Apply” and your virtual lab will be configured.
Step 2 – Add an application group
The application group is a group of VMs which usually depend on each other. For example a Microsoft Exchange Server. What does an Exchange Server need to run? A domain controller, DNS server, global catalog server and so on. Or imagine your online shop system with a web server and a database server.
I’ts recommended to create specific application groups which are tailored for your needs. With small application groups the tests are done in a shorter time and your production system does not need so much ressources. It’s also easier to keep the overview what is running and what will be tested.
-
Back in the Veeam Backup & Replication console, click “Add application group“.
-
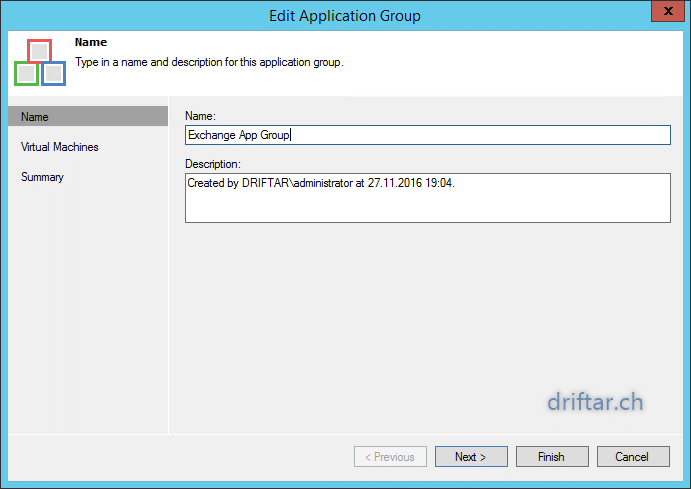
Type in a name for your application group:
-
Add virtual machines to your application group:
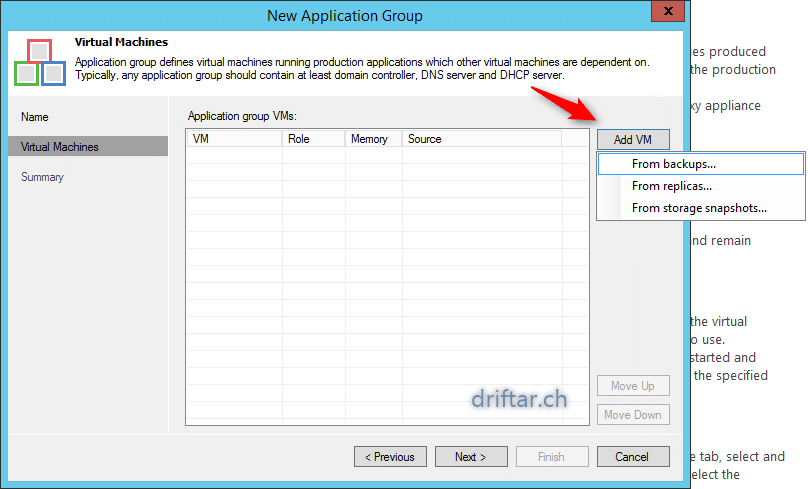
Hint: You can either choose from backups, replicas (SureReplica) or from storage snapshots.
-
Pick your virtual machines from the list:
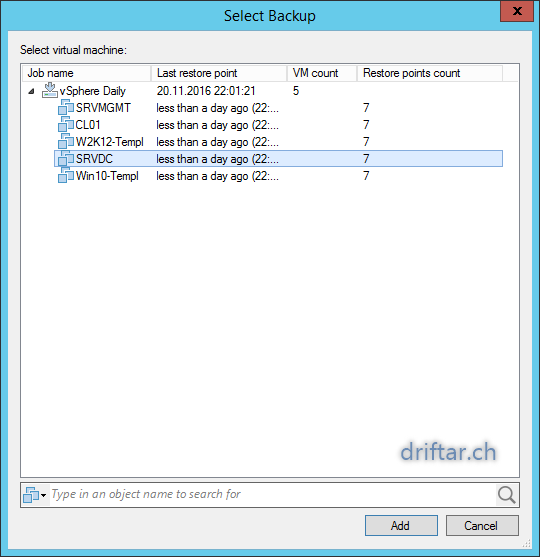
Hint: Select more than one VM with Ctrl and mouse click.
-
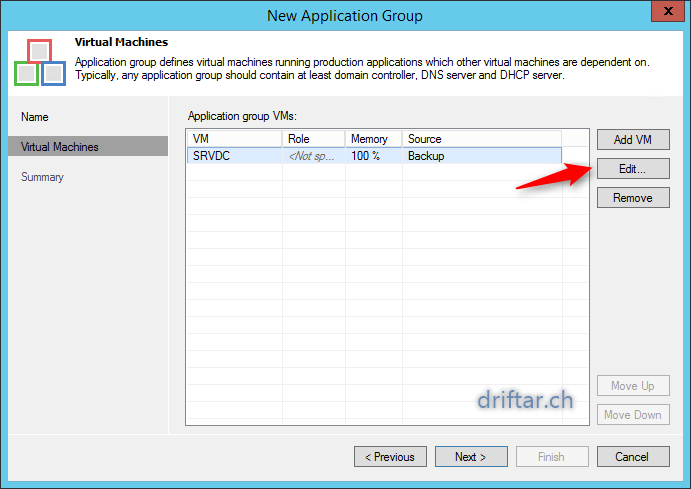
Edit settings of your virtual machine(s):
-
Mark the checkbox for the role(s) of this virtual machine:
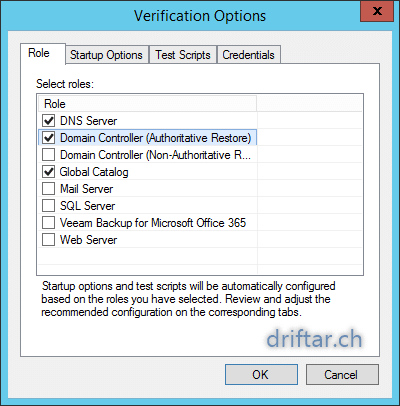
Hint: Select all roles which are running in this VM.
-
Set additional settings (if needed):
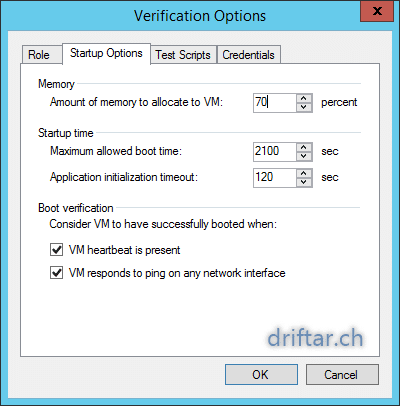
Hint: You can reduce the amount of memory for your VM here. The other values can be changed too, but i would consider a test run with the standard settings.
-
Check the test scripts:
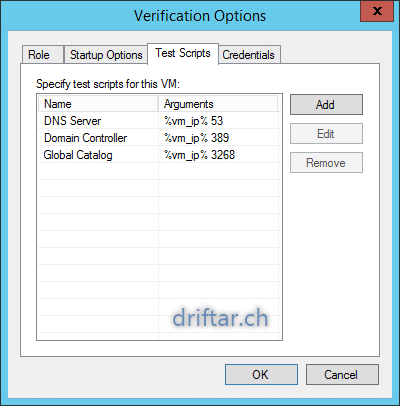
Hint: each role on the previous tab has its specific test scripts. You can add test scripts manually too.
-
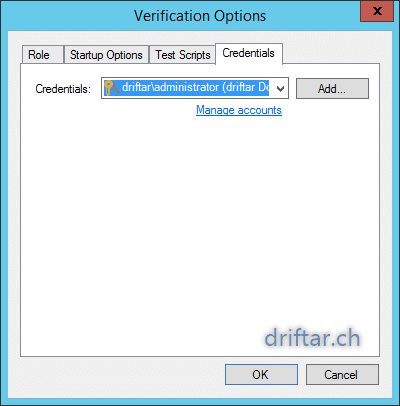
Specify the credentials for your virtual machine(s):
-
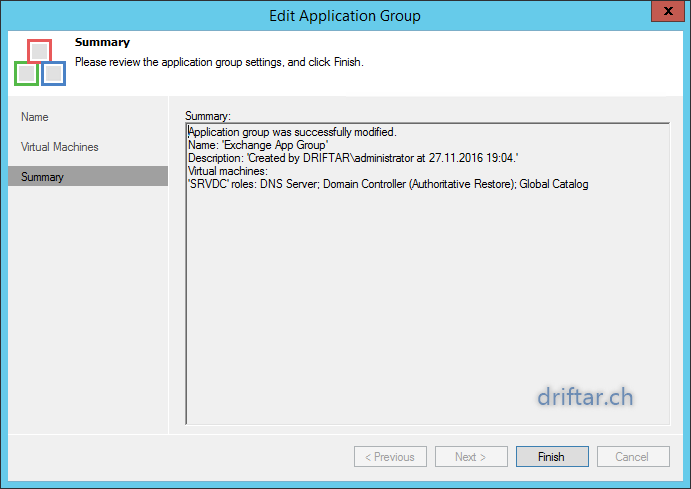
Review the application group settings:
-
Click finish. Your application group will now be deployed.
Step 3 – Create a SureBackup job
The SureBackup Job now combines both the virtual lab and the application group to a powerful tool for automated backup tests or even to create a virtual lab for patch testing. Create a SureBackup job for each scenario you’re planning to test, so you can keep an overview whats going on.
-
Back in the Veeam Backup & Replication console, click “Add SureBackup job“.
-
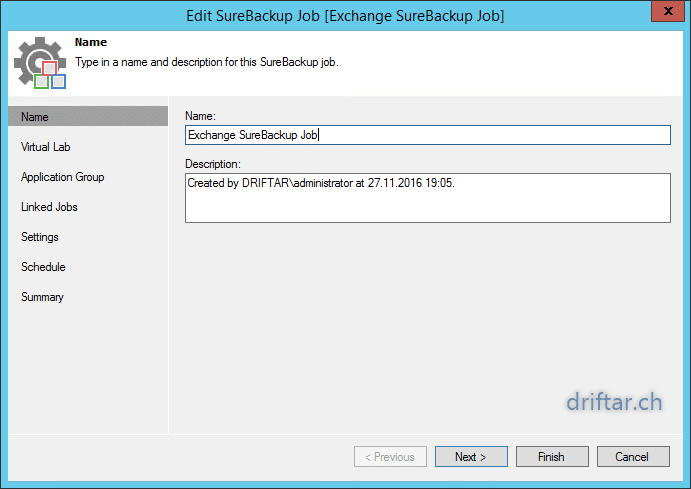
Type in a name for your SureBackup job:
-
Choose the corresponding virtual lab you’ve created in the step before:
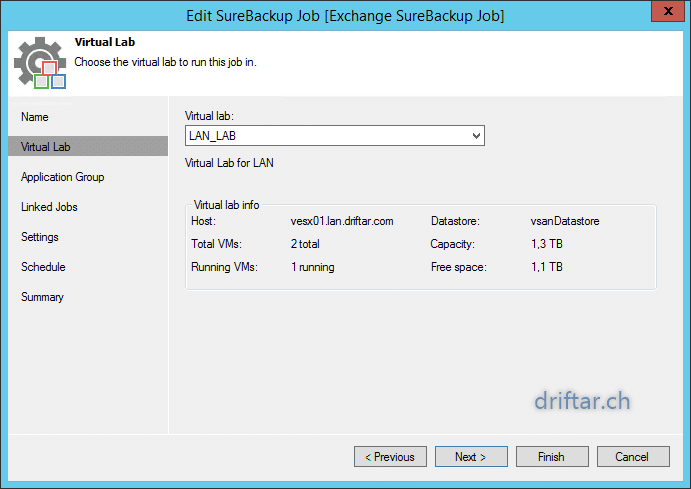
-
Choose the corresponding application group you’ve created in the step before:
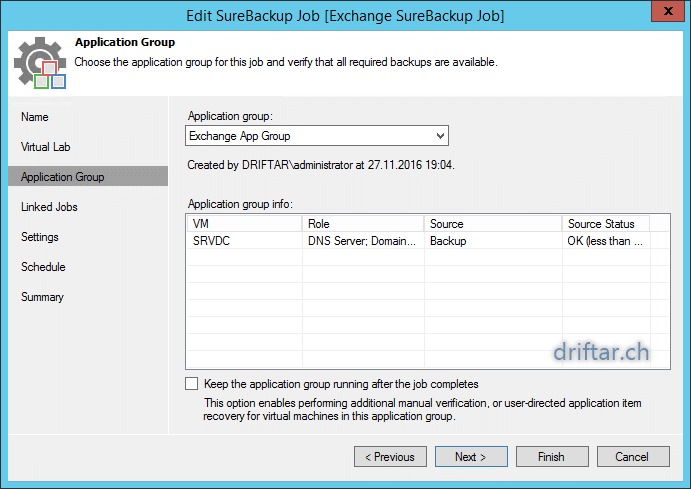
Hint: If you’re planning to use the SureBackup job as an effective virtual lab for patch testing and so on, check the box “Keep the application group running after job completes”.
-
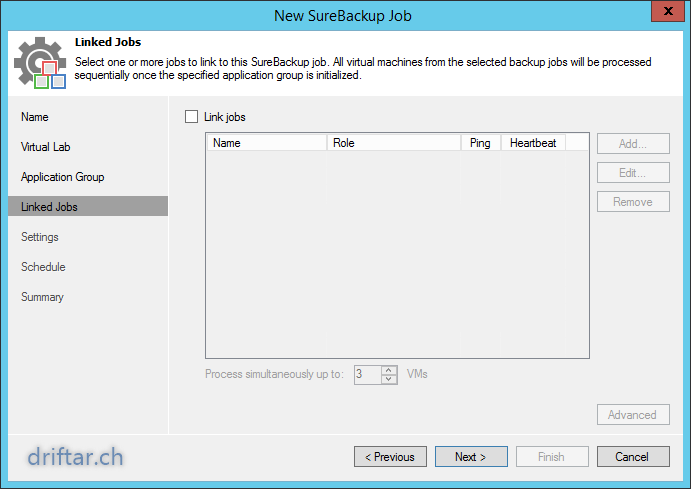
Select job(s) to link to this SureBackup job (if needed):
-
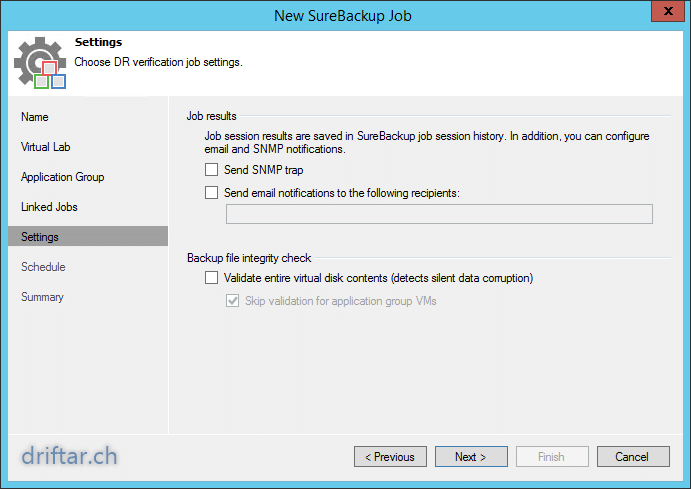
If you’re planning to automate backup tests, it’s a good idea to enable notifications:
-
If you’re planning to automate backup tests, it’s also a good idea to set a schedule:
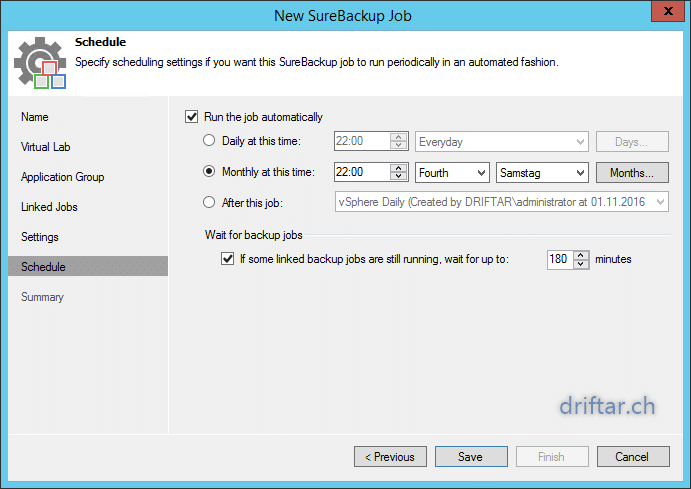
-
Review the job settings and click finish:
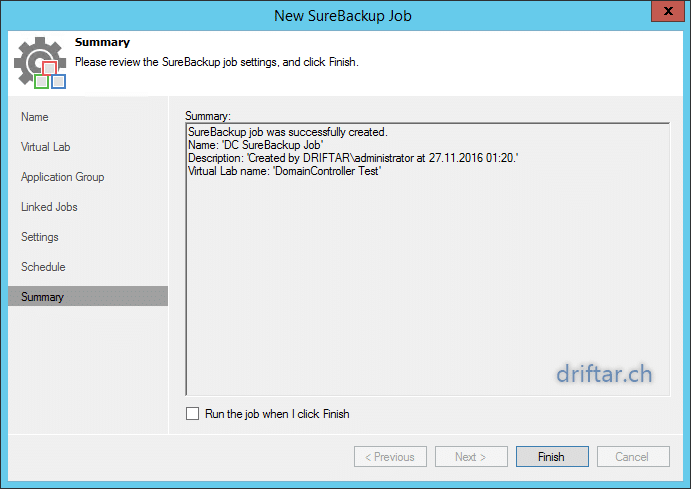
-
Your SureBackup job is now created and ready for action.
Conclusion
Setting up Veeam SureBackup doesn’t take that much time. Add a virtual lab and an application group and then create a SureBackup job. You’re done. But it safes you much time when you let your infrastructure do the work for you. If there is an issue you can still intervene and fix it. But you don’t have to struggle with complex tasks or spend a lot of time to manually tests the backups. Using Veeam SureBackup is a real time saver, even if it’s just for backup testing or more complex stuff like patch and release testing for your applications.
Update
I changed some screenshots in this post. For some readers it was confusing to have a virtual lab for a domain controller but talking about Exchange Server. Now all screenshots represent the Exchange topic. I created a virtual lab with the name “LAN_LAB” with corresponds with my local area network. Then i created an application group in preparation for an upcoming Exchange Server which will include all needed VMs. I also created a new SureBackup job which will include both the lab and the application group for Exchange.
1 thought on “Veeam – Automatic backup tests with SureBackup”